Dear Mother Nature,
You know that I adore Spring and Summer. In fact, I’m a Sun Baby through and through.
It may be a result of those early years where I froze in the Minnesota snow and now I’m at my best when I can feel the warmth of the sun on my face and can wear my flipflops 365.
But with that said, I think you’re playing a cruel practical joke on me this late in the game.
90+ degree weather EVERY day this week?!?!
And that’s with mi casa sitting on the coast. Where or WHERE did you send my beloved Pacific Ocean breeze?
My poor puggle and I are melting.
Melting….
And it’s already September.
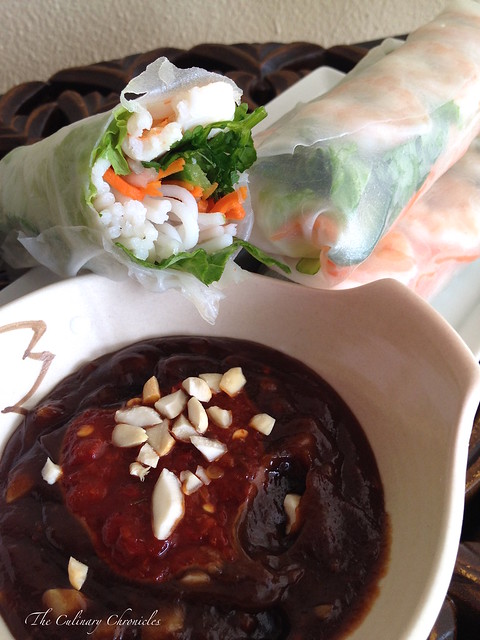
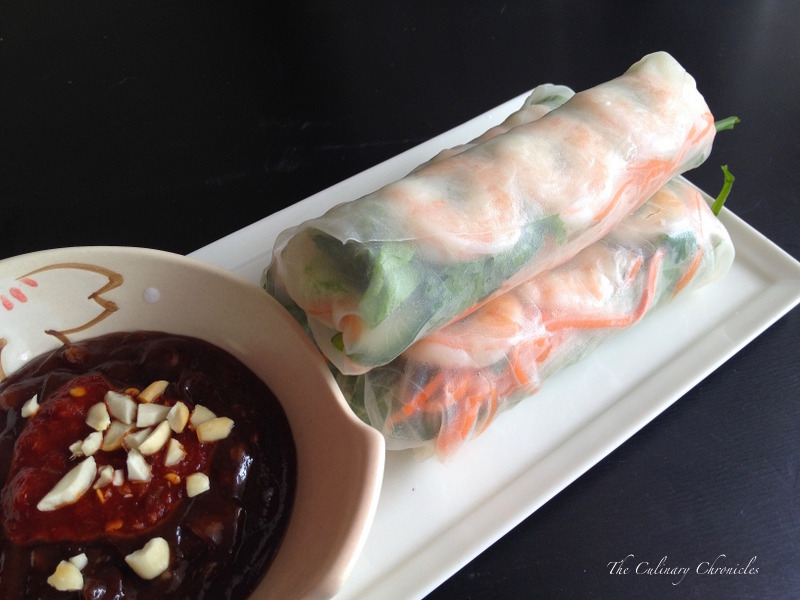
Spring Rolls.
Lately, all I want are Spring Rolls and popsicles….and slurpees.
Gỏi Cuốn, as you know, are Vietnamese spring rolls….sometimes noted as “summer rolls”.
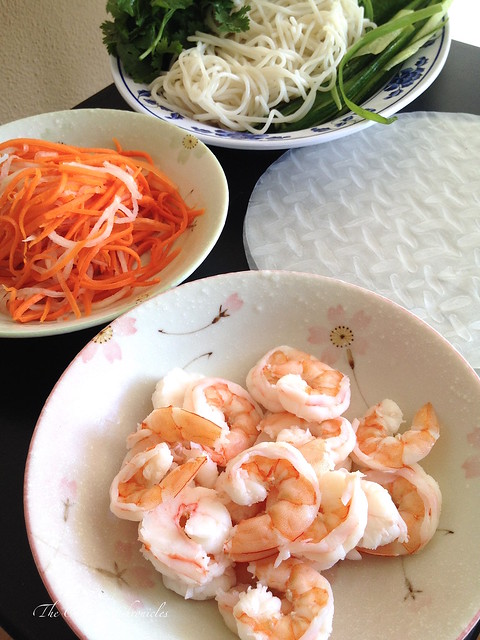
They’re light, filled with veggies and low maintenance.
Thankfully, because I can barely muster enough energy to boil water to cook the vermicelli noodles and poach the shrimp. And lucky for both of us, I don’t like poached pork belly which is commonly used in Vietnamese spring rolls. It gives me one less thing to worry about.
Now, if my face wasn’t melting off my head (is that T.M.I.?), I’d marinate the shrimp in a little garlic, fish sauce and then grill them. It really does add that extra oompf of flavor but trust me, poaching them are just as delish.
Oh–and Mother Nature, if you’re fixing up some spring rolls, feel free to add in other herbs and veggies you may have on hand….bell peppers, bean sprouts, Thai basil….
And thin slices of poached pork belly if it tickles your fancy.
 And once you’re done making your rolls, could you find it in your heart to send back our “normal” weather?
We would love you even more….like, times infinity.
xoxo ❤ ,
N
_________________________________
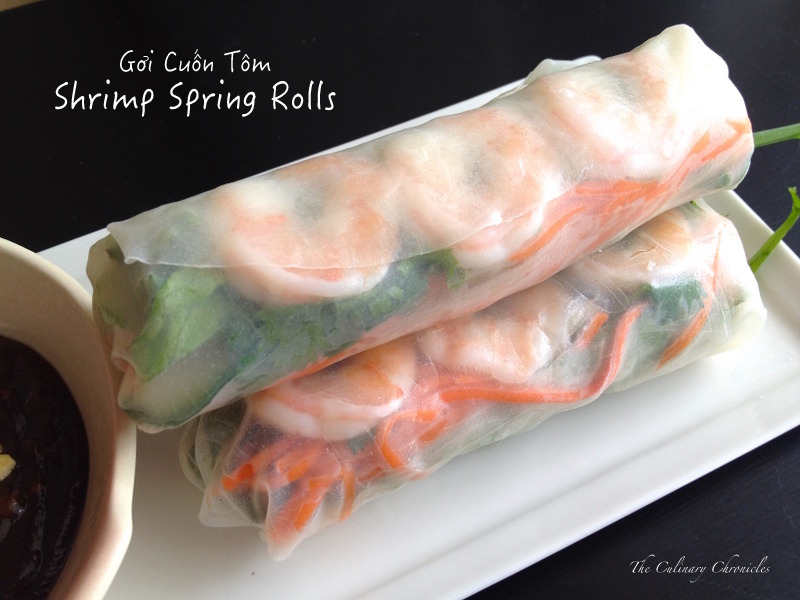
Gỏi Cuốn Tôm {Shrimp Spring Rolls}
Serves approximately 4
Ingredients:
2 tablespoons granulated sugar
1 teaspoon kosher salt
½ cup boiling water
1 cup rice wine vinegar
1 cup julienned carrots
1 cup julienned daikon radish
8 sheets round bánh tráng (dried rice paper sheets)
lettuce leaves
2 cups cooked vermicelli noodles
1 small Persian cucumber, sliced thinly lengthwise
fresh mint leaves
fresh cilantro leaves
fresh Thai basil, optional
fresh Vietnamese coriander, optional
1 dozen poached shrimp, sliced in half lengthwise
8 thin scallions or Chinese chives
Prepare the đồ chua (pickled vegetables). In a medium sized bowl, dissolve the sugar and salt with the boiling water. Add the vinegar and allow the liquid to cool to room temperature. Add the carrots and daikon and refrigerate for at least 1 hour. *This can keep in a sealed container in the fridge for 2-3 weeks and are a must in Vietnamese sandwiches (bánh mì).
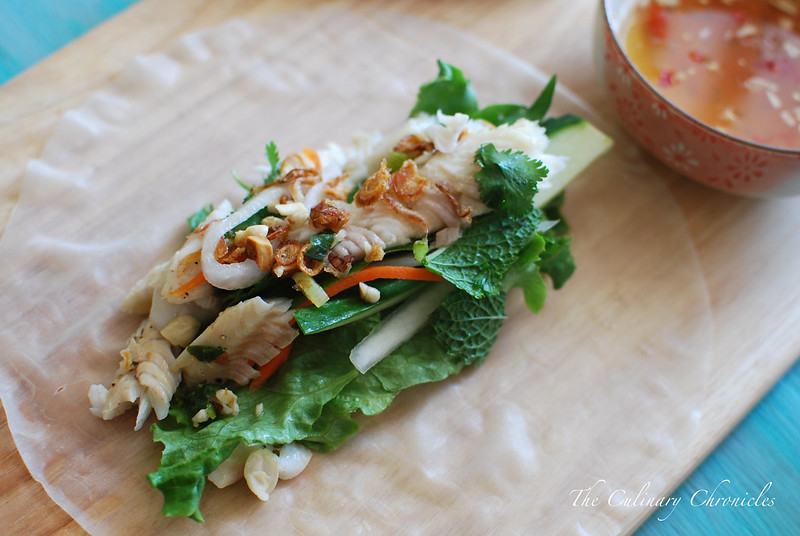
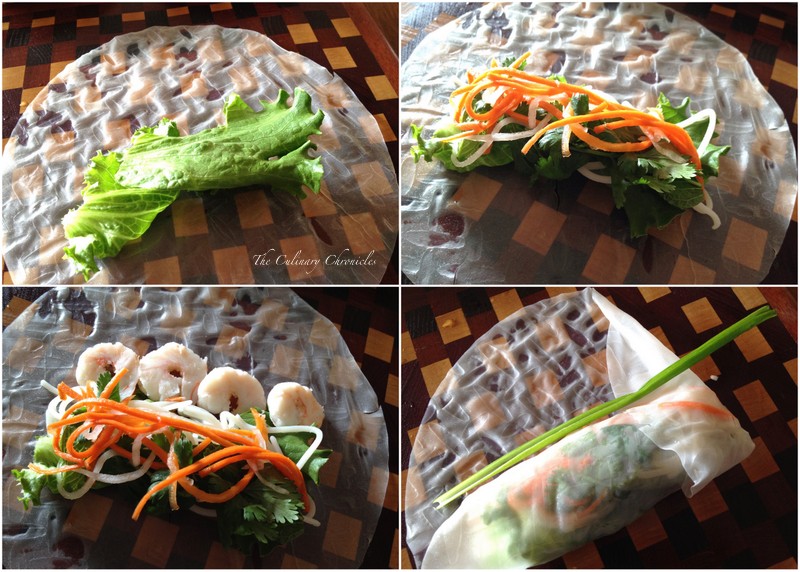
Dip one rice paper sheet in warm water and place on a flat surface. The rice paper will slowly become pliable. Lay one piece of lettuce in the middle of the rice sheet and top with vermicelli noodles, cucumber slices, mint leaves, cilantro leaves, Thai basil, Vietnamese coriander and some of the refrigerated đồ chua. Lay 3-4 shrimp slices, cut side up, in one line above the layer of vegetables.
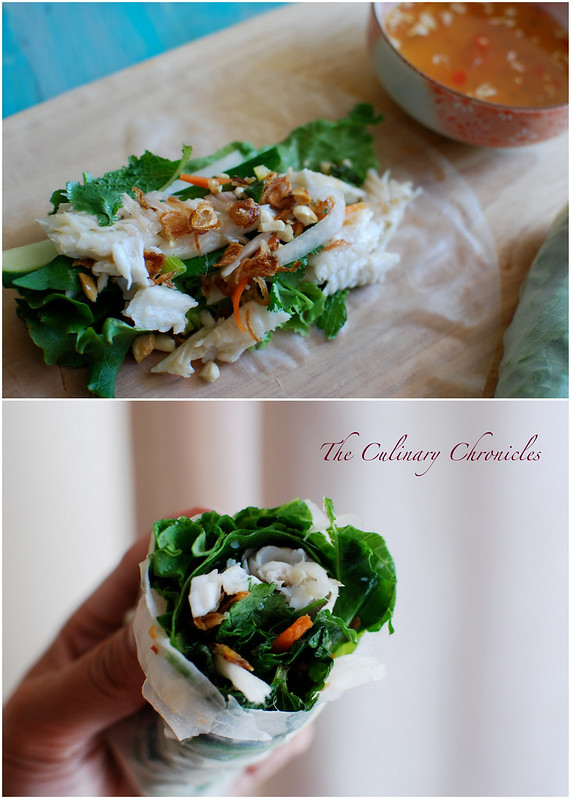
Tightly roll the bottom of the rice paper over the mound. Fold the right side of the roll in and lay one scallion/chive above the roll. Fold the left side in and continue rolling the rice paper up until you’ve created a secured roll. Repeat with the remaining ingredients.
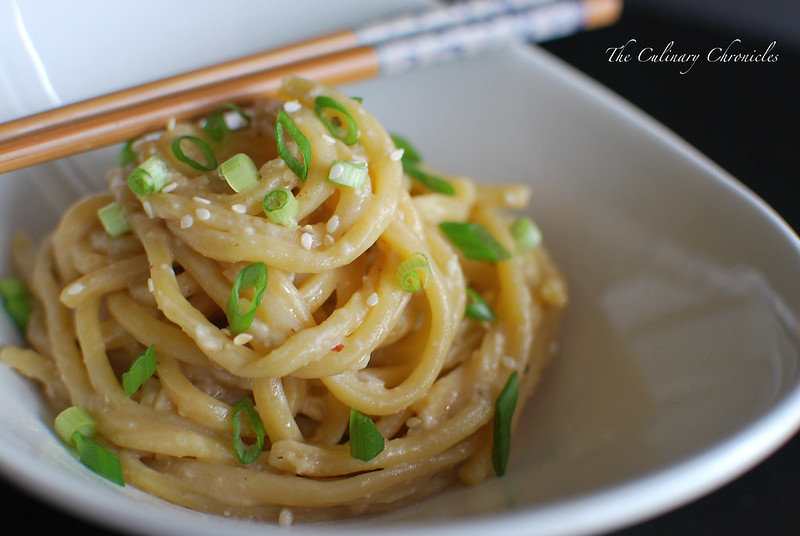
Serve at room temperature with hoisin peanut sauce or other dipping sauce of your choice.