Several years ago I got to spend a little bit of time in India—Chennai to be exact. And as luck would have it, I happened to have visited at the beginning of Diwali – the Hindu festival of lights. Nothing I had read or heard could have prepared me for the country. It’s vivid colors, intense – and I’m talking INTENSE heat, and sounds still replay in my mind as if I was just there. And although I only had a brief 5 days there, the city will forever be imprinted in my heart.
Good thing too because I had such a junky camera at that time — my photos were terrible! 🙂
Anywhoo….

Since I only had a short time, I didn’t get to travel around the country too much and stayed primarily in Chennai. I did, however, manage to squeeze in a memorable home stay with a wonderful family –the Bhatts. They welcomed us into their homes, guided us through Chennai and gave us a glimpse of their culture.
Over those days, we meandered through the city in and out of markets, braved tuk-tuk rides, and ate—like SERIOUSLY ate. I came to find that Southern Indian food is often vegetarian and was so wonderfully spiced and fulfilling that this carnivore-lovin’ gal didn’t miss the meat. It was also the first time I had ever tried dosas– which I now LOVE.
Dosas are thin “crepes” served with a variety of chutneys. They can be filled or left plain. However, my favorite are the giant paper dosas that are extremely thin and crisp and rolled into a large cylinder. There’s something totally satisfying about breaking off a piece of paper dosa with your fingers and then dunking it into a masala or chutney.

Our home stay mom, Mrs. Bhatt, also did a good amount of cooking during our brief visit. And when she did, I hung around the kitchen trying to make mental notes of how she prepared things. I really wish I would have recorded her rolling out the dough for the parathas because she did it with such lightning speed!
Since my trip, I’ve tried to recreate the flavors I tasted in India –some attempts were definitely more successful than others. Channa Masala and Tikka Masala are on my usual rotation. But I always seemed to have had an issue with making a good naan–which in my opinion, is crucial when I’m devouring the aforementioned dishes. Some recipes turned out too dry or not tender….and others just didn’t taste well.
Until I stumbled upon Aarti Sequeira’s recipe–and my search was over. Her recipe uses a combination of both yeast and baking powder which gives it the perfect texture and lightness. I adapted her recipe a bit to make my favorite garlic naan and now there’s no going back.
But here’s the thing. Others will disagree with me but unless you have a tandoori oven (or maybe an outdoor brick pizza oven?), you must–and I mean MUST, use a cast iron skillet. There’s no replacing it. I’ve tried baking naan in a regular oven, in a standard skillet, in an easy-bake oven (PSYCH!) and nothing compares to a cast iron. Just add it to another reason why I adore cast iron skillets so much.
Oh- you better be sure that the next time I manage to get to India, I’ll pack two cameras just in case to capture everything. And although it’s been years, much love and thanks to the Bhatt family for their generous hospitality. ❤
_____________________________________
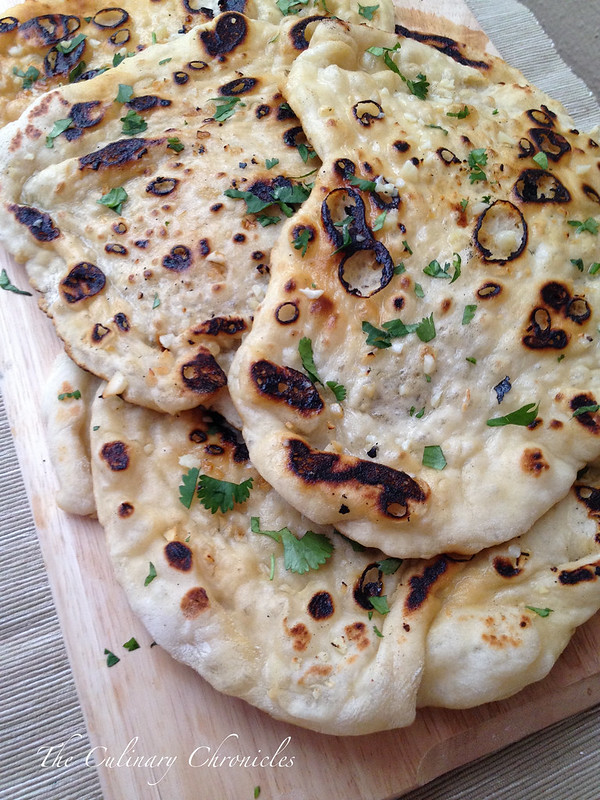
{Cast Iron} Garlic Naan
Makes 6
Ingredients:
1 teaspoon active dry yeast
2 teaspoons sugar, divided
¾ cup warm water
3 tablespoons plain yogurt
2 tablespoons extra-virgin olive oil
2 cups all-purpose flour, plus more for rolling
1 teaspoon kosher salt, more for finishing
1/8 teaspoon baking powder
2 tablespoons unsalted butter (or melted ghee)
1 heaping tablespoon minced fresh garlic, divided
1 teaspoon garlic powder
sea salt
2 tablespoons chopped cilantro
In a small bowl, stir together the yeast, 1 teaspoon sugar and water. Allow the mixture to sit for about 10 minutes until it becomes bubbly. Whisk in the yogurt and olive oil.
In a large bowl, whisk together the flour, kosher salt, remaining sugar, and baking powder. Pour in the yogurt mixture and use your hands to mix the ingredients all together. The dough will be very wet and sticky at first but continue to mix/knead until it becomes rather soft and pliable. Once it comes together, cover the bowl with plastic wrap and place it in a draft free place for 3-4 hours until it nearly doubles in size.
Place the butter and 1 tablespoon garlic in a small, microwave proof bowl. Heat in the microwave until the butter has melted.
Dust your counter (or other work place) with flour and place your naan dough onto it. Using a pastry cutter or sharp knife, divide the dough into 6 even portions. Lightly roll each of the dough balls into the flour to help them from sticking. Using a floured rolling pin, roll one of the dough portions into a circle about ¼ inch thick –it’s completely okay if it’s an imperfect circle. Sprinkle the top side with a bit of the garlic powder and remaining minced garlic. Use your fingers to press it into the dough and then pass the rolling pin over the top of it to ensure it’s secured. Repeat this method with the remaining dough.
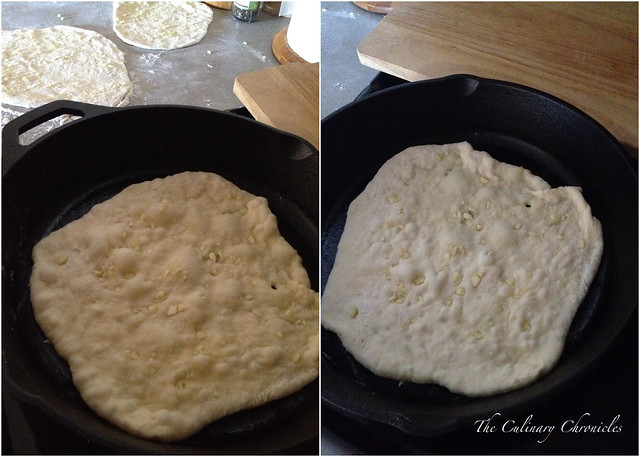
Warm a large cast-iron skillet over medium-high heat until it’s nearly smoking. Be sure to have a lid large enough to fit the skillet and have the bowl of garlic butter with pastry brush nearby.
Carefully pick up one of the rolled out naan and gently lay it in the skillet, garlic side up, and cook for about one minute. The dough should start to bubble. After the minute, use tongs/spatula to flip the naan and cook for another 30 seconds to 1 minute. Flip it over again and cover the skillet for about an additional 30 seconds to 1 minute. The bread will look blistered and have blackened in a few spots.
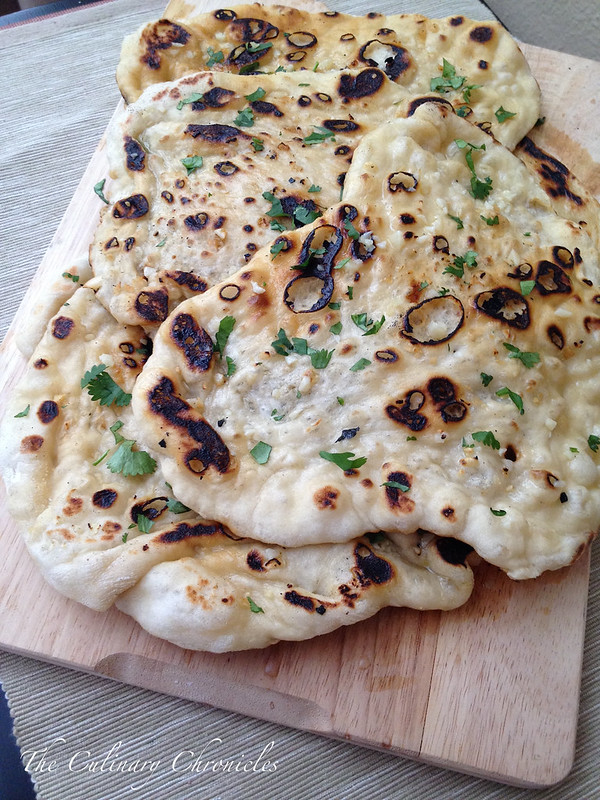
Remove the naan from the skillet and generously brush the top with the garlic butter. Sprinkle the tops with a few pinches of sea salt and chopped cilantro. Repeat with the remaining 5 naan. Serve warm.
Slightly adapted from Aarti Sequeira


