DIY

DIY Taco Seasoning Blend

Taco Seasoning Blend

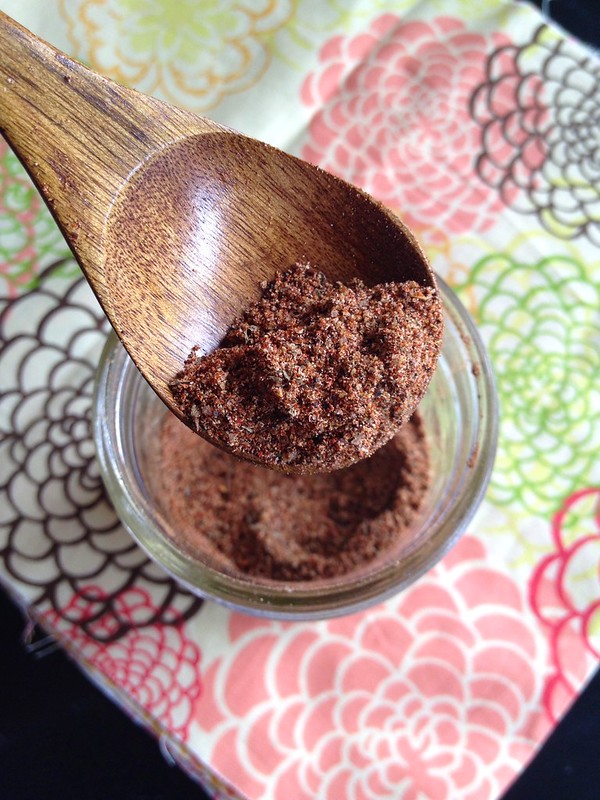
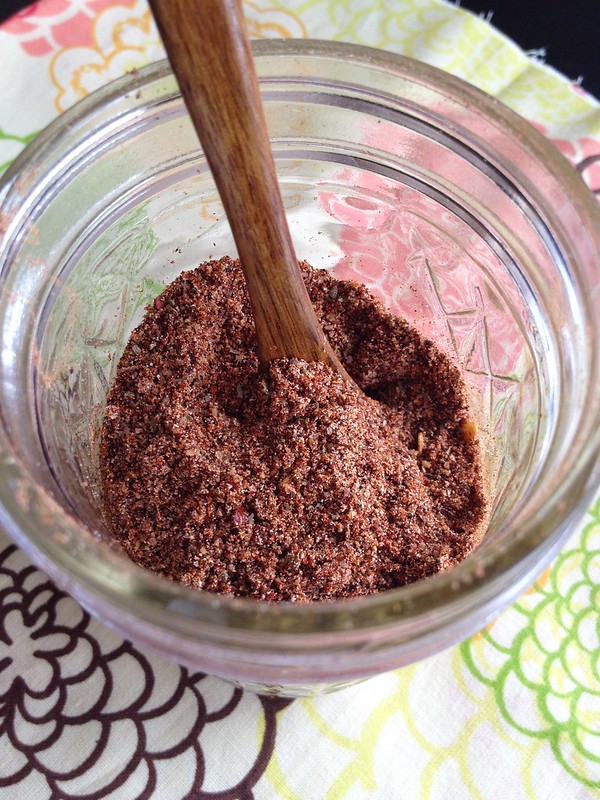
Let’s talk about one of my favorite pantry staples — Taco Seasoning.

Taco Seasoning?

Yes! Taco Seasoning!

It’s one of the items I tend to grab for at least once a week. I use it to season all of my taco fillings, in fajitas or enchiladas, when I make huevos rancheros or chilaquiles — and even as a dry rub for chicken, pork, beef, or seafood before grilling it.

Heck– I’ll even throw in a few pinches when I’m scrambling eggs.

Totally versatile.

Taco Seasoning Blend
And if you’re like me, you grew up using the prepackaged envelopes of seasoning. Don’t get me wrong–that stuff’s delicious and completely nostalgic. But the problem I’ve always had is that although I would use the store-bought seasonings, I would still find myself adding cumin or smoked paprika or whatever it was to get the exact flavor profile I liked.

Which lead me to nix the whole thing and start making my own—-and that’s the beauty of homemade taco seasoning. You can add and omit whatever tickles your fancy.

I tend to lean towards a deeply smoky (hence the ancho and smoked paprika), earthy (which explains the heavy hand in cumin) and spicy (cayenne, smoked paprika, red pepper flakes) blend.

Taco Seasoning Blend
I do believe the variations in chili powders and paprikas add a complexity but if you don’t have all of the varieties on hand, just sub as needed (ie. replace standard chili powder for ancho). It won’t have the same flavor but it’ll still be dreamy.

You may also notice that the amount of salt I’ve listed below is fairly low compared to the other proportions–but keep in mind, you’ll likely be salting the rest of your dish at various times, so add accordingly.

If stored in airtight containers, the blend will last for several months–though I seem to end up making a new batch up every month or so. And because of this and the fact that it’s easy to double or triple the recipe, they’ll make for great gifts!

Happy Seasonings!

___________________________________

DIY Taco Seasoning Blend
Makes approximately 8 tablespoons
Ingredients:

½ tablespoon ancho chili powder
2 tablespoons chili powder
1 teaspoon paprika
1 teaspoon smoked paprika
¼ teaspoon cayenne powder
1 teaspoon red pepper flakes
½ tablespoon gochugaru (Korean red pepper powder), omit if you don’t have any
1 tablespoon cumin powder
¼ teaspoon turmeric powder
1 tablespoon garlic powder
1 tablespoon onion powder
2 teaspoons dried Mexican oregano
½ teaspoon garlic salt
½ teaspoon kosher salt
½ teaspoon black pepper

In a bowl, carefully whisk all the ingredients together until well incorporated. The blend can be used right away or stored in an airtight container for 5-6 months.

DIY

DIY – Tahitian Vanilla Extract

DIY-Vanilla Extract

Last month I was bottling Vanilla Extract like a mad woman.

Why?

Because it’s RAD!

Not only are you able to control exactly what goes into your product but it’s simple and yields wonderful results. It’s quite cost effective, especially if you go through as much vanilla as I do. And these super cute bottles make great gifts, too!

I used Tahitian vanilla beans for my extracts but you can opt for pods from Madagascar or Mexico if you prefer. Buying them in bulk (I get mine online) will also get you the best bang for your buck.

After your extracts have been bottled, you’ll want to age them for a minimum of 2 months before use. And once your bottle runs low, just fill it up with more vodka to restart the process.

Happy DIY-ing!

___________________________

DIY Vanilla Extract
Makes (2) 4-Ounce Bottles

Ingredients:

2 4-ounce resealable bottles
4 Vanilla Bean Pods, split lengthwise
8 ounces Vodka

Wash and dry the bottles.

Place two of the split vanilla beans in each of the bottles. Fill each bottle with 4 ounces of vodka and seal tightly. Gently shake the bottles and store in a cool, dark location.

Shake the bottles every few days for 2 months. The vanilla extract is ready to use as early as 2 months, however 3+months is recommended.

DIY · Drinks

When Life Gives You Lemons, Make Limoncello!

Limoncello

When Life gives you lemons……

Make Limoncello!

Though, if that’s the case, it would help if Life threw in a bottle of vodka to help out with the process, too.

Limoncello

Last month, my sister equipped me with a bag of Meyer lemons from her mother-in-law’s tree. After using many of the fragrant lemons for baking, I decided to use the rest to make a batch of Limoncello to give away as gifts for the holidays.

Originating from the South of Italy, Limoncello is traditionally made with lemon peels and a very high proof grain alcohol—but vodka can also do the trick.

The floral (and STRONG) boozy goodness can be served straight up over ice or with some tonic water and squeeze of lime. Either way, you’ll be enjoying a bit of summer in a glass.

Salute!

_______________________________________

Limoncello

Ingredients:

1 750ml Bottle Vodka (100 proof or higher)
Peels of 12 Lemons (I used a combination of Meyer and Eureka)
3 Cups Simple Syrup

In a very large container with an airtight lid, combine lemon peels and vodka. (I used a 1 gallon glass jar.) Tightly screw on the lid and place the jar in a cool, dark place for 14-15 days. Take off the lid, remove the lemon peels, and stir in the simple syrup. Screw the lid back on and replace to the cool, dark place for an additional 30 days. Gently shake the container every day or so if/when the sugar collects at the bottom.

When ready to bottle, strain the limoncello with a fine sieve. Using a funnel, fill airtight bottles. ENJOY!

*I ended up squeezing the 12 “naked” lemons and made a TON of fresh lemonade and froze the remaining juice in ice trays to use at a later time.