Sunday Family Dinner

Our February Birthday Girls

February 2019 Fam Din
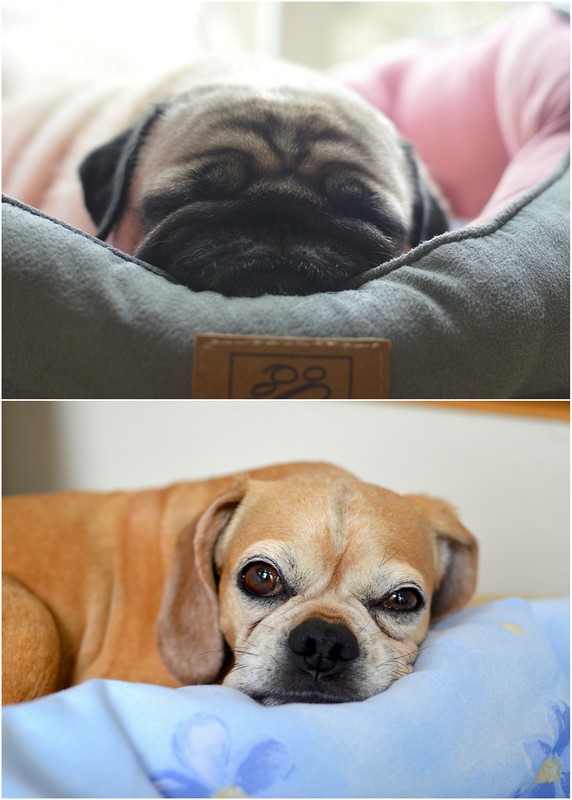
This month we celebrated the birthdays of these two sweeties — Maya and Princess Leia. ❤

Maya turned 14 and Leia is now 11. Aren’t they just the most adorable pair?

February 2019 Fam Din
And since Tết – the Vietnamese Lunar New Year – was happening at that time, Seester P and her clan made their way down from SF to join in on all of the celebrations.

Our youngest munckin was SOOOO excited to be with her SoCal family!

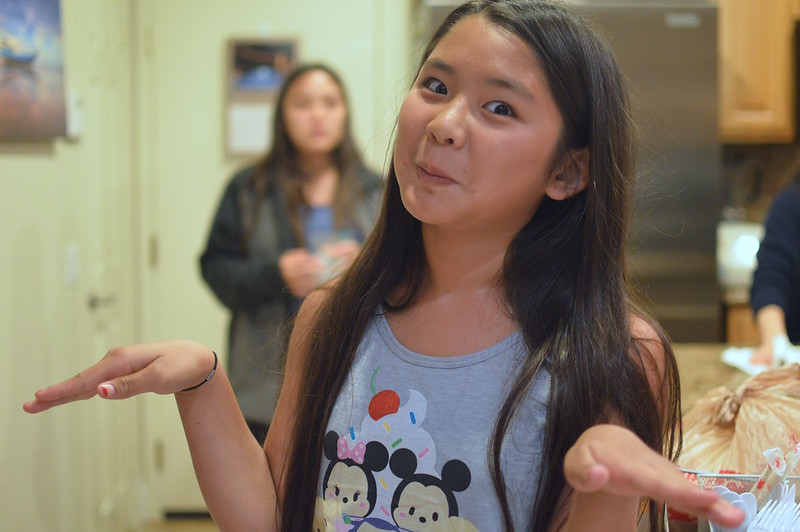
Ms. Kaelani is growing up to be quite the character! She was a nonstop chatterbox during her visit and was constantly singing!

Mulan’s “Let’s Get Down to Business” is one of her current favs but of course, Moana and Frozen are never far away.

And if you were watching my IG stories that weekend, you likely caught her bellowing out a few lines of a Madonna classic. I won’t divulge which one but needless to say, she was hilarious.

Such a funny and rascally little gal.

February 2019 Fam Din

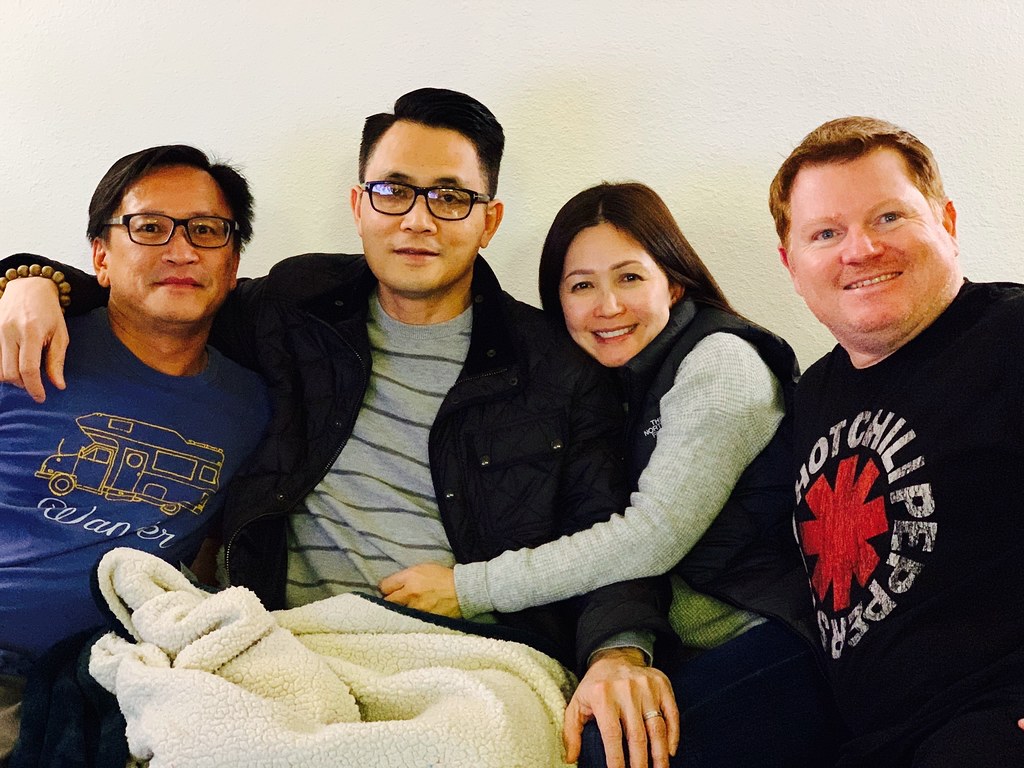
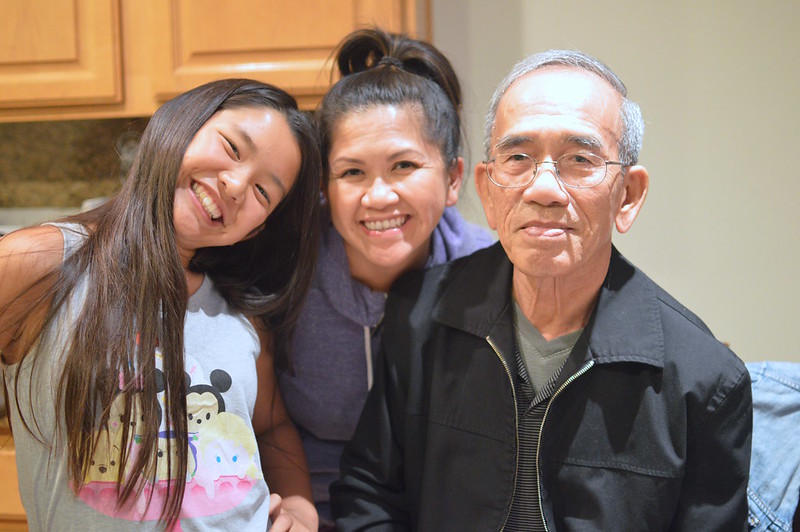
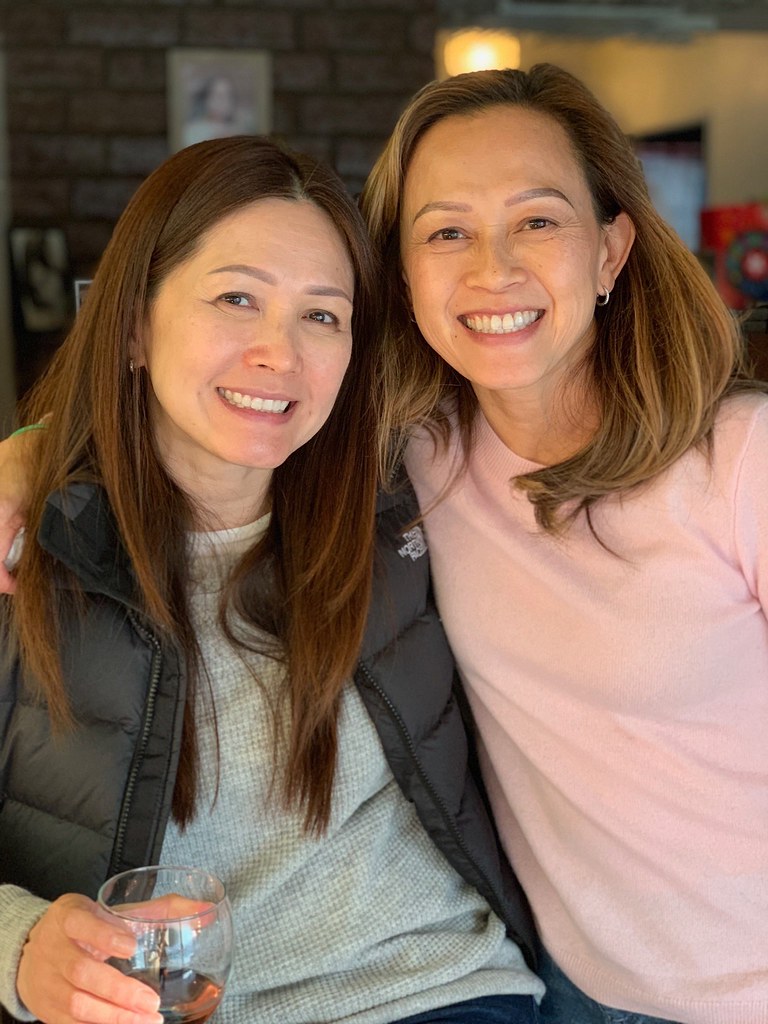
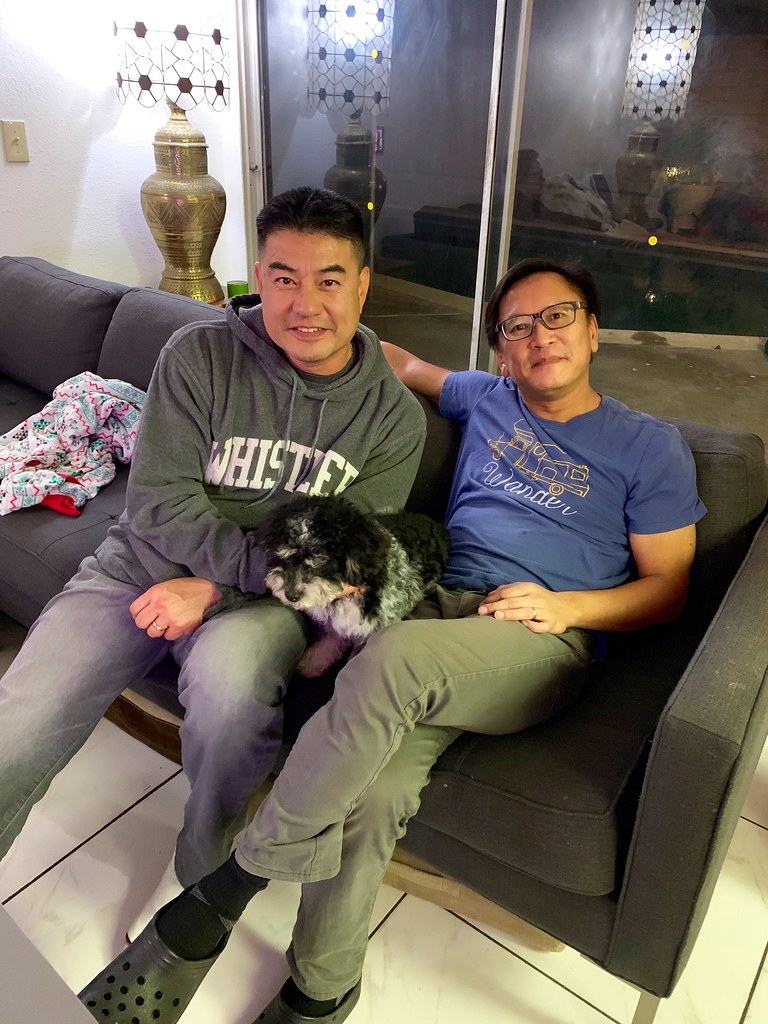
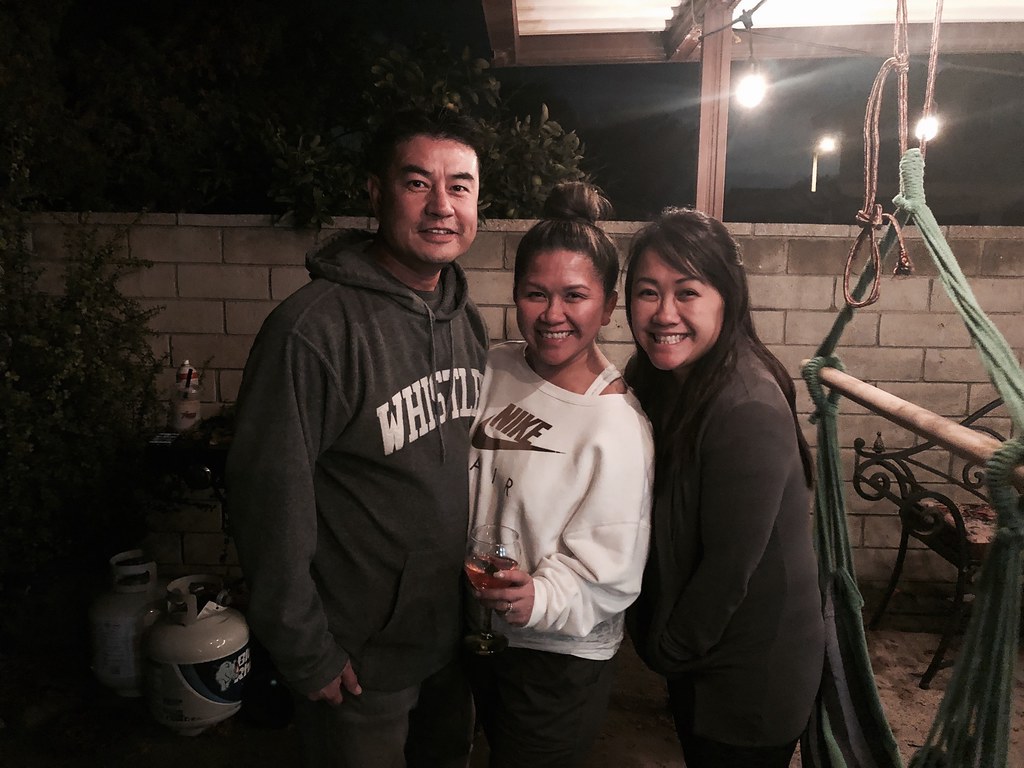
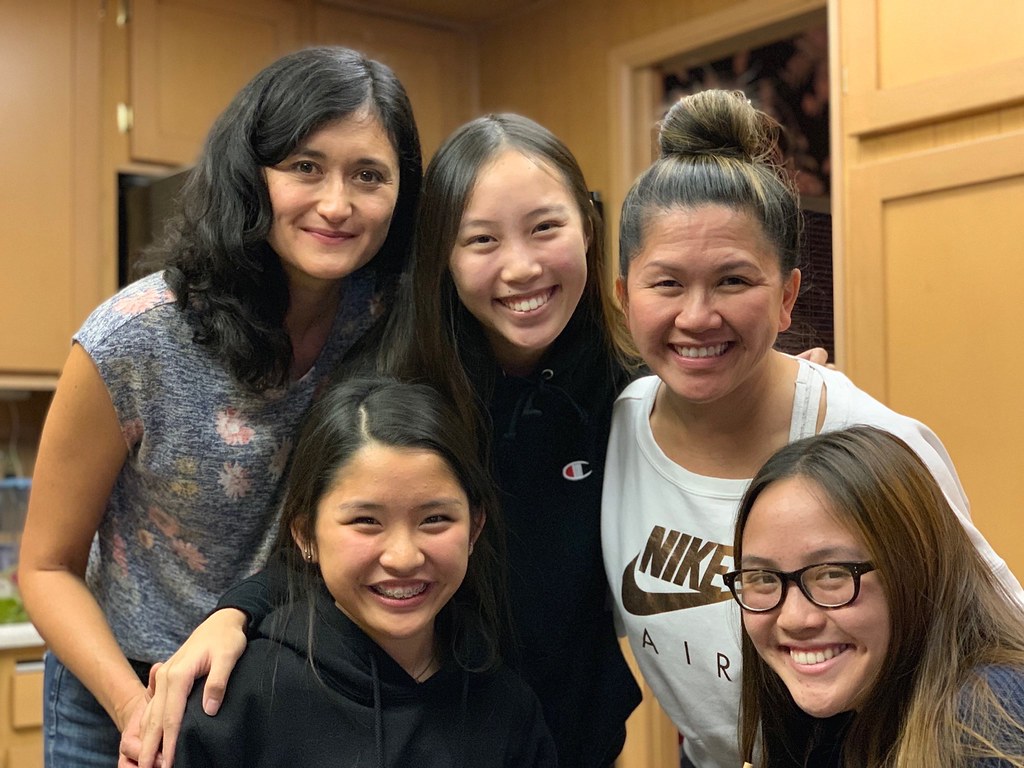
It’s ALWAYS a fun time when all of the Nguyễn sibbies are together!

Always loud, always chaotic….

Lots of teasing and laughing….

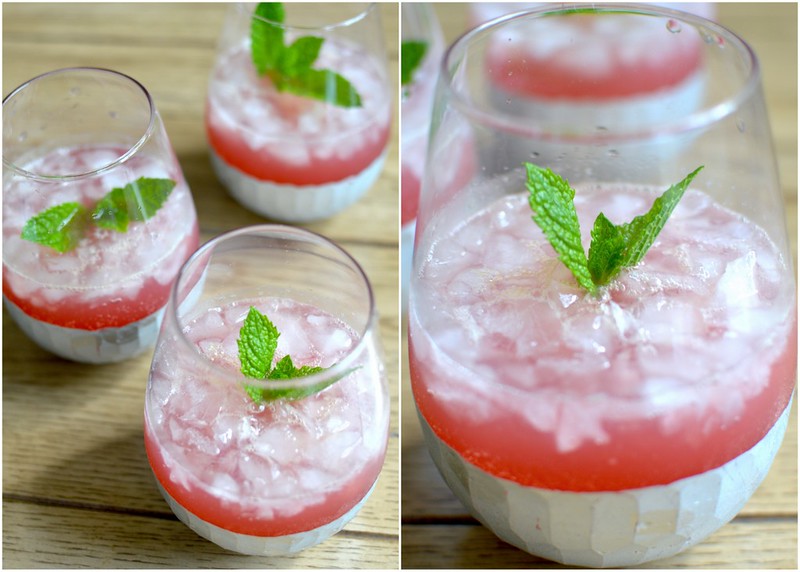
Especially when we’ve got some cocktails in us!

February 2019 Fam Din

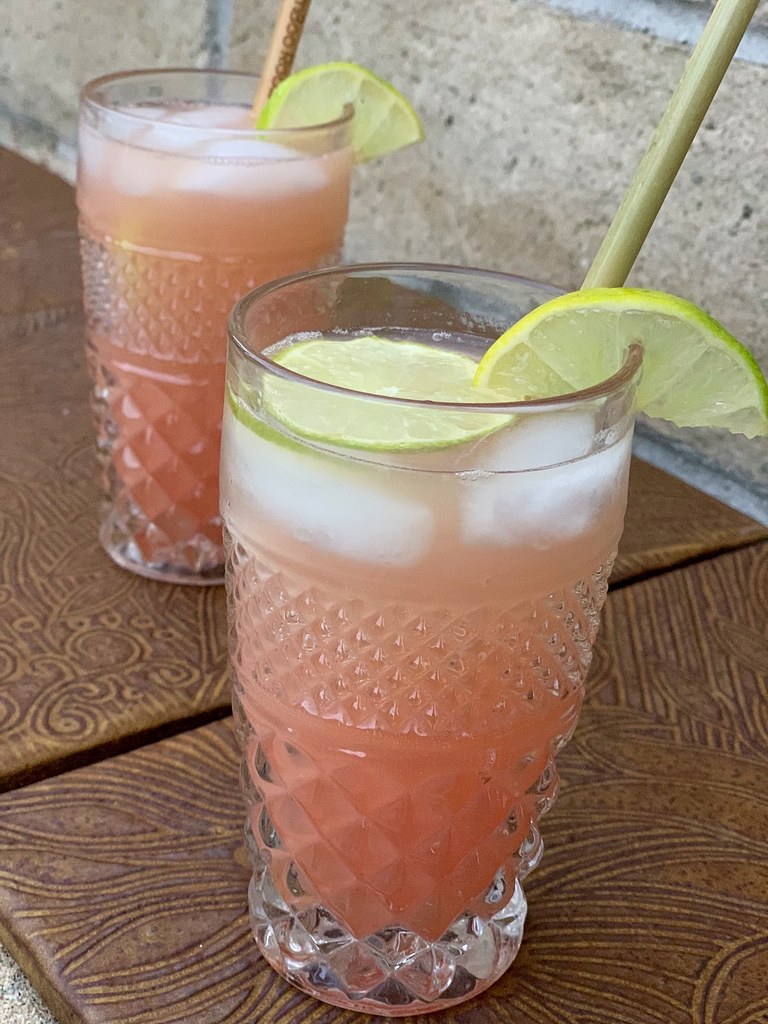
For this month, I made Palomas again because I love how bright and citrusy they are. There’s something about them that makes me feel “healthy”…..maybe the grapefruit juice?

I know I’m just fooling myself since it’s accompanied with a heavy pour of blanco tequila!

February 2019 Fam Din

Also at that time, V and L had been puppy-sitting their neighbor’s new little furbaby – Ollie!

February 2019 Fam Din

He’s an adorable little fluffy pup — and all of the kiddos just adored him!

February 2019 Fam Din
Well…all the humanlings that is.

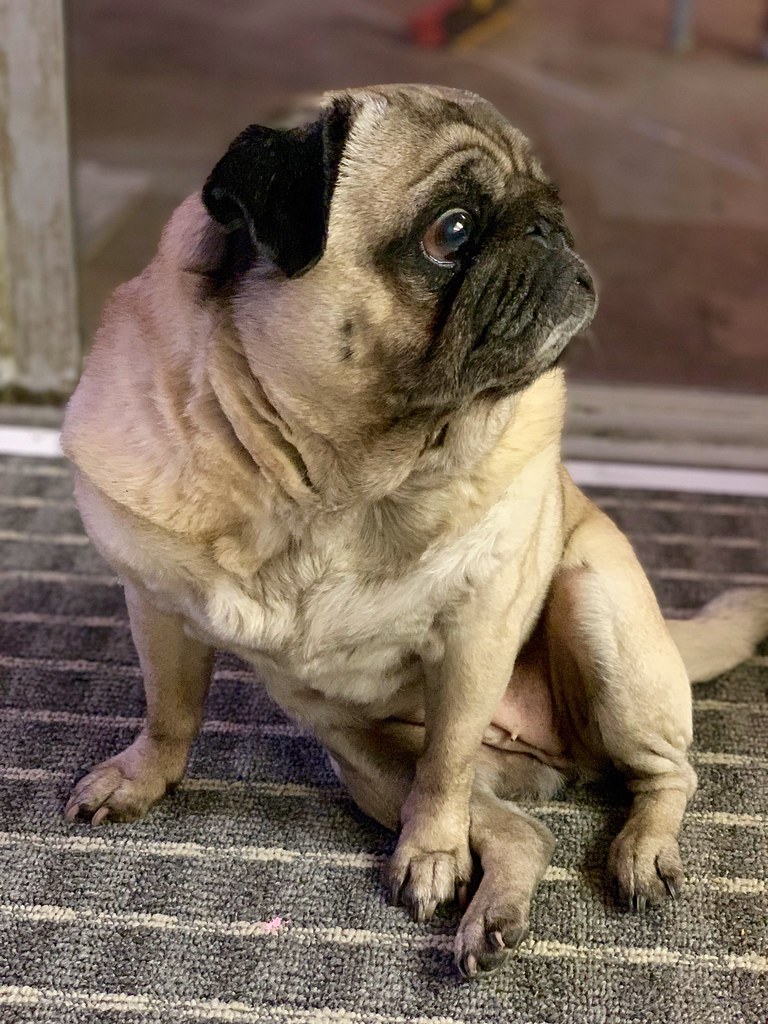
Don’t get me wrong…. Bella didn’t dislike him. I think she was just worried that it was another puppy that she would have to share all the treats with. Plus, she doesn’t like to have to fight for her humans’ attentions because as far as she’s concerned — she’s the queen.

February 2019 Fam Din
I did notice that she was spending EXTRA time with each of her humans to ensure that they still remembered who was in charge.

February 2019 Fam Din
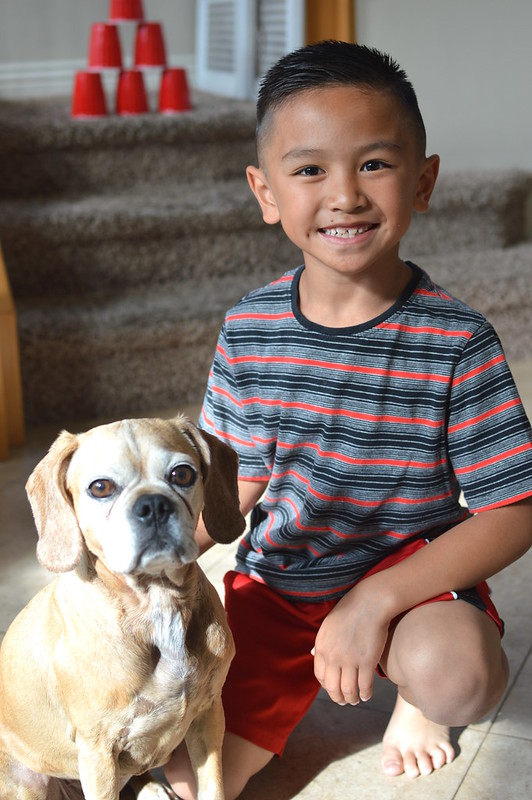
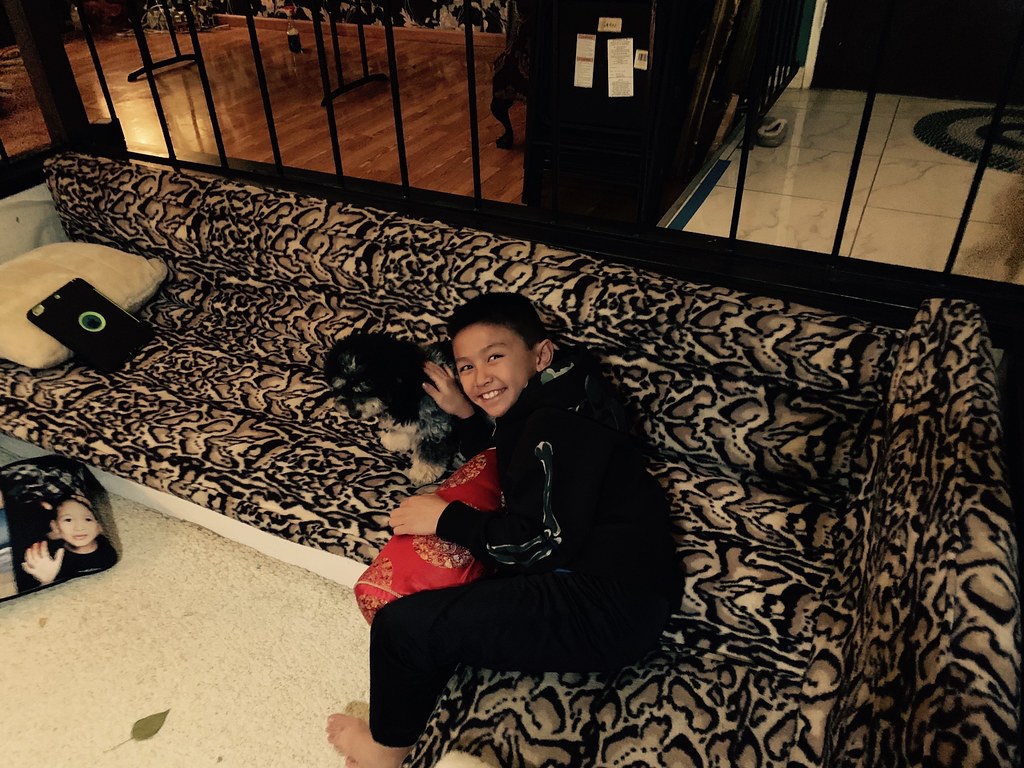
As for Leia – she took to Ollie just fine.

She was just PUMPED that it was her birthday dinner because she knew her birthday “dessert” was going to be delish!

Don’t you just love how she sits? What a little lady…..

February 2019 Fam Din
Ollie is one of the rare beings outside of our immediate family that has attended one of our Fam Dins.

It’s like hitting the lottery!

February 2019 Fam Din
Time for food!

As for the menu that night, we all took inspiration from Maya’s favorite things.

Like her mama and papa, she’s a steak gal.

February 2019 Fam Din
So earlier that morning, I took 6 New York Strip Steaks and cubed them up. Yes….SIX! There were a lot of us!

I marinated the cubed beef in shallots, garlic, EVOO, parsley, cilantro, chili flakes, S & P and ….. um…..

I’m not going to lie…..I threw in some other stuff that I can’t remember.

February 2019 Fam Din

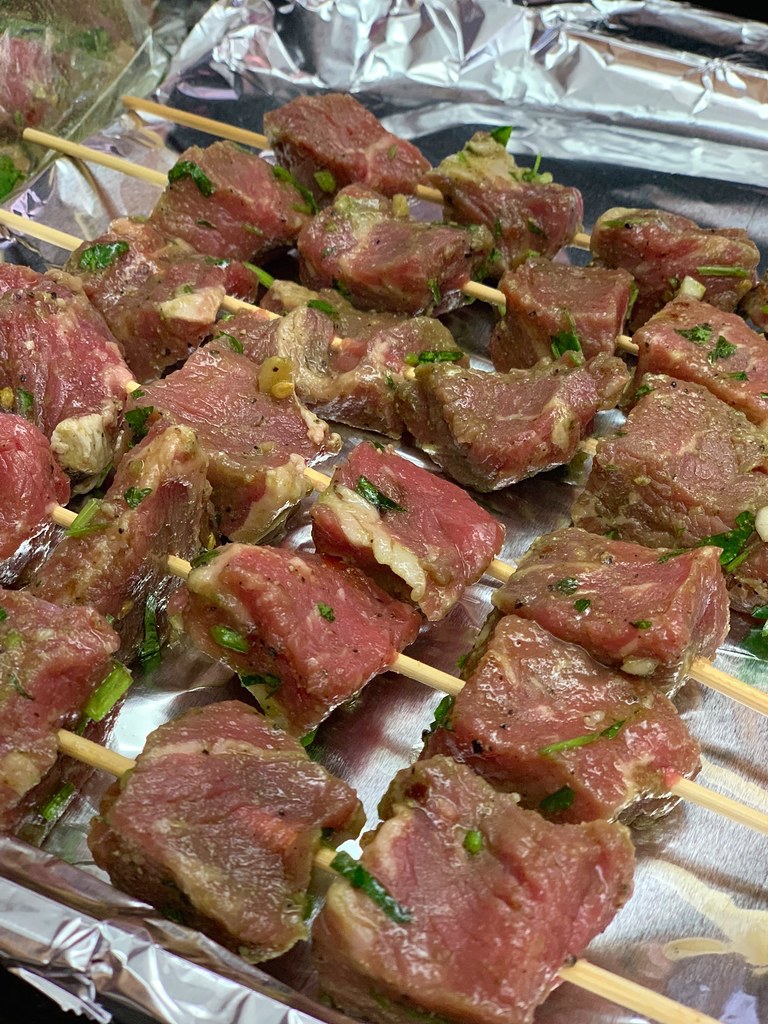
Oh wait! I think there was some lime zest and juice?

I know, I’m a terrible food blogger.

Anywhoooo……

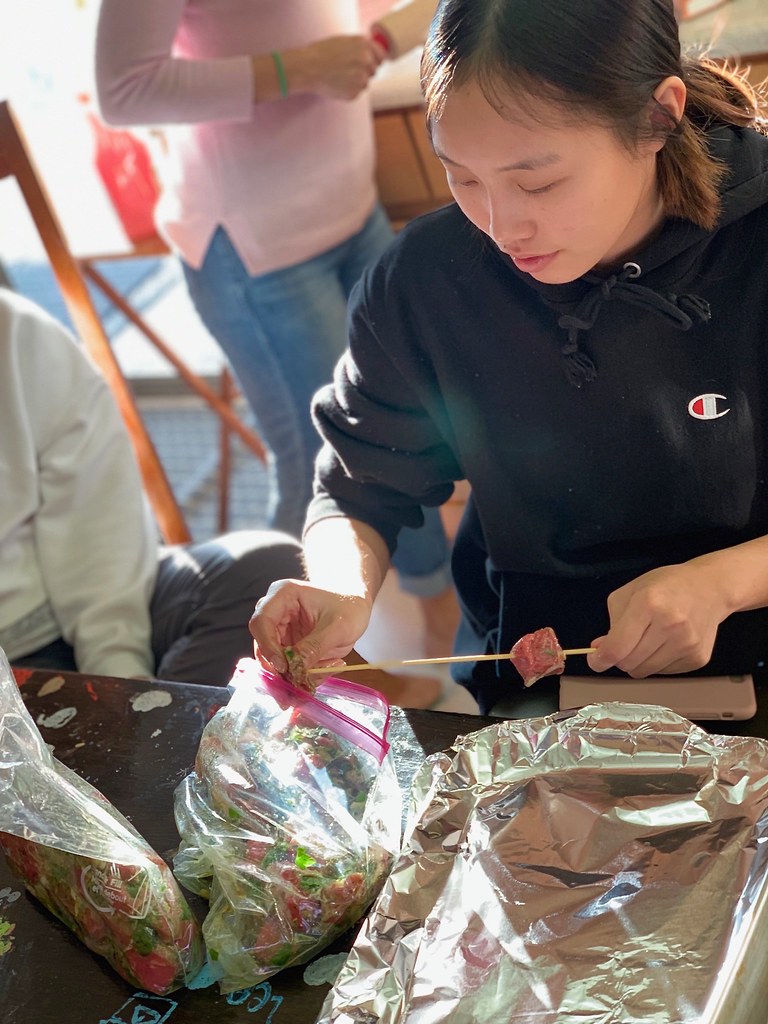
After the beef did its thing in the fridge for about 8 hours, Nina skewered them for me.

February 2019 Fam Din
Tag R – you’re in!

Nina and I then handed the skewers over so that R could grill ’em up.

February 2019 Fam Din
While R finished up, I gathered the fixings I had prepped earlier to go with the skewers.

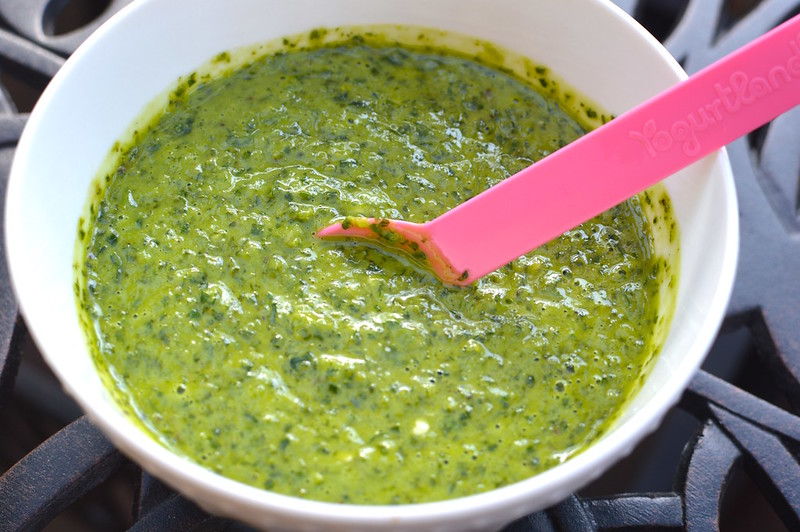
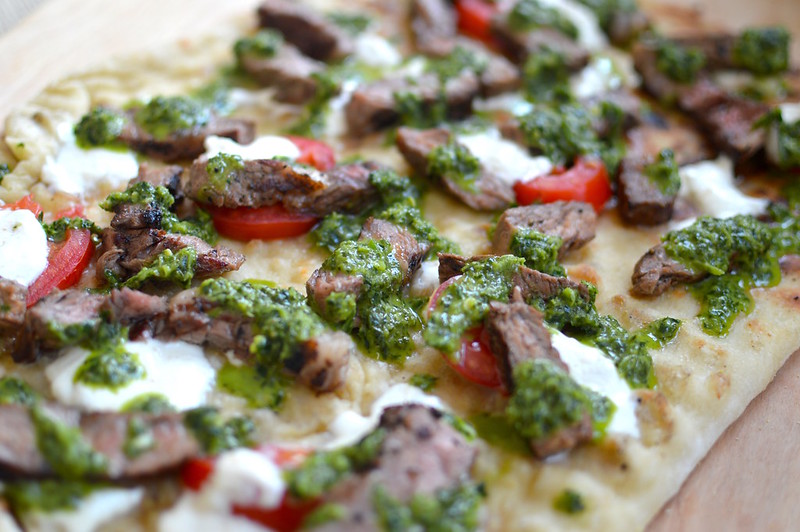
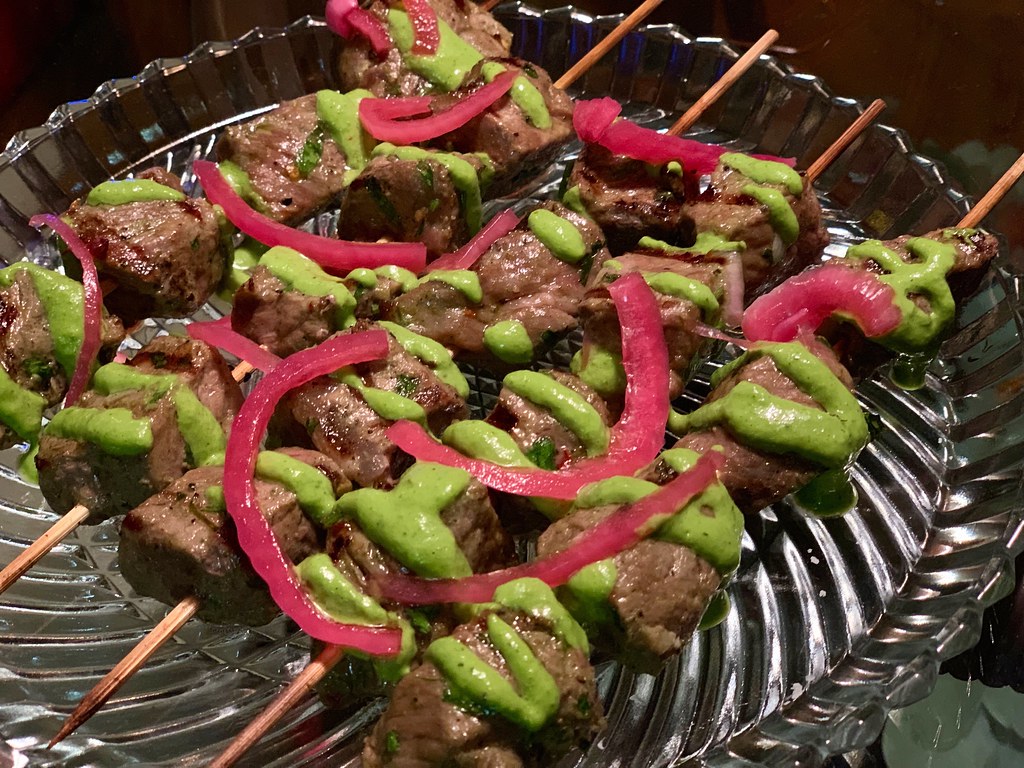
For the sauce, I turned to one of my most favorites – chimichurri! I adjusted my standard recipe (which is so tasty!) and added more EVOO while I blended it so that it turned into almost an aioli consistency. It was wonderfully creamy and luscious drizzled over the beef.

For an extra bright bite, I topped them with my pickled red onions.

February 2019 Fam Din
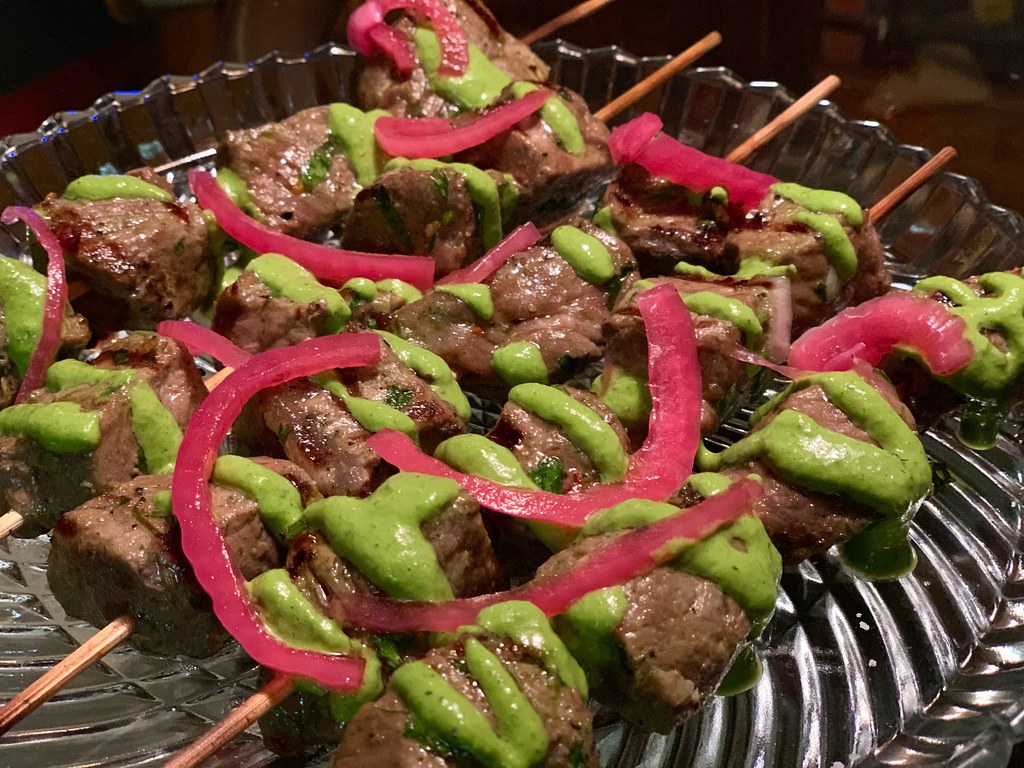
Grilled Steak Skewers with Creamy Chimichurri and Pickled Red Onions – how many do you think you could throw down?

February 2019 Fam Din
Thanks for the awesome grill job R!
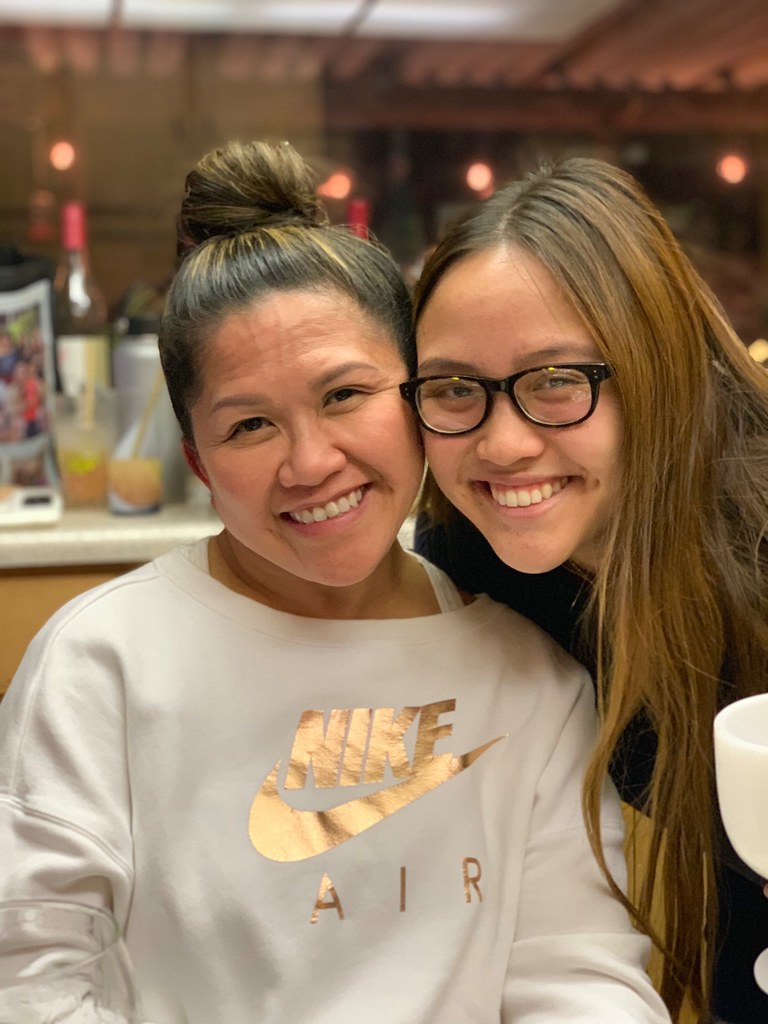
February 2019 Fam Din
Oh these two….

It makes my heart explode to see how close they are.

And it also makes me cringe to imagine what type of shenanigans they’ll get into together when they’re as old as T and I!

Eeek!

February 2019 Fam Din
Quick pause for a kitchen pic before L and V got started on the other app.

February 2019 Fam Din
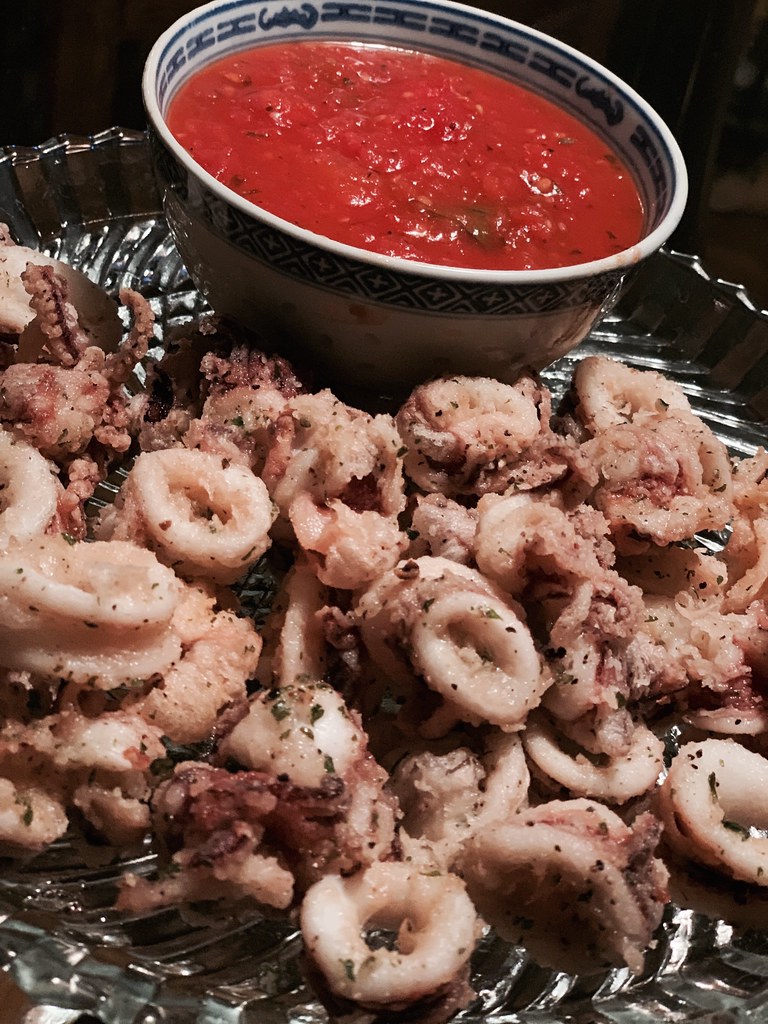
Ms. Maya is a big fan of fried calamari so brother V took squid pieces, lightly tossed them into seasoned flour and then fried them up until they were nice and crispy.

February 2019 Fam Din
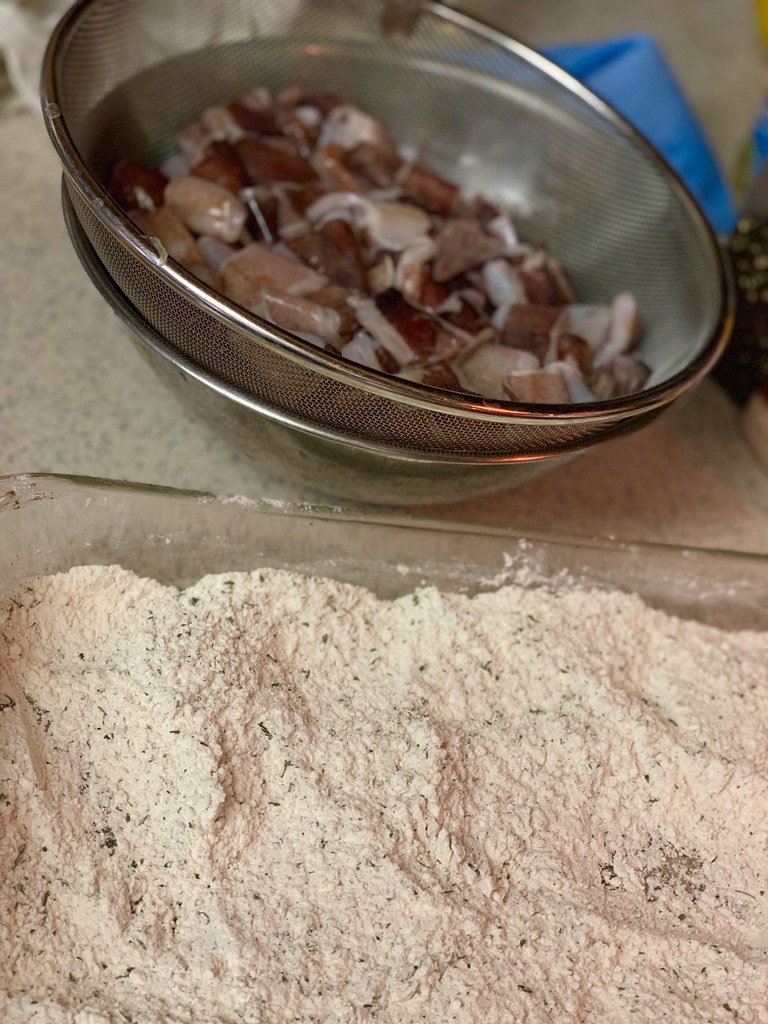
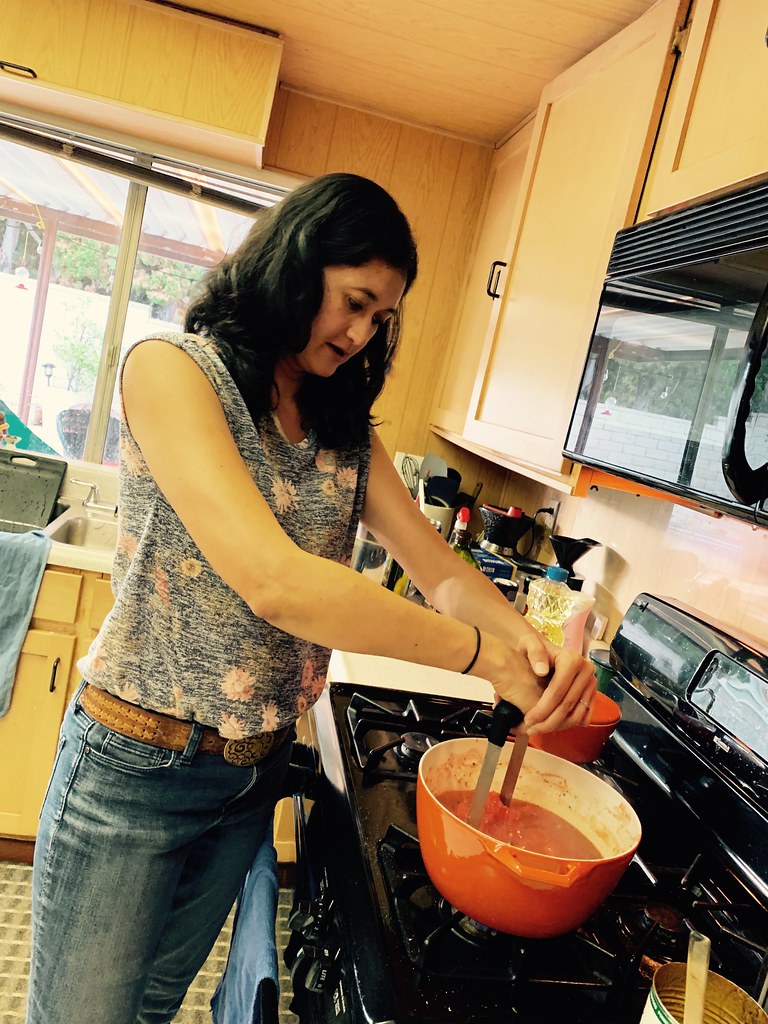
L made a classic marinara sauce for us to dunk the calamari in.

February 2019 Fam Din
Crispy Calamari with Fresh Marinara – irresistible!

February 2019 Fam Din
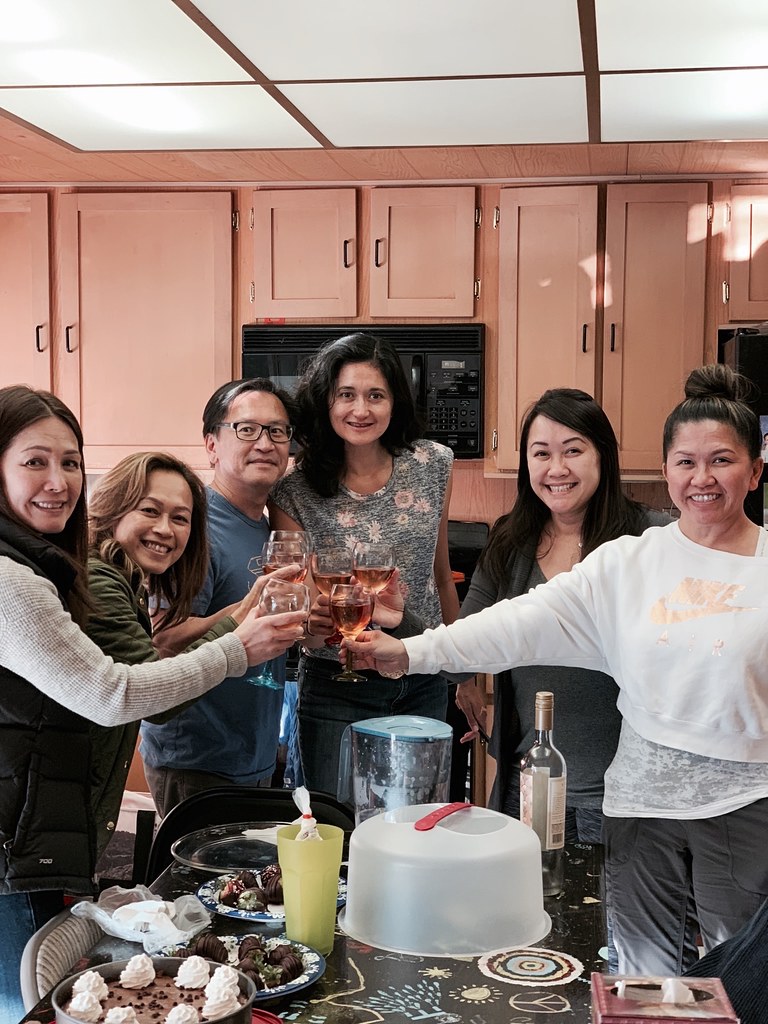
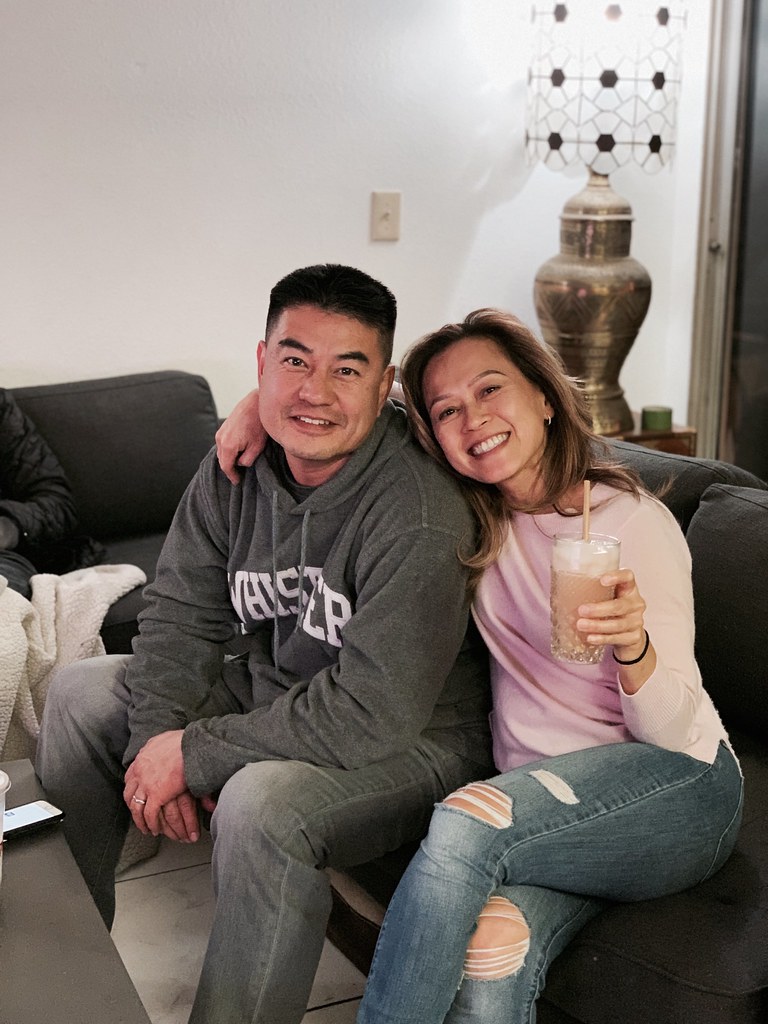
Look! I inadvertently made cocktails that matched P’s shirt.

February 2019 Fam Din

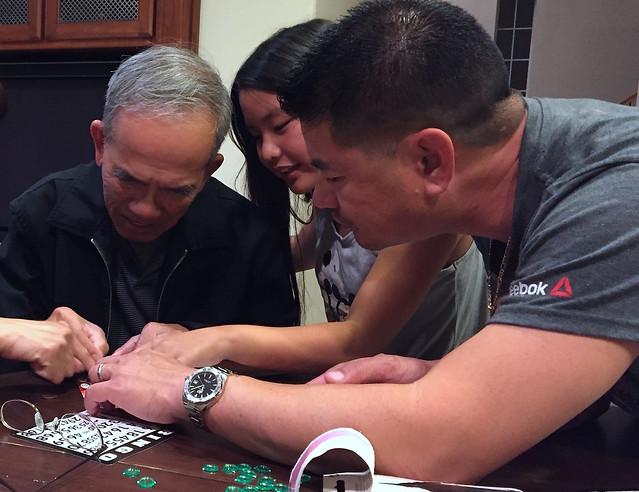
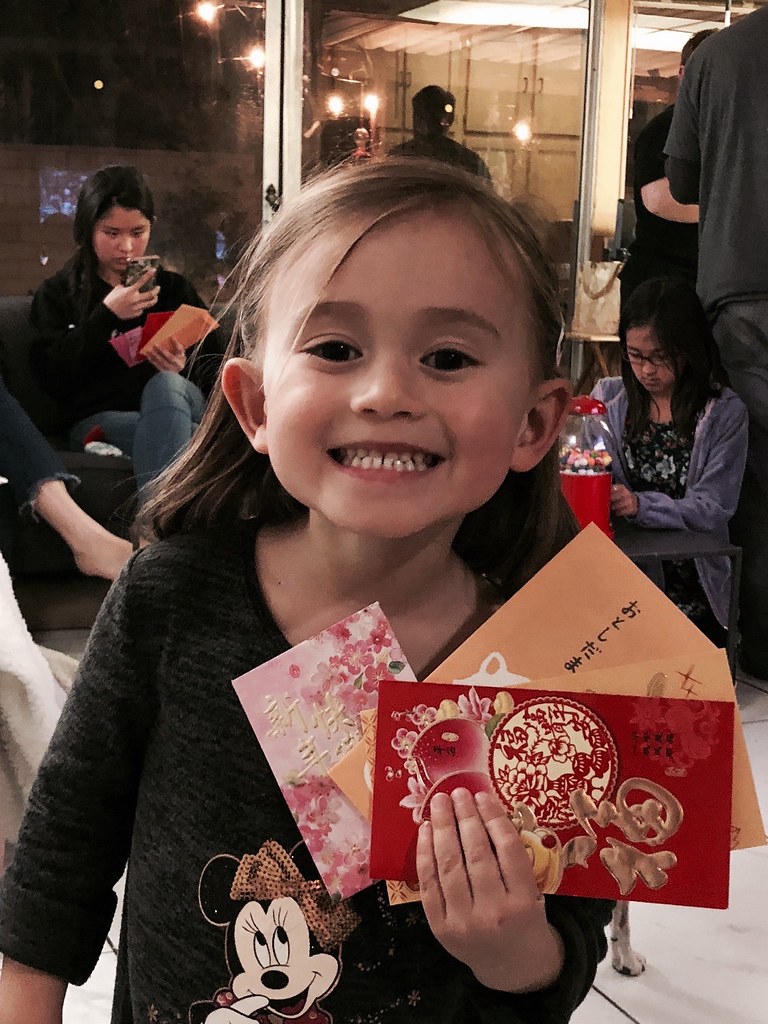
By then, it was getting close to someone’s bedtime. No, not me… Kaelani!

So P asked if we could move up lì xì time to ensure the youngest munchkin would still be awake.

Tết is all about welcoming the Lunar New Year with family and includes giving out lì xì for luck to the munchkins. Starting from oldest to youngest, they say Chúc Mừng Năm Mới (Happy New Year) and we give them our blessings and best wishes along with lì xì (little envelopes filled with some lucky moola).

February 2019 Fam Din
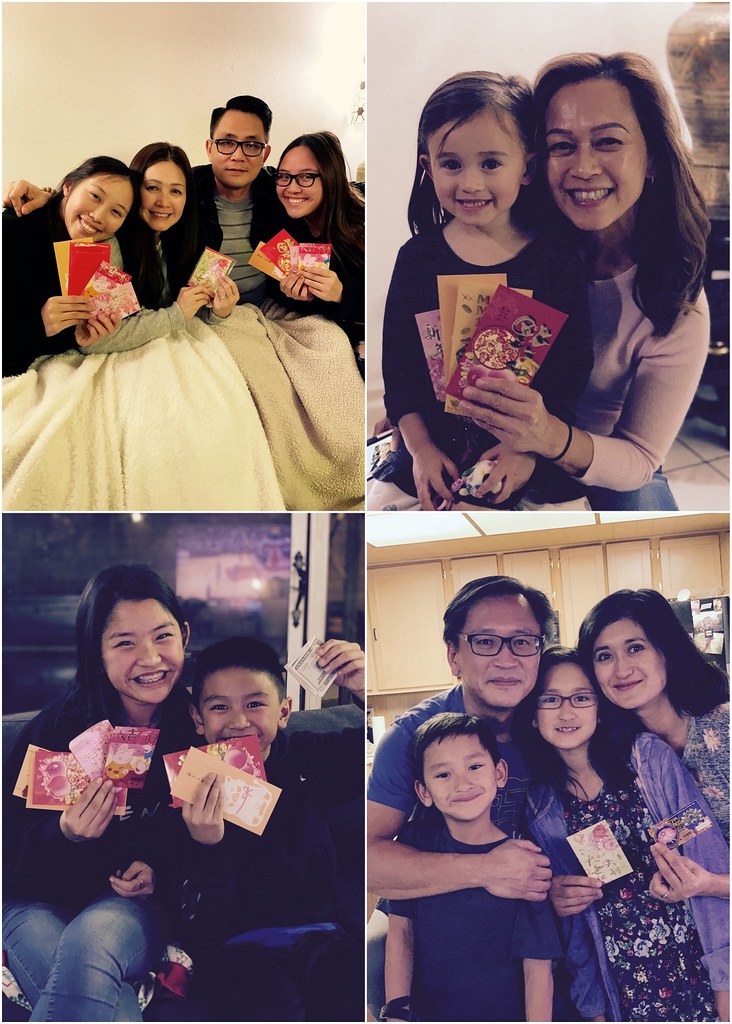
Someone was WIDE AWAKE now!

Lì xì does have that magical affect!

February 2019 Fam Din

With the well wishes and lucky money doled out, we put the finishing touches on dinner.

P was getting chilly and didn’t want to get her clothes splattered while she cooked, so she borrowed L’s onesie.

Extra funny since they were Christmas jammies and looked ginormous on her.

February 2019 Fam Din
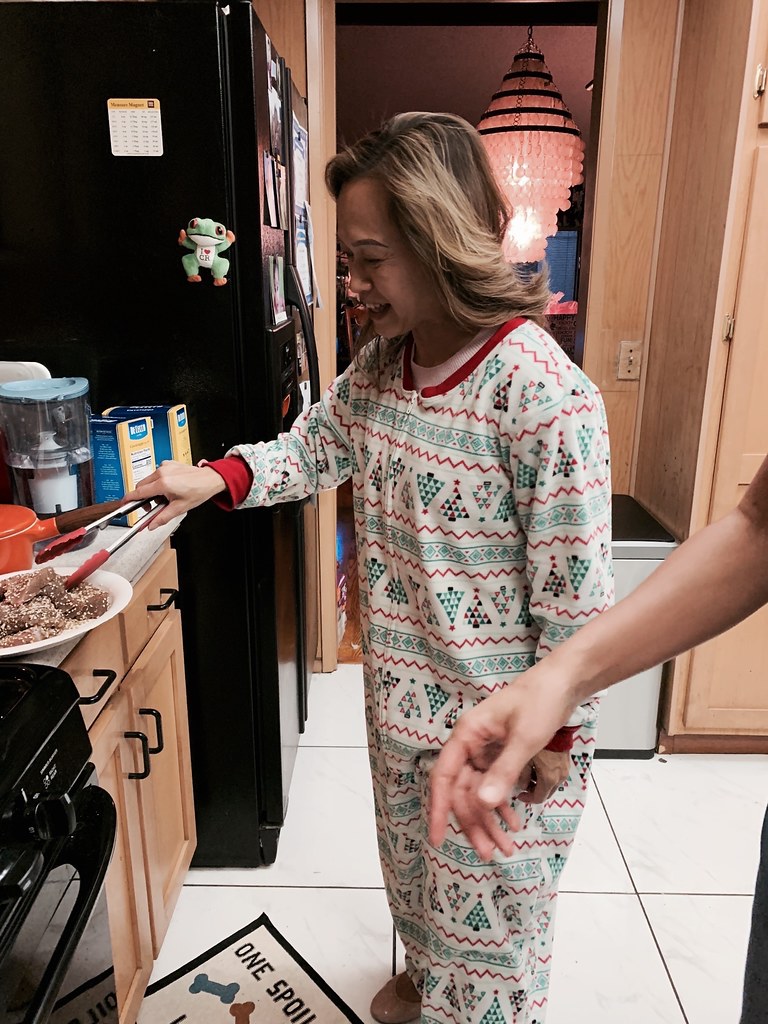
P crusted up tuna steaks with sesame seeds and crushed coriander before searing.

February 2019 Fam Din
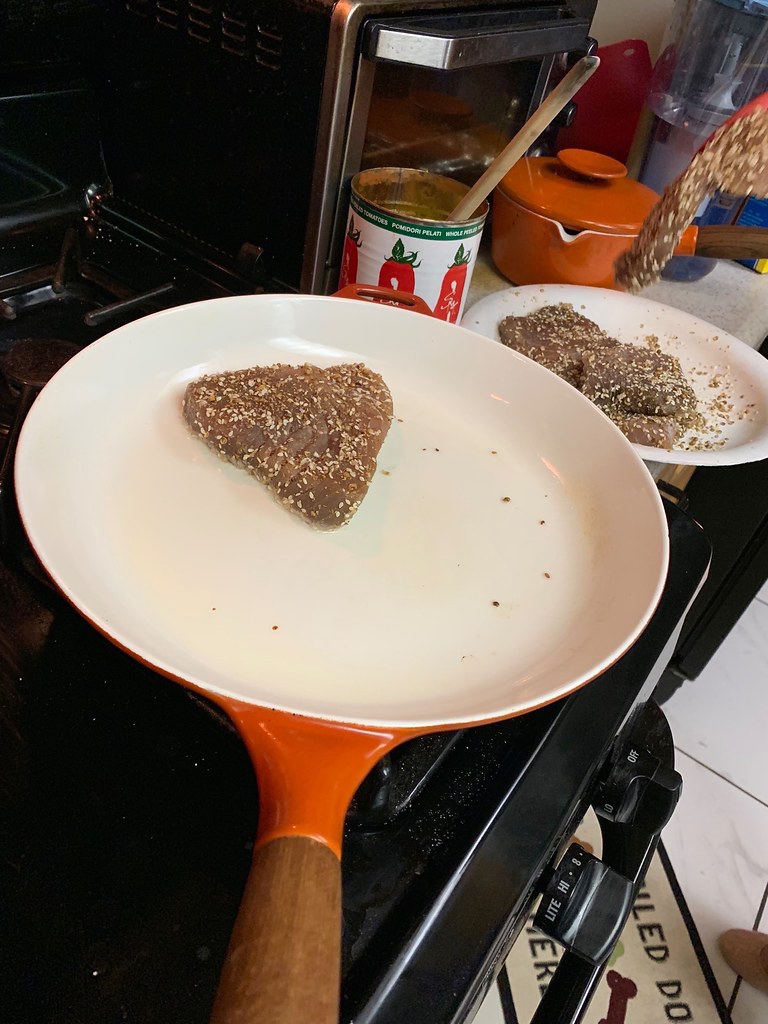
She then topped the Seared Tuna over Mixed Greens and added fresh oranges, crispy wonton chips, sliced almonds and a light sesame vinaigrette.

February 2019 Fam Din

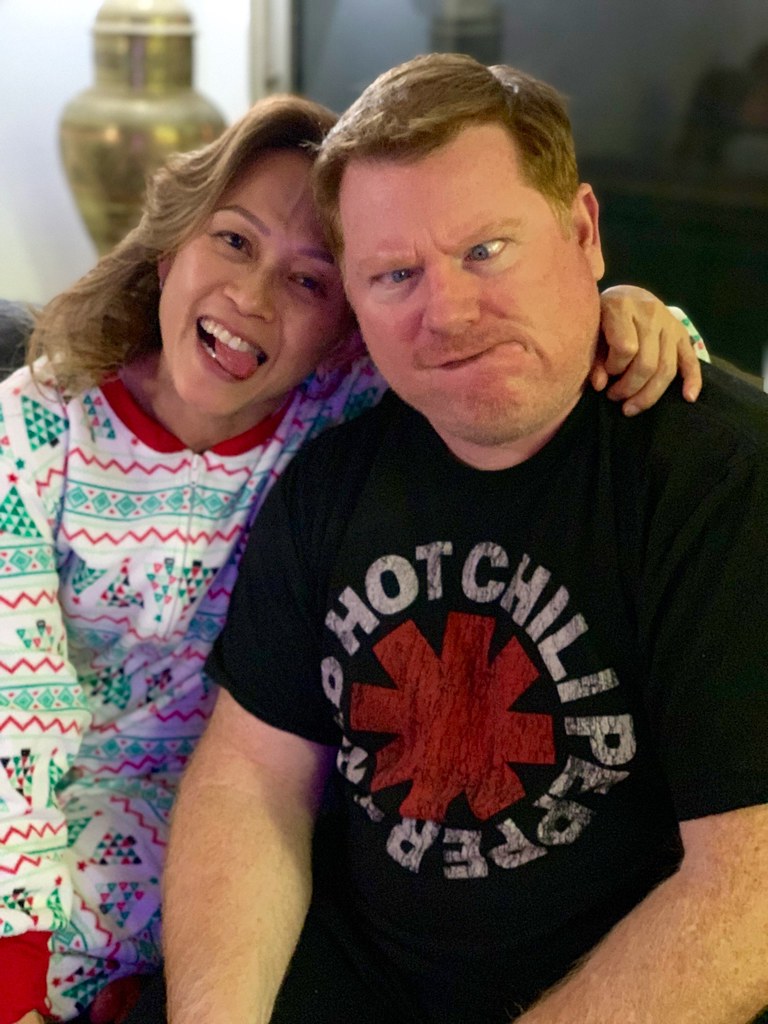
I blame the below on the Christmas onesie.

Or the extra strong refill cocktail we made her.

Probably both.

February 2019 Fam Din
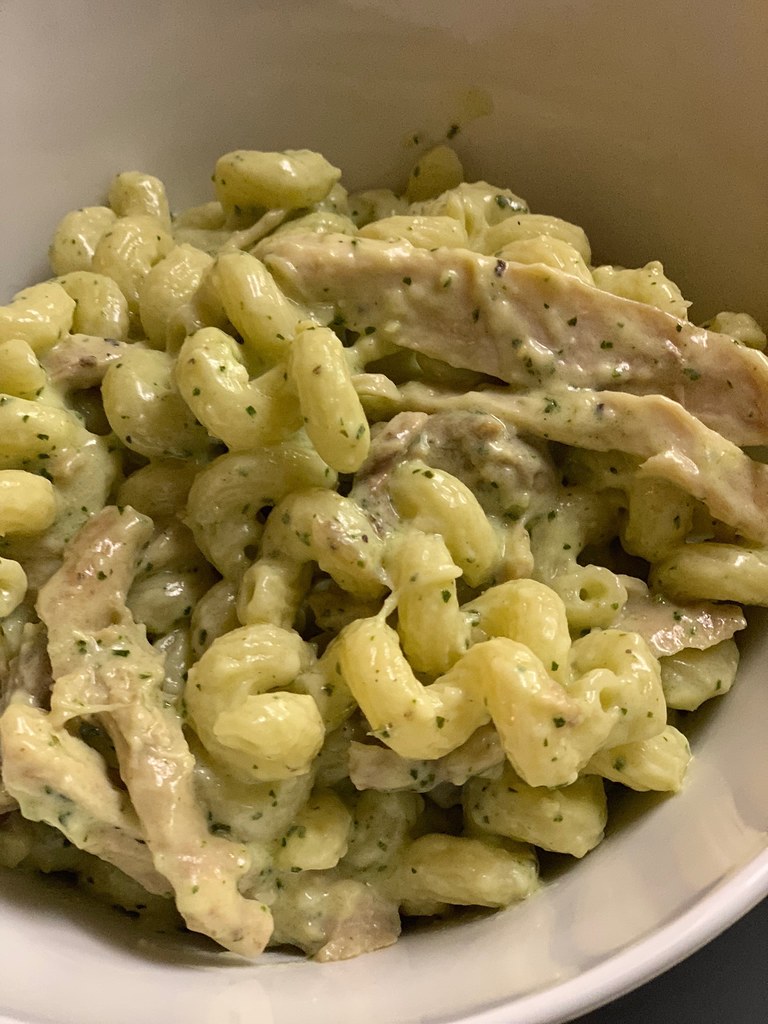
Seestrah T took charge of the entree — an homage to one of Maya’s favorite dishes from Corner Baker.

February 2019 Fam Din

Creamy Pesto Cavatappi with Grilled Chicken … super rich and comforting.

T did a spot on job with this copycat recipe — trust me, I had my fair share of it.

February 2019 Fam Din

How the heck is Lucas doing that with his tongue?!

February 2019 Fam Din

Dinner time! Everyone to the table please!

Bella….always the first one waiting.

February 2019 Fam Din

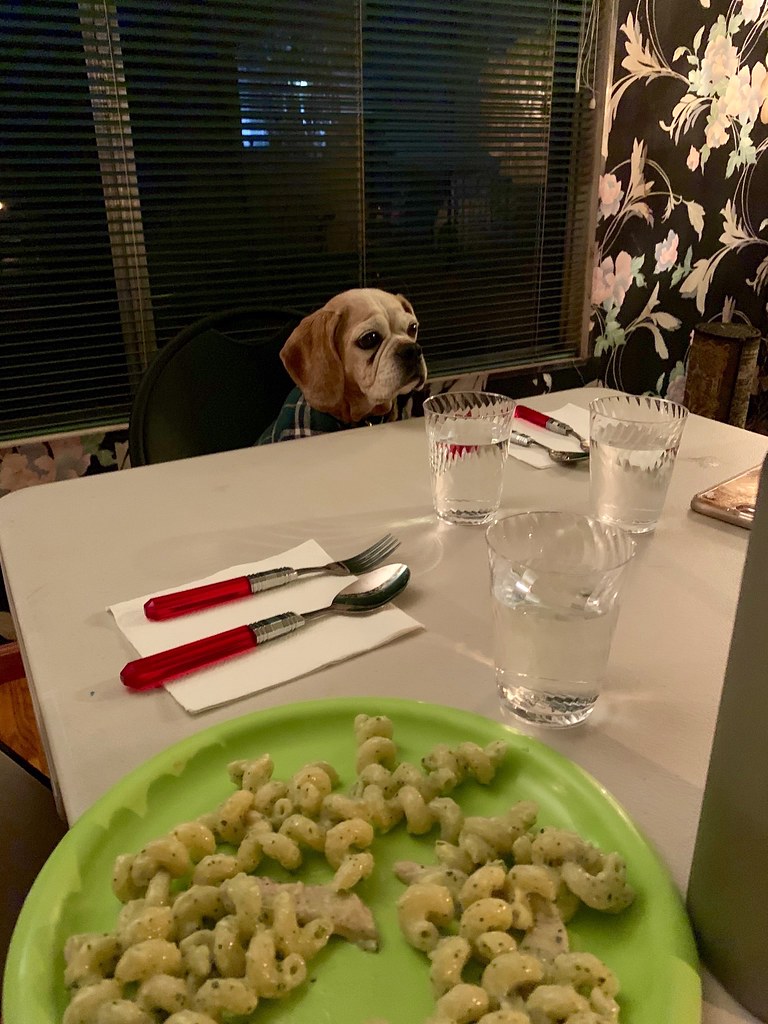
Some one was SUPER tired by this time and barely made it through dinner.

February 2019 Fam Din

But in her defense, after all that pasta, we ALL were feeling a bit sleepy.

February 2019 Fam Din
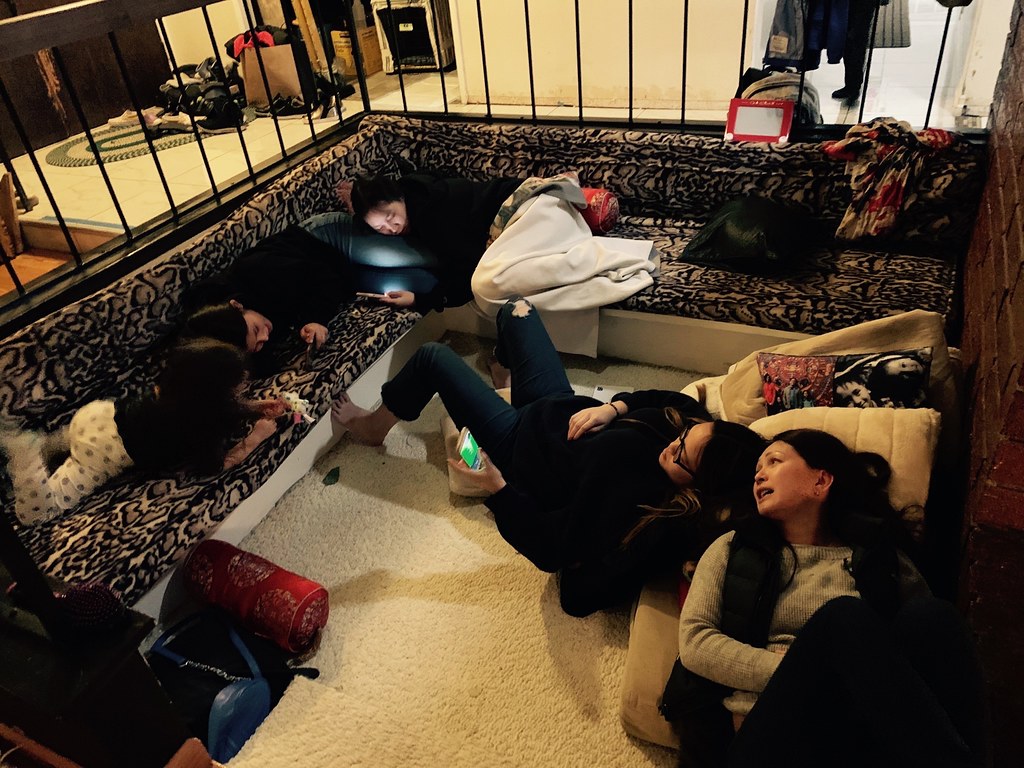
For fear of us passing out, we quickly got dessert ready for our two birthday girls.

February 2019 Fam Din
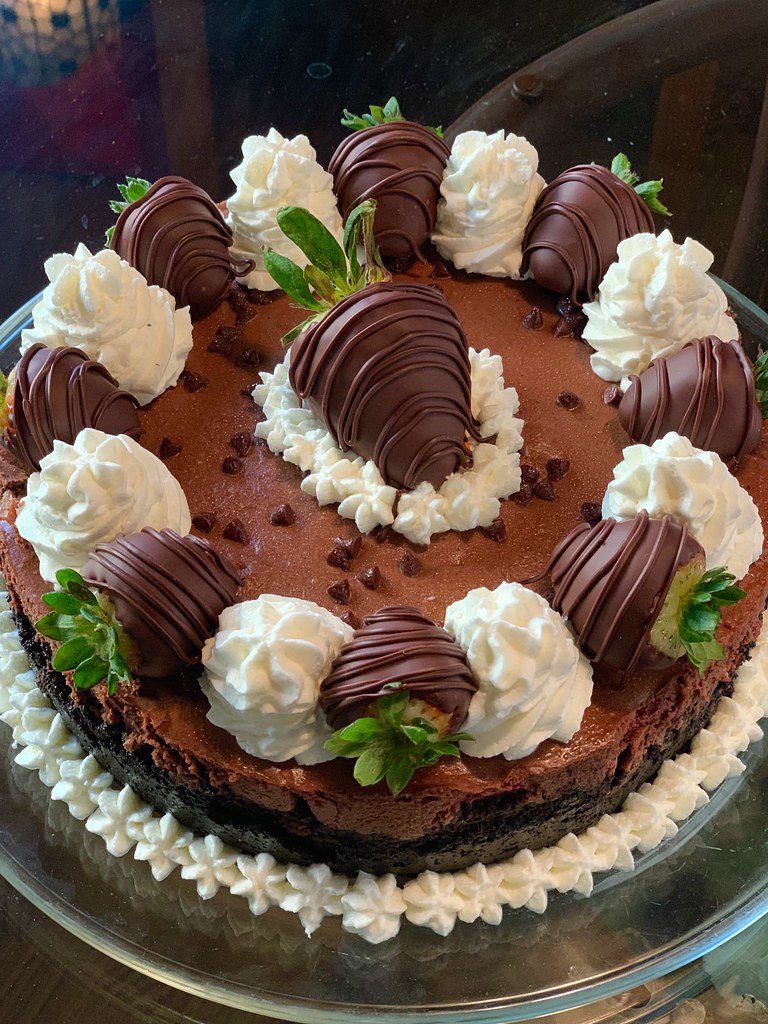
Maya loves strawberries and chocolate and sprinkles.

Big Seester N took the lead with her dessert and made a chocolate cheesecake that had strawberry slices inside. The crust, of course, was made of Oreos….because why not add more chocolate?

February 2019 Fam Din
Nini made chocolate covered strawberries to top the cheesecake with. Aren’t they perfect? As a college student, she could totally build a side hustle selling them–don’t you think?

Everyday we hustlin’…..

February 2019 Fam Din
Strawberry-Chocolate Decadence Cheesecake …. seester nailed it with this one.

February 2019 Fam Din
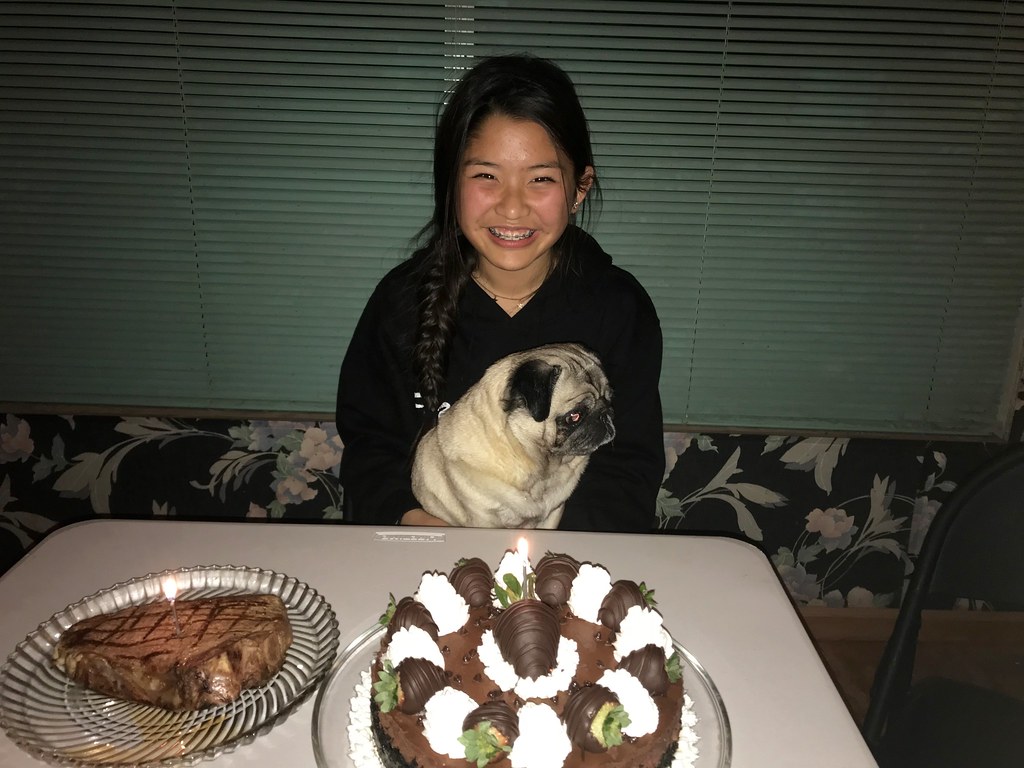
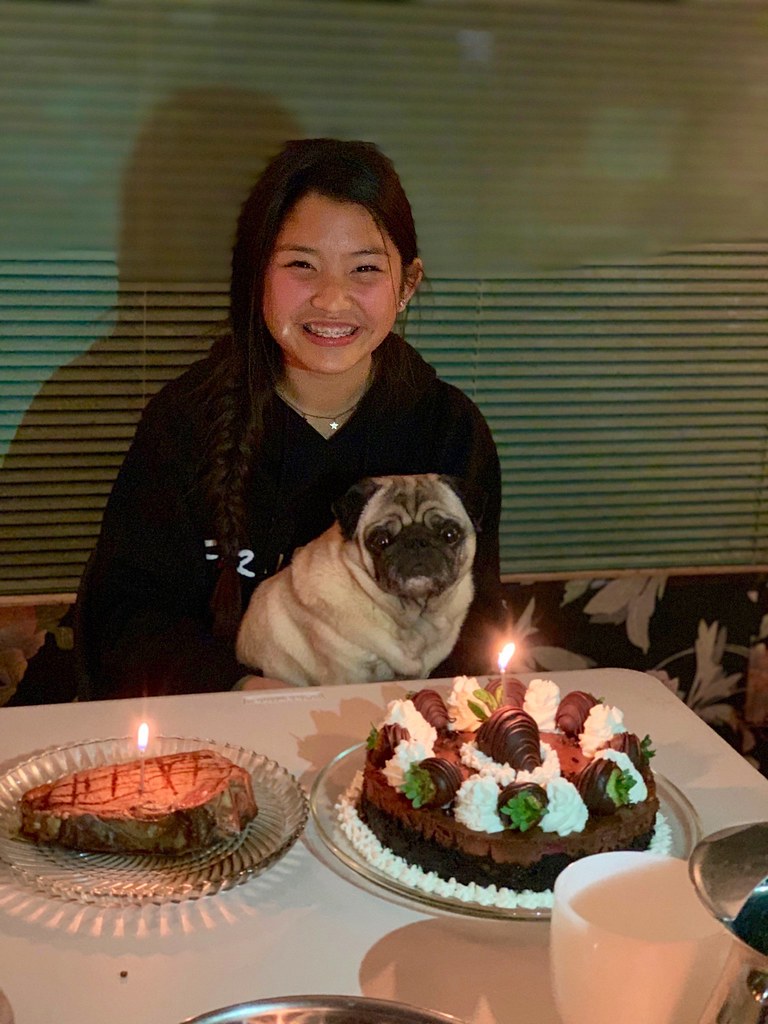
And don’t forget our 2nd birthday babe – Princess Leia!

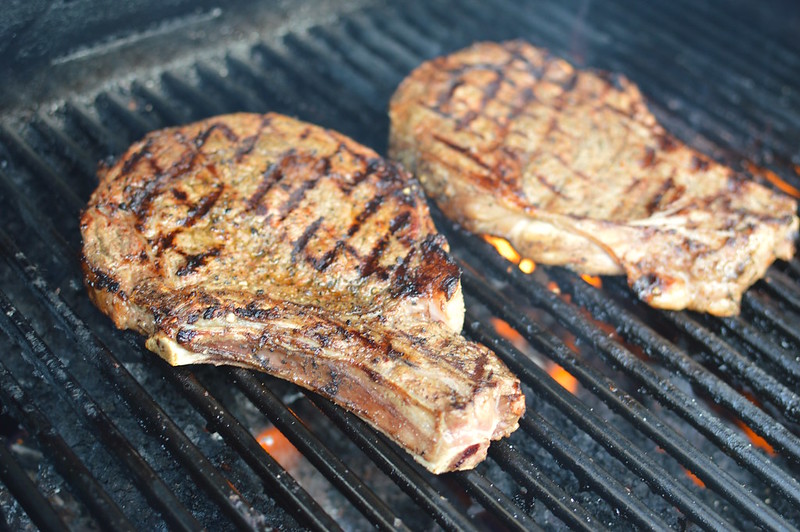
When R was grilling the beef skewers earlier, I asked him to also throw on a 7th New York Strip Steak I had bought. Yes…I procured 6 steaks to cube up for our appetizer and left the 7th one whole for Leia’s birthday “cake-steak”.

Hey, a girl only turns 11 once! And that face…how could I not?

February 2019 Fam Din

HAPPY BIRTHDAY MAYA AND LEIA! You both are such sweet souls.

WE LOVE YOU! ❤

_______________________________________________________________________

This Month’s Family Dinner Menu

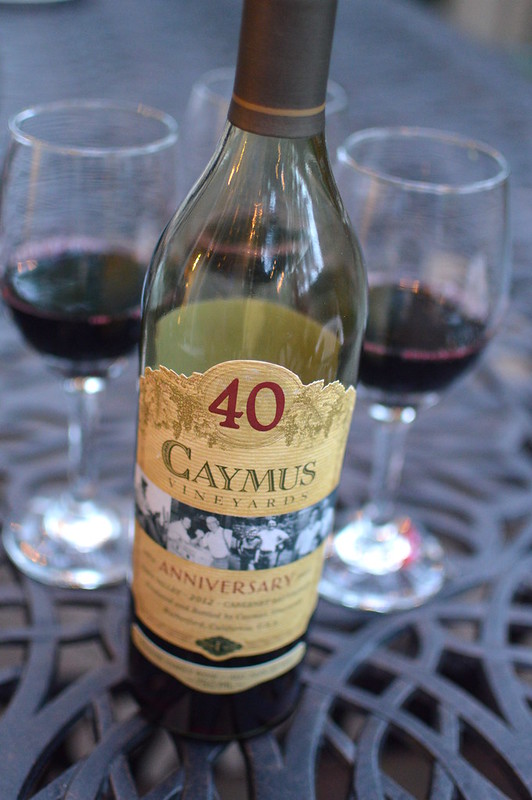
Cocktails: Palomas, Various Wines
Appetizers: Grilled Steak Skewers with Creamy Chimichurri and Pickled Onions, Crispy Calamari with Fresh Marinara
Entree: Creamy Pesto Cavatappi with Grilled Chicken
Sides: Seared Tuna over Mixed Greens
Dessert: Strawberry-Chocolate Decadence Cheesecake


ps. YAHOO! I DID IT! All caught up with our Fam Din recaps! 😉

Sunday Family Dinner

Sunday Family Dinner Celebrates the May Babies!

May 2016 Fam Din
Last weekend, Sunday Family Dinner celebrated the May babies in our immediate family — Dad and I!

It was a casual menu for the evening with an iteration of surf and turf — my fav! We didn’t choose any dishes that required long periods of cooking and we managed to do a lot of the mise work earlier on in the day.

May 2016 Fam Din
So when it came time for the actual “cooking”, it was pretty easy peasey. Which freed up my time to make/sip pre-dinner cocktails and snap a few photos.

And can we talk about how GINORMOUS these strawberries were???

May 2016 Fam Din
I also wrangled Lucas into staying still for a moment to snap a pic with his fur-cousin. He looks so handsome with his fresh hair cut….what a cutie-patootie. And I intend to call him that until he’s at least 50 years old.

Me? Oh…I’ll still be 21 at that time.

Extra bonus points for those of you who caught the red SOLO cups target pyramid in the background.

It was a target…..

May 2016 Fam Din
…..for their NERF gun competition.

And let’s talk about this pic below. I told them to give me a fierce, rugged look.

Lucas nailed it….Nina, um….not as much.

May 2016 Fam Din
Bella hadn’t seen her Gramps in quite some time so she wanted to make sure that he wouldn’t forget what she looked like.

Grampa–do you see me?!?  PET ME!!!  Give me treats!!! And by treats, I mean–STEAK!!! HELLOOO–I’m right down here!!! Look at me, look at me!!!

She’s not needy at all….

May 2016 Fam Din
Remember when I mentioned cocktails?

Yea…we had a few of them.  And how could we help ourselves? They were so pretty in pink!

I called them Minty Blood Orange Sparklers. It started off with me making a batch of fresh mint simple syrup. After it cooled, I added a splash or two over crushed ice and threw in some vodka, fresh lime juice, Blood Orange flavored Italian Soda and some mint leaves.

Fruity, minty, citrusy, summery……

And the kiddos got MOCKtails—all of the ingredients mentioned above minus the vodka.

May 2016 Fam Din

Speaking of kiddos, we put Maya to work this month. She helped her mom prep our appetizers for the evening — Grilled Flatbread with Ribeye Steak, Tomatoes, Burrata and Italian Salsa Verde.

Here she is whipping up the salsa verde in the mini food processor.

May 2016 Fam Din
Her salsa verde had fresh cilantro, parsley, jalapeno, garlic lime juice, oil and S&P. Usually we add some capers and anchovies to the party too but we opted to nix them this time around –so it was kind of akin to a chimichurri sauce.

But who cares—it was fantastic!

And yes, there’s another one of those Yogurtland spoons…..we love prepping with them!

May 2016 Fam Din
Beef time!

We tasked our B.I.L., Curtis, with grilling up the steaks for the flatbread.

Hello Beautifuls…..

May 2016 Fam Din
And VOILA! The finished product!

Seester T lightly oiled the grates and threw some pizza dough that Maya and Nini had rolled out over them. After it had cooked through, she topped it all with the sliced steaks, ripe Roma tomatoes, burrata and salsa verde. It was lovely! Tons of flavor and would be a great summer meal on its own with a chilled glass of vino.

You could also sub out skirt steak for the ribeye and fresh mozz instead of burrata. But for me, I’m obsessed with burrata and love how creamy and luscious it is.

May 2016 Fam Din
Earlier when I mentioned that dinner was easy peasy, I failed to say it was because we tasked the two older kiddos with the actual cooking of our main entrees – Paella! Paella seemed like an ideal way to get the “surf” component into our meal with lots of shrimp, clams and scallops all in one pot. Plus the chicken and chorizo added the “turf”.

YUM!

Nina and Nini our pros at making Paella and since we had to make a bunch to feed the crowd, we decided that each gal would make their own pot as a competition! They each got a Le Creuset dutch oven to use and all the same ingredients.

And then they were off!

May 2016 Fam Din
This is Nina’s finished product….look at all of those colors!

May 2016 Fam Din - Nina
And here is Nini’s….I could dive right on in!

May 2016 Fam Din-Nini
They both were picture perfect right? And I was hard pressed to tell which niece made which pot.

Wondering who won in the end?

Maya did…….with this picture.

May 2016 Fam Din

Okay, okay…. it was a tie.

Both were delicious and had lovely crispy socarrat. It would have been impossible to choose one from the other. My nieces are so talented and it’s rather comforting to know that they can cook for us as we get along in years.

Oh!

And during dinner, we enjoyed a lovely Caymus Vineyards 40th Anniversary Cabernet Sauvignon –  THANKS Curtis!

May 2016 Fam Din

Then it was time for BIRTHDAY CAKE!!

Normally I’m a chocolate gal but sometimes a light and fruity cake is just divine! So this month I asked Seestrah N to fix up a white cake with fresh berries and fluffy frosting. She came up with this behemoth of a layered cake with ginormous strawberries and frosting made of whipped mascarpone cheese and heavy cream.

Isn’t it lovely????

May 2016 Fam Din
By the time we finished with presents, desserts and dishes….Dad was ready to head home. But we convinced them to stay for just a big longer…..

to PLAY BINGO!!!!!!!

Yup BINGO!  Seester had gotten a BINGO set as a white elephant present and it was high time we cracked it open.

May 2016 Fam Din
And the winners got lottery scratchers!

Here’s the birthday boy scratching away after winning a round of BINGO. Initially he said they’d only stay for one game…..but that one game turned into five 🙂

May 2016 Fam Din
And wouldn’t you know it, neither of the birthday babies won the final blackout round — that went to my B.I.L. Rick!

Talk about happy camper! BINGO winner gets a BINGO scratcher!

May 2016 Fam Din

All in all, it was a great Fam Din –which incidentally was the 4 year anniversary of our Sunday Family Dinners Isn’t it rather wonderful that our siblings’ tradition has carried on?

Can’t wait for next month – and neither can the pups ❤

May 2016 Fam Din

This Month’s Family Dinner Menu

Cocktails:  Minty Blood Orange Sparklers and Vino
Appetizers: Grilled Flatbread with Ribeye Steak, Tomatoes, Burrata and Salsa Verde
Entrees: Paella
Dessert: Mile-High Fresh Strawberry and Cream Layered Cake

Desserts/Pastries

We just turned F-O-U-R + Strawberry Shortcake Cupcakes!

Strawberry Shortcake Cupcakes

It’s our B-I-R-T-H-D-A-Y!!!!!

That’s right Friends, The Culinary Chronicles turns four this week and we’re all grown up now!

Um, ok…kind of.

Not really, but you get my drift.

Strawberry Shortcake Cupcakes

This past year has been filled with tons of incredible milestones for the site from new partnerships with fantastic brands, recognition from respected media and of course, the release of my cookbook this past summer.

Phew!

What a ride!!!

Strawberry Shortcake Cupcakes

A huge— GINORMOUS THANKS to you all for the continued support and readership. I know I can be quite random and silly at times. So….

Mahalo!

Grazie!

Merci!

Cảm ơn!

Hannad! …………That’s elvish btw. #LOTRnerd

Strawberry Shortcake Cupcakes

If I could, I’d send each of y’all a big slice of birthday cake to celebrate our blogiversary. But until I can figure out the logistics behind all of that, I’d like to virtually share with you these Strawberry Shortcake Cupcakes.

A vanilla chiffon cake filled with a slightly tart, fresh strawberry compote and topped with mounds and mounds of strawberry swiss meringue buttercream.

They’re light, flirty, and just Pretty in Pink.

Strawberry Shortcake Cupcakes

And with that folks, I can’t wait to see what crazy and delicious Foodventures this upcoming year has in store for us. Here’s to many, MANY more to come!

Cheers!

_______________________________

Strawberry Shortcake Cupcakes
Makes 24 cupcakes

Ingredients:

Filling:
2 cups fresh strawberries, roughly chopped
¼ cup sugar
1 tablespoon cornstarch
1 tablespoon lemon juice
¼ cup water
2 pinches of salt

Batter:
2¼ cups cake flour
1 tablespoon baking powder
½ teaspoon salt
1¼ cups buttermilk
4 large egg whites, at room temperature
1½ cups sugar
½ cup unsalted butter, at room temperature
1 vanilla bean, split and scraped
1 teaspoon vanilla extract

Strawberry Swiss Meringue Buttercream (from Martha Stewart):
4 large egg whites, room temperature
1¼  cups sugar
1½ cups unsalted butter, softened, cut into small pieces
1½ cups fresh strawberries, pureed

Garnish:fresh strawberry slices
sprinkles, nonpareils, etc.

Preheat oven to 350˚ F.  Line cupcake pans with paper liners.

Prepare the filling. Place the strawberries and sugar in a small pot and cook over medium low heat until the juices begin to release. In a small bowl, whisk together the cornstarch, water and lemon juice. Add the mixture to the strawberries and stir in to combine. Continue cooking and stirring the strawberries until it’s thickened to the consistency of a jam. Remove from the heat and stir in the salt. Allow to cool completely.

In a bowl, sift together the cake flour, baking powder and salt. Whisk together the buttermilk and egg whites in another bowl. Put the sugar and butter in the bowl of a stand mixer. With the paddle attachment, beat at medium speed until ingredients are light and fluffy. Beat in the vanilla extract, vanilla bean seeds, then add one third of the flour mixture, still beating on medium speed. Mix in half of the milk-egg mixture, then beat in half of the remaining dry ingredients until incorporated. Add the rest of the milk and eggs, mixing until the batter is well mixed, then add the last of the dry ingredients. Continue beating the mixture for another few minutes to ensure that the batter is thoroughly mixed. Divide the batter evenly between the prepared liners, filling each about ¾ full. Bake for 18-22 minutes, or until the cupcakes are well risen and springy to the touch and a toothpick inserted in the center comes out clean.  Allow to cool in the pans for five minutes, and then transfer the cupcakes to a wire rack to cool completely.

While the cupcakes are cooling, prepare the buttercream.  Place whites and sugar in a heatproof mixer bowl set over a pot of simmering water. Whisk until sugar dissolves and mixture registers 160 degrees on a candy thermometer. Remove from heat, and attach bowl to a mixer. Whisk on medium speed for 5 minutes. Increase speed to medium-high, and whisk until stiff, glossy peaks form, about 6 minutes. Reduce speed to medium, and add butter, 1 piece at a time, whisking well after each addition. Switch to a paddle attachment. With mixer on low, add strawberry puree, and beat until smooth, 3 to 5 minutes.

Begin assembling the cupcakes. Using a pairing knife, piping tip, apple corer, or very small round cookie cutter (I used a small biscuit ring), cut out a small cavity in the cupcake. Take a pairing knife to help pop out the center. Fill each of the cupcakes with a heaping teaspoonful of the strawberry compote. Replace the small piece of cake to cover the filled centers.

Fit a piping bag with a decorative tip and fill with the buttercream. Top each of the cupcakes with large swirls of buttercream and adorn with berry slices, sprinkles or other decorative pieces.

Desserts/Pastries

Mixed Berry Hand Pies for π Day!

Mixed Berry Hand Pies

HOLY COW!!! I almost missed it—again! But thanks to my fab Twitter feed, I was reminded in the nick of time that today is…….. π (Pi) Day!!!!

Yup, the mathematical constant π (Pi) that is approximately 3.14159 is celebrated every year on March 14th. 3/14 = 3.14 Get it????? Oh so clever!

Mixed Berry Hand Pies

So, what does one do to celebrate π Day? Well– I guess if you’re a big math fanatic, you may spend your day racing through equations or preparing for the next Math Olympics. OR you can spend your day baking and eating delicious pies.

Seeing how I’m rather mathematically inept, I chose the latter and made these fun Mixed Berry Hand Pies. Crispy, flaky crust filled with tart fresh berries. Scrumptious!

And in case you’re feeling extra naughty today, you can choose to deep fry the hand pies instead of baking them. Why the π not?

Mixed Berry Hand Pies

And with that Friends, Happy π (Pi) Day!!!

ps. Obviously I was too busy shoving my face with these hand pies to wipe my fingers clean of powdered sugar before snapping this pic. Ooops!

_________________________________________

Mixed Berry Hand Pies
Makes 10-12 pies

Ingredients:

2 cups diced fresh strawberries
1 cup diced fresh blackberries
½ teaspoon lemon zest
seeds from ½ vanilla bean pod
1½ tablespoons sugar (more if berries are too tart)
1½ teaspoons cornstarch
flour for dusting
1 pound pie dough*
1 egg, beaten
1 tablespoon heavy cream or water
powdered sugar

Preheat oven to 400 degrees F. Line a baking sheet with parchment paper or silicon mat.

In a bowl, gently mix together the berries, lemon zest, vanilla beans, sugar and cornstarch. Depending on the sweetness of the berries, more sugar may be added. Set aside.

Dust a workspace with flour and roll the pie dough to about 1/8 inch thickness. Use a 5-6 inch round cookie cutter to cut circles out of the dough. Place about 2 spoonfuls of the berry mixture in the center of a pastry circle. Fold over the dough to cover the filling and gently press the edges together to seal. You may also use a fork to crimp the edges to secure the seal. Repeat with the remaining dough.

Transfer the hand pies to the baking sheet. In a small bowl, whisk together the egg and heavy cream/water. Brush the tops of the hand pies with the egg wash and make a small nick with a sharp knife on top to allow the steam to release while the pies bake.

Bake the hand pies for 20 minutes or until golden brown. Don’t worry if some of the berry filling bubbles out. Once done, allow the hand pies to cool on racks for about 10 minutes. Dust the hand pies with powdered sugar and serve.

Fried Option: If you opt to deep fry your hand pies, do not brush them with the egg wash or cut an air vent in the filled pies. Once formed, refrigerate them for at least 20 minutes. Fill a heavy bottom pot with 2 inches of vegetable oil and heat to 375 degrees F. In batches, fry the hand pies for 1-2 minutes on each side or until golden brown. Transfer the hand pies to cooling racks to drain excess oil. After 5 minutes, dust them with powdered sugar and serve.

*When it comes to pie dough, I’m a big fan of using Cook’s Illustrated’s Foolproof Pie Dough recipe or Martha Stewart’s Patee Brisee recipe. Both yield great results AND they’re both ideal to make double batches of to freeze when you need them.

Desserts/Pastries

Fresh Strawberry Cheesecake…because it’s Leap Day!

Fresh Strawberry Cheesecake

It’s Leap Day-–so let there be Cheesecake!

Fresh Strawberry Cheesecake to be exact.

Fresh Strawberry Cheesecake

You may be wondering what Fresh Strawberry Cheesecake and Leap Year have in common. Not much really but I’ll take any excuse to indulge in something yummy and pretty 🙂

Happy Leap Day!

________________________________________

Fresh Strawberry Cheesecake

Ingredients:

Crust:
2½ Cups Graham Cracker Crumbs
3 Tablespoons Sugar
6 Tablespoons Unsalted Butter, melted

Filling:
24 Ounces Cream Cheese, at room temperature
¼ Cup Sour Cream, at room temperature
1 Cup Granulated Sugar
3 Large Eggs, at room temperature
¼ Teaspoon Cornstarch
2 Teaspoons Pure Vanilla Extract
Zest of 1 Lemon

Whipped Cream:
1 Cup Heavy Cream, chilled
2 Tablespoons Sugar

1 Pint Fresh Strawberries, washed and stemmed

Preheat oven to 325 ˚F.

Prepare a 9-inch spring form pan by wrapping the outside with 2-3 sheets of heavy-duty aluminum foil. Spray the inside of the pan with cooking spray. Combine the graham cracker crumbs, sugar and butter until moistened and resembles the texture of wet sand. Pour into the pan and evenly press the crumbs into the bottom of the pan and about one inch up the sides. Bake for 8-10 minutes until golden and cool to room temperature.

Using a standing mixer fitted with the paddle attachment, whip the cream cheese and sour cream until its light and fluffy. Gradually mix in the sugar. Mix in the eggs one at a time, beating well after each addition. Add the vanilla extract, lemon zest and cornstarch until well combined. Pour the filling into the cooled crust.

Place the springform pan in a large roasting pan on the middle rack of the oven. Fill the roasting pan with hot water to come halfway up the sides of springform pan. Bake for 50-60 minutes or until the center is set. Allow the cake to sit in the oven (heat turned off) with the door propped open for about 30 minutes. Remove from the oven and transfer to a wire rack. Allow the cake to cool for an additional 30 minutes. Wrap well with plastic film and foil. Refrigerate for at least 8 hours. Carefully remove the sides of the pan by running a hot knife around the outside of the cake. Carefully release the ring mold.

Prepare the whipped cream. Using a standing mixer fitted with the whisk attachment, whip the chilled heavy cream on high until it just holds stiff peaks. Slowly sprinkle in the sugar until you reach a thick consistency.

Arrange the whole strawberries on top of the cheesecake. Place a piping tip inside of a pastry bag and fill with whipped cream. Pipe decorative patterns of whipped cream on top of the cheesecake.

Desserts/Pastries · Ice Cream

Strawberry Ice Cream

Strawberry Ice Cream

Have I ever mentioned that I’m the youngest of 5?

Over the years, it’s really had its perks. Don’t let people tell you otherwise. 🙂

Sure, I’ve had my share of hand-me-downs. But by the time my parents got to me, they were way too worn out by my sibs…..so admittedly, I had it MUCH easier than them. My grandparents babied me and in fact, even my elder sibs were known to indulge me from time to time.

When I was in kindergarten, my sis P, would often meet me at my bus stop to walk me home. And on some occasions, she would make a pit stop at Dairy Queen on our way home to indulge me in some VERY special treats. I would fluctuate between ordering a Lime Mister Misty Float—a Peanut Buster Parfait-–or even a simple Dipped Cone. All of them were amazing delights!

Strawberry Ice Cream

So when I began making a Strawberry Ice Cream the other day (due to our excess of berries from Tanaka Farms), my sis P said the house smelled like Dairy Queen.

Quite the compliment, if I do say myself.

Sweet. Tangy. Fragrant.

Just how strawberries should smell.

And the end result tasted even better than it smelled. Creamy and packed FULL of berry flavor. Due to our super fresh berries, I even halved the amount of sugar in the recipe. But if you find that your berries are slightly lacking in punch—by all means, go the full amount.

In my opinion, iconic desserts like this should always evoke childhood memories. But I do wonder, did Dairy Queen put vodka in their ice creams too? 🙂

_____________________________________

Strawberry Ice Cream
From America’s Test Kitchen

Ingredients:

1 ½ Cups Heavy Cream
1 ¼ Cups Whole Milk
1 Cup Sugar
6 Whole Egg Yolks
1 Quart Strawberries, hulled and sliced
Pinch of Salt
1 Teaspoon Vanilla Extract
1 Teaspoon Lemon Juice
3 Tablespoons Vodka

Set a fine mesh strainer over a medium sized bowl and set the bowl over a large container of ice water. Heat the cream, milk, and ¼ cup sugar in a medium size sauce pan over medium heat stirring occasionally to dissolve the sugar, until steam appears and the liquid is hot (175 degrees) about 5 minutes.

When the milk mixture is hot, in a separate bowl, whisk the yolks and remaining ¼ cup of sugar together until smooth. Slowly whisk about 1 cup of the hot milk mixture (temper) into the yolks. Then slowly whisk the tempered yolk mixture back into the remaining hot milk mixture. Continue to cook the custard mixture over medium heat until it is very hot but not simmering (180-185 degrees).

Strain the custard mixture into the bowl set in the ice bath and let cool, stirring occasionally, for about 10 minutes. Remove the custard mixture from the ice bath, cover tightly with plastic wrap and refrigerate for about 3 hours.

Meanwhile, bring the strawberries, salt, and remaining sugar to a simmer in a medium sized saucepan over medium-high heat. Cook, smashing the berries slightly, until they have released their juices and are broken down, about 5 minutes. Transfer to a small bowl, cover with plastic wrap, and refrigerate until needed.

Strain the berry mixture through a fine mesh strainer. Stir the strained juices, vanilla, and lemon into the chilled custard mixture. Pour the mixture into the ice cream canister and churn following the manufacturers instructions until the mixture resembles soft served ice cream. Toss the strained strawberries with the vodka and add to the machine when there is about 2 minutes remaining before the churning is complete.

Transfer the ice cream to an airtight container and press plastic wrap against the surface. Cover the container and freeze the ice cream until it is firm—about 3 hours.

Desserts/Pastries

Fresh Strawberry Tart

Fresh Strawberry Tart

We managed to bring home 6 pounds of gorgeous strawberries that we picked fresh from our day at Tanaka Farms. Because they were perfectly ripe, the berries were a lovely shade of red and utterly sweet and juicy.

I knew we’d polish off a good amount of them just as they were. But since each of us ate our bellies full of the berries at the farm, I wanted to make a few desserts to utilize the rest before they spoiled. It didn’t take too long for us to decide that a fresh strawberry pie would fit the bill perfectly!

Fresh Strawberry Tart

I had initially wanted to make a pie just like the ones we used to order from Marie Callendar’s that were piled high with whole strawberries and glistened with a bright red glaze. But my sis, P, suggested I try out Alice Medrich’s shortbread tart crust. It’s one of her “go to” recipes because the flavor is stellar and it’s super quick and easy to pull together. I followed her advice and our fresh strawberry pie turned into a fabulous fresh strawberry tart with a buttery shortbread crust.

If you’ve never tried Alice Medrich’s tart crust before, you simply MUST! It comes together so quick due to the fact that it uses melted butter and you don’t need to roll out the dough.

Fresh Strawberry Tart

If you read the recipe below, you’ll notice that I also used some fresh raspberries in the tart. Normally I wouldn’t have but I somehow used up so many of the berries in our other strawberry dessert that I needed something extra to fill in the spaces. However, it’s completely up to you if you’d like to add them or not.

I took the extra step of individually dipping each strawberry into the glaze before placing them into the crust. Most recipes will toss the strawberries in the glaze and then pour all the contents into the crust. This can often result in way too much glaze and the end result can be overly sweet and goopy. It definitely was unnecessary for our tart since our strawberries were so naturally sweet. So although the extra step may seem a bit much, it’s really worth it.

The finished tart is quite the show stopper and tastes even better than it looks. And with the delicious strawberries that we picked ourselves from Tanaka Farms, I can honestly say, it doesn’t get any fresher than this 🙂

Thanks for reading and have a wonderful weekend!

__________________________________

Fresh Strawberry Tart
Makes one 8-inch tart

Ingredients:
Crust: (From Alice Medrich)
8 Tablespoons Unsalted Butter, melted
¼ Cup Sugar
1/8 Teaspoon Salt
¾ Teaspoon Pure Vanilla Extract
1 Cup All Purpose Flour


Filling
:
1 Quart Strawberries
½ Cup Raspberries (optional)
3/4 Cup Water
2 Tablespoons Strawberry Gelatin
1 Tablespoon Cornstarch
¼ Cup Sugar (more if berries aren’t sweet enough)

Prepare the crust. Position a rack in the lower third of the oven and preheat the oven to 350°F. Mix the butter, sugar, salt, and vanilla in a medium bowl with a fork. Add the flour and mix just until well blended with a pastry blender or a large fork. Don’t worry if the dough seems too soft. Press all of the dough very thinly and evenly into the sides and bottom of an 8-inch tart pan. If it seems like the butter is getting too oily and it’s becoming difficult to manipulate the dough, simply put it in the fridge for a few minutes, it’ll become easier to handle. Using a fork, prick the dough all over the bottom and sides. Place a large piece of parchment paper on top of dough and fill with pie weights or dry beans. Press weights to the edges of dough and bake in the oven for 15 minutes. Remove parchment and weights and continue baking until deeply golden in color, approximately 10 minutes longer. Remove from oven and place on cooling rack.

While the crust is cooling, prepare the filling. Mix together the sugar, gelatin, and cornstarch. Bring water to a boil in a saucepan. Whisk in the dry ingredients and cook until the mixture thickens. Remove from heat and cool to room temperature. Dip each strawberry into the glaze and arrange them in the crust. Dip each raspberry and arrange them in between the strawberries. Chill  the tart for at least 2 hours before serving.

Reviews

Tanaka Farms: Let me take you down to Strawberry Fields

Tanaka Farms: May 2011

The best Foodventures are always the unexpected ones. Even more surprising was that my latest one was found around my old college stomping grounds of Irvine, California. (GO ANTEATERS!)

Tanaka Farms: May 2011

Per my sister T‘s suggestion, we grabbed some of the kids and headed over to Tanaka Farms—a lush 30 acre farm nestled in Irvine that produces amazing fruits and vegetables.

Founded by Teruo Tanaka,  Tanaka Farms is family owned and operated and has been in existence for over 100 years. The farm “strives to provide quality produce and to educate the community on the values of healthy eating“. The family also practices organic farming methods.

Tanaka Farms: May 2011

The produce at Tanaka Farms are grown using a “companion planting” method. By this, different produce are planted together as the chemicals each of the varietals naturally produce allow each other to thrive. For example, strawberry plants are grown together with Maui onions. Guess this is a perfect (and natural) example of how opposites can attract 🙂

Tanaka Farms: May 2011

In addition to having a produce stand filled with fresh products, Tanaka Farms offers farm tours. Tours typically include a 75 minute wagon ride around the land which is pulled by a tractor. Throughout the ride, the wagon stops and guests are able to try freshly picked vegetables!

Tanaka Farms: May 2011

Our veggie “tasting menu” for the day included wax beans, green beans, celery, green onions, and carrots. Here is my sis, P, with a bundle of green onions.

Tanaka Farms: May 2011

The tour is an AMAZING way to educate kids about how produce is grown and to encourage them to eat their veggies. Check out Stephanie, Maya, and Nina showing off their tasty wax beans.

Tanaka Farms: May 2011

The last portion of the tour was my favorite—STRAWBERRY TIME! Since we took the tour during Strawberry season, guests are allowed off the wagons to pick and enjoy delicious and gorgeous strawberries! We had 15 minutes to fill our 1-pound baskets and eat as many strawberries as we liked!

Not going to lie…..I’m pretty sure I inhaled almost a pound of strawberries myself in addition to packing my basket. And I don’t have the least bit of remorse as they were some of the best strawberries I’ve ever tasted! So sweet and juicy!

Tanaka Farms: May 2011

Here is my sis, T, and nieces Maya and Nina feverishly filling their baskets.

Tanaka Farms: May 2011

Nina, Maya, and Stephanie with their prized Strawberries.

Tanaka Farms: May 2011

Strawberry tours begin mid-March and run through June. Watermelon tours begin in July and end in late August. Pumpkin Patch tours start at the end of September and conclude on Halloween. For more information on tours and to find out about their Cookout Tours, click here.

We were incredibly lucky as it was a gorgeous, sunny California day. We had a fantastic time at Tanaka Farms and loved that it’s so conveniently accessible. The kids enjoyed trying out new produce, learning about crops, riding in the wagon, and of course—indulging in the amazing strawberries.

On top of all of those things, I loved that we were supporting a family owned operation of 4 generations of Japanese Americans. They run the farm on little government assistance but are committed, nonetheless,  to cultivating quality produce while educating the community. That, dear friends, is truly commendable.

But even if Tanaka Farms isn’t near you, I urge you to go out and find some farms near you—I am sure one is closer than you think! 🙂

Tanaka Farms: May 2011

And if you haven’t guessed already, the next few posts will be ALL about strawberries. If you had tasted how exquisite they were, you would be whipping out all of your strawberry recipes, too!

Tanaka Farms: May 2011

Thanks for reading!

Tanaka Farms
5380 3/4 University Drive
Irvine, CA 92612
Office: (949)653-2100
Produce Stand: (949)653-2100  ext. 203
Reservations: (949)653-2100  ext. 204

And just because I was singing this the entire time we were there……

Desserts/Pastries

Strawberry Cupcakes and a Surprise 70th Birthday Party

Strawberry Cupcakes with Strawberry Swiss Meringue Buttercream

The month of May has always been busy for my family — completely filled with TONS of birthdays, weddings, graduations, etc.

This May in particular marked a milestone for our family as our parents turned 70! And although our mom is no longer with us we wanted to be sure to have a big celebration for our dad.

Strawberry Cupcakes with Strawberry Swiss Meringue Buttercream

This past weekend, my siblings and I successfully threw a surprise birthday party for our dad filled with tons of family, delish food, and good times. Needless to say, Dad was pretty darn surprised when he opened the door to what he thought was going to be a small birthday dinner at my sister’s place. It took him a few minutes to realize that the house filled with people were there to celebrate his birthday!

Strawberry Cupcakes with Strawberry Swiss Meringue Buttercream

As one of the desserts for the night, I decided to bake Martha Stewart’s Strawberry Cupcakes. They have been on my “must try” list for a long time and this was the perfect opportunity to give them a roll.

Truth be told, the cupcake itself was just “ok”. But the frosting was TO DIE FOR!!!!!!!! As in OH….MY….GAWD!

It was the first time I had made a true Swiss meringue buttercream and was a bit thrown off at how long it took to make—at least 30 minutes!!! But my patience truly paid off because after one taste, I was in heaven. The texture was so beautifully smooth and silky and it literally tasted like a Strawberry Shake!!! Not the least bit overly sweet and absolutely delicious. All night long I kept on saying, “It tastes like an In-N-Out Strawberry Shake!” Clearly, the cupcake is just a vessel for this amazing buttercream.

If you do decide to give this buttercream a whirl, be sure to take your time with it. Some reviewers say that their buttercream looked curdled or didn’t come together. Luckily I didn’t have this issue but I believe you’ve just got to be patient and definitely use room temperature butter. When all else fails—keep on whipping it!

And on another note, I would be scolded if I didn’t disclose that my sister was the one who added the strawberries on top! 🙂

As for Dad, he thoroughly enjoyed himself. After so many years of taking care of his family, it was nice to have a shindig just for him. In fact, he told everyone he cannot wait to see what we do for his 71st birthday!!!! 🙂

HAPPY BIRTHDAY DAD!!!!


__________________________________________________________

Strawberry Cupcakes with Strawberry Swiss Meringue Buttercream
From Martha Stewart
Makes 34 Cupcakes

Ingredients:

Cupcakes:
2¾ cups all-purpose flour
½ cup cake flour, (not self-rising)
1 tablespoon baking powder
1 teaspoon salt
8 ounces (2 sticks) unsalted butter, softened
2¼ cups sugar
3 large eggs
1 large egg white
1 cup whole milk
1½ teaspoons pure vanilla extract
2 cups finely chopped strawberries, plus small strawberries for garnish

Buttercream:
4 large egg whites, room temperature
1¼  cups sugar
1½ cups unsalted butter, softened, cut into small pieces
1½ cups fresh strawberries, pureed

To make the cupcakes, preheat the oven to 350˚ F.  Line cupcake pans with paper liners.  In a medium bowl, combine the all-purpose flour, cake flour, baking powder and salt; whisk to blend. In the bowl of an electric mixer, combine the butter, sugar and vanilla.  Beat on medium-high speed until light and fluffy, about 3 minutes.  Beat in the eggs and egg white one at a time, mixing well after each addition and scraping down the sides of the bowl as needed.  With the mixer on low speed, add the flour mixture in two additions alternating with the milk, mixing each addition just until incorporated.  Gently fold in the chopped strawberries with a spatula. Divide the batter between the paper liners, filling each about ¾-full.  Bake until light golden and a toothpick inserted in the center comes out clean, about 20 minutes, rotating the pans halfway through baking.  Allow to cool in the pans a few minutes, and then transfer to a wire rack to cool completely.

While cupcakes are cooling, prepare the buttercream.  Place whites and sugar in a heatproof mixer bowl set over a pot of simmering water. Whisk until sugar dissolves and mixture registers 160 degrees on a candy thermometer. Remove from heat, and attach bowl to a mixer. Whisk on medium speed for 5 minutes. Increase speed to medium-high, and whisk until stiff, glossy peaks form, about 6 minutes. Reduce speed to medium, and add butter, 1 piece at a time, whisking well after each addition. Switch to a paddle attachment. With mixer on low, add strawberry puree, and beat until smooth, 3 to 5 minutes. Fill a piping bag with a fitted tip. Pipe on the buttercream on top of cooled cupcakes. Garnish with fresh strawberry slices.

 Note: For these cuppies, I used an open-star Wilton 4B Tip to pipe the buttercream. I also chose to use a slightly larger than standard cupcake liner for a fuller look. As a result I increased the baking time by 2-3 minutes.

Drinks

Fresh Strawberry Mojito


Fresh Strawberry Mojito


The beautiful warm weather always makes me want to be outdoors basking in the sun. I’m a sun driven gal—through and through.

And how better to enjoy the sunny warmth than with a delicious and pretty cocktail?


Fresh Strawberry Mojito


Mojitos are one of my favorite adult beverages but I rarely order them when I’m out because I’m rather particular on how they’re prepared. Most places skimp on the mint and limes——–and without enough, you’re pretty much drinking spiked-flavored-water. Bleh!

But when done correctly, Mojitos are just divine. Super herbaceous and refreshing.


Fresh Strawberry Mojito

I picked up a carton of fresh strawberries while I was at my farmers market and thought they would be a perfect addition to my beloved cocktail. The fruitiness of the berries paired beautifully with the mint and citrus.

The measurements below are my suggested amounts according to how I like my Mojitos. But if you like things sweeter or prefer more strawberries, adjust to your fancy.  🙂

Cheers!

_______________________________________

Fresh Strawberry Mojito
Serves 1

Ingredients:

15-20 Fresh Mint Leaves
¼ Cup Fresh Strawberries, diced
1 Whole Lime, cut into small wedges
1 Tablespoons Sugar
2 Ounces Light Rum
6 Ounces Club Soda
1-2 Cups Crushed Ice

In a cocktail shaker, thoroughly muddle the mint leaves, limes and sugar. Add strawberries and crush.  Add rum and fill the shaker with ice. Vigorously shake and strain the liquids into a tall glass filled with ice. Top off glass with club soda. Garnish with strawberry slices, lime wedges, and mint leaves. Enjoy!