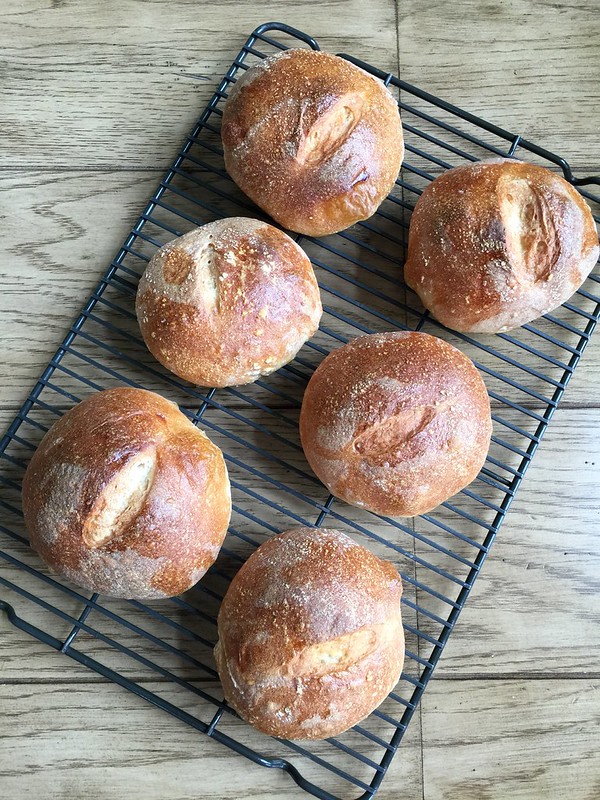
Being the carb monster I am, it’s really no surprise that I’ve come to love baking bread–granted, it wasn’t always the case.
But now I find that there’s something about forming something so beautiful and delicious out of a few spare ingredients that most folks have in their cupboards. There’s something ritualistic about the process–and although time consuming, it is completely fulfilling. Not to mention that we’ve been baking some type of bread, across the world/cultures for thousands and thousands of years.
Sure, some breads can be finicky and depending on the weather and moisture outside, you’ve got to adjust. But when you’ve kneaded that perfectly silky dough, it’s fantastic!
So for Maya’s birthday Fam Din where we served a delicious Clam Chowder that brother made, I quickly volunteered to bake the sourdough bread boules to go along with them. I had never officially baked my own sourdough, although it’s been on my to-do list for some time, but hey-it seemed like a great opportunity.
First off, I needed a “starter” that gives the bread that wonderful chew and flavor. Now, I’m not one of those lucky home bakers that have a starter stored in my fridge that has been handed down in my family for the past century. So I had to create my own.
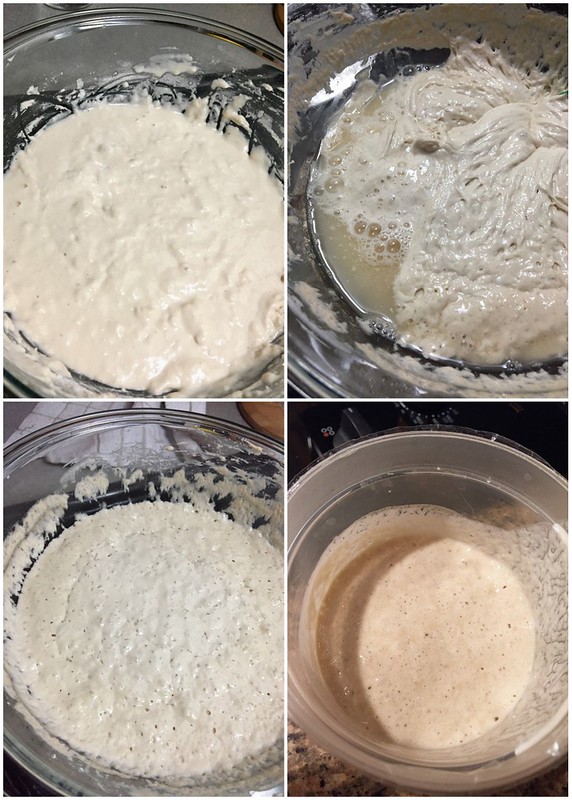
It’s a fairly easy process that essentially involves “growing” a wild yeast over several days through a combination of water and flour. Every day, you “feed” your starter a little bit more of both as it bubbles away. At one point, you may begin to freak out as it starts to separate–and you may think–CRAP! It’s gone bad!
But don’t fret my pet. All is good–in fact, you want that to happen because that’s when you’ll know that you’ve got a fermentation party going on. Just stir it all up and keep on going with the process.
For this particular batch, I chose to make a starter based on a recipe found here. The only exception is that I grew my starter for about 8 days versus the 5 listed in the instructions.
But hey–if you’ve got your own starter recipe, or even better–have some already chilling in your fridge, by all means…go with that.
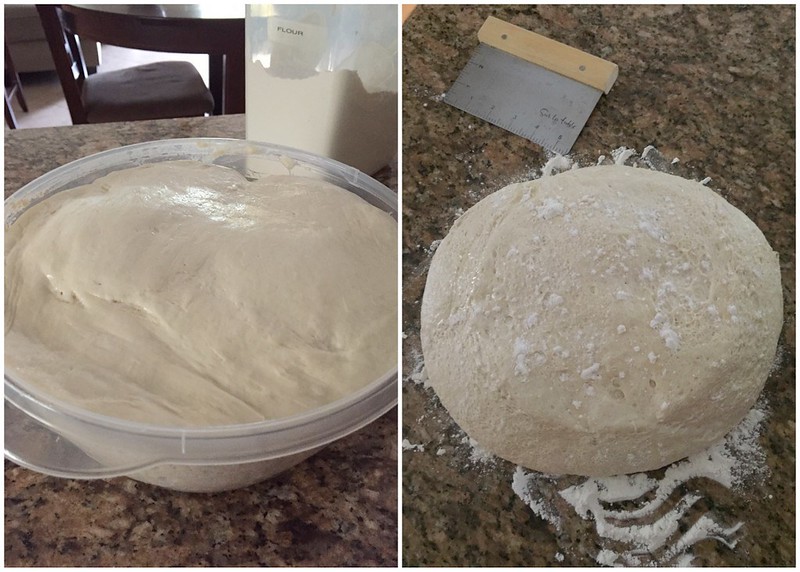
After you’ve introduced your finished starter with a bit of flour to create a “levain”, you’ll want to let it mingle together overnight before adding the final flours to proof. And boy oh boy, will it proof! All through the wonders of your starter and with no additional help of dried yeast.
Magic!
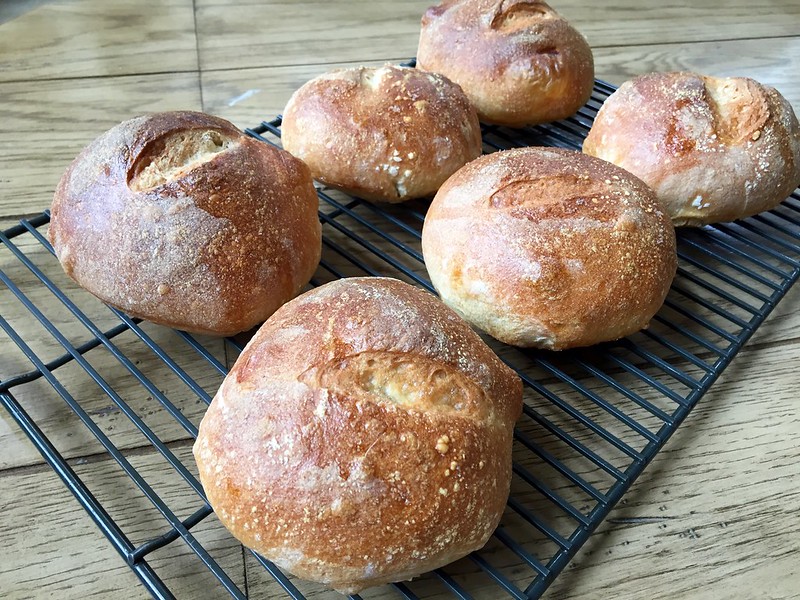
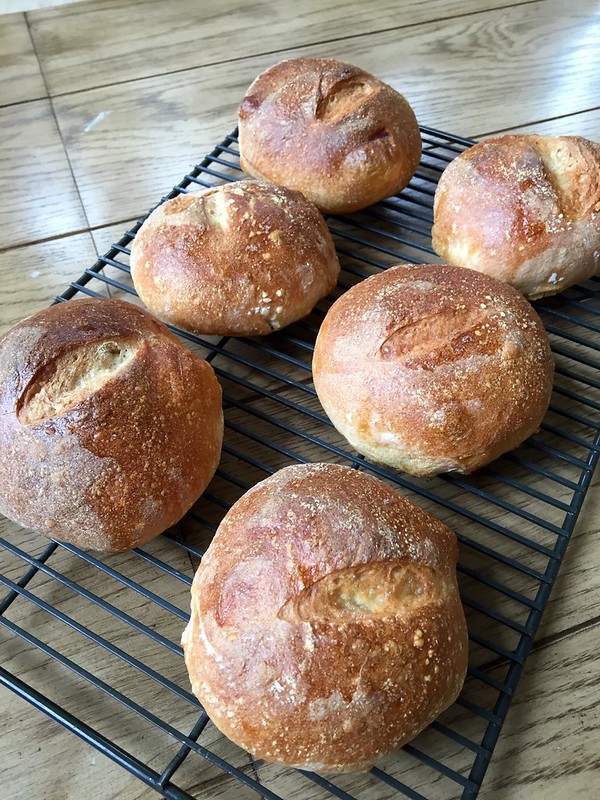
This recipe from Half Baked Harvest produced 6 good-sized boules out of the dough. However, I ended up forming them a little smaller to make 8 per batch. Since we were going to have lots of appetizers before dinner and intended to use them as chowder “vessels”, this smaller sized suited us well.
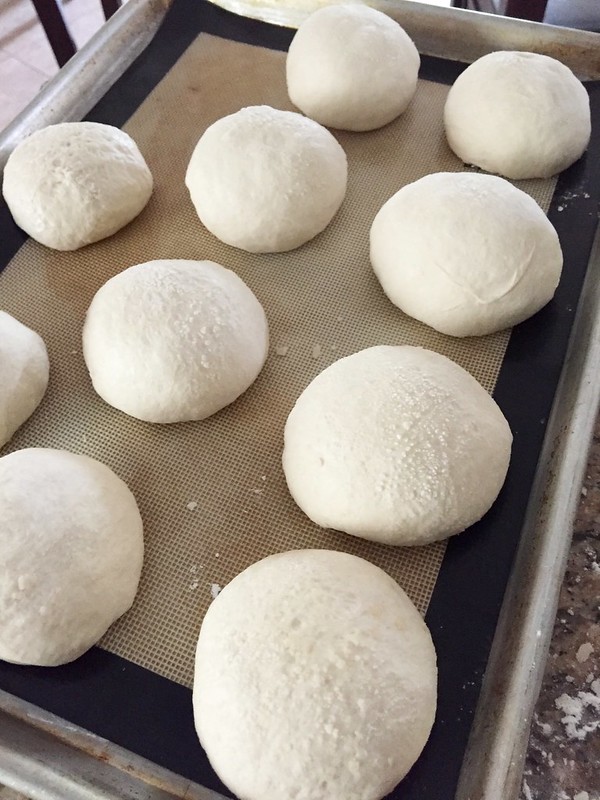
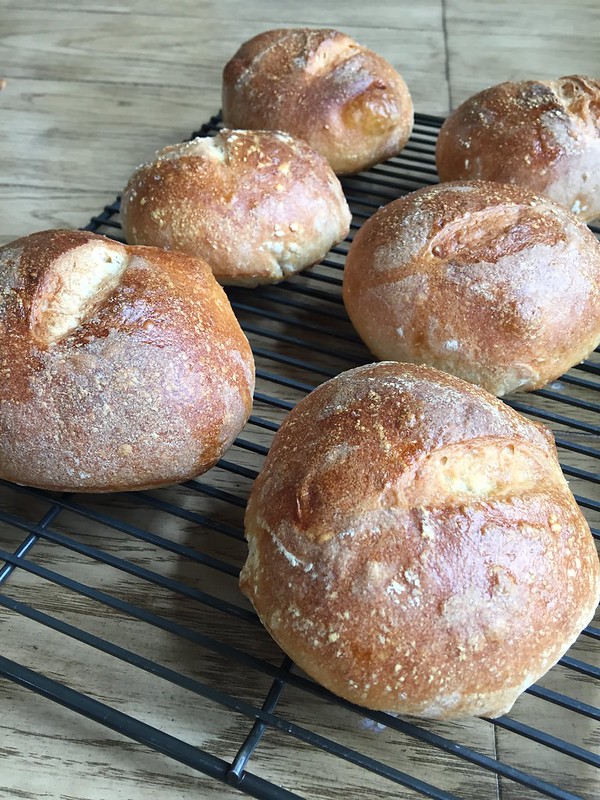
Prior to baking these little guys got brushed with an egg white wash and were quickly spritzed with water. These two additional steps gave them a beautiful golden sheen and helped to create the wonderful crisp exterior texture.
PERFECT sourdough characteristics!
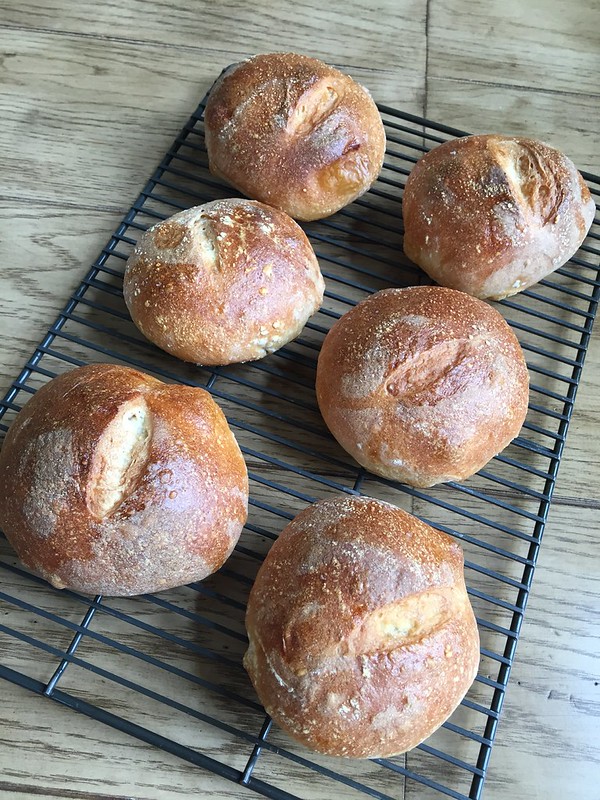
As for the crumb, I wish I would have taken a pic of the interior– it was spongy with great bubble pockets. The flavor was subtly sour—in fact, I would have preferred a bit more. But it was still slightly tangy. I think next time, I’ll give Tartine’s recipe a try now that I’ve gotten my feet wet.
But overall, I definitely recommend it! The method below is quite easy to follow–even for those new to bread baking.
Happy Sourdoughing!
__________________________________
Mini Sourdough Bread Boules
Makes 6-8 mini boules
Ingredients:
1 cup fed sourdough starter
1 1/2 cups lukewarm water
3 cups all-purpose flour
1 tablespoon granulated sugar
2 1/4 teaspoons salt
2 cups bread flour
1 tbsp water optional
1 tbsp egg white lightly beaten with 1 tablespoon water
water
In a large mixing bowl or the bowl of an electric mixer, combine the starter, water, and all-purpose flour. Mix together with a fork or wooden spoon until smooth. Cover with plastic wrap and let sit at room temperature for 4 hours.
Transfer the bowl to the refrigerator and chill overnight, at least 12 hours.
Remove the bowl from the refrigerator and add the sugar, salt, and bread flour to the sponge. Mix until a ball of dough begins to come together. If some of the dry ingredients will not incorporate into the dough, add the additional 1 tablespoon of water to moisten them. Continue kneading the dough (on low speed if using an electric mixer) until the dough is smooth and elastic, about 5-6 minutes. Form the dough into a ball and transfer to a large lightly oiled bowl, turning the dough once to coat in the oil. Cover with plastic wrap and let rise in a warm spot until doubled in volume, 3-4 hours.
Line a baking sheet with a silicone baking mat or parchment paper. Transfer the dough ball to a lightly floured work surface and gently deflate the dough. Divide the dough into eight equal portions. Form each piece of dough into a ball, and tuck any loose edges or seams underneath. Place seam-side down on the prepared baking sheet. Repeat shaping with the other 7 pieces of the dough. Transfer the shaped boules to the prepared baking sheet. Cover loosely with lightly oiled plastic wrap. Let rise in a warm place until nearly doubled in volume, about 2-3 hours.
Place a baking stone or large dutch oven in the oven and preheat the oven to 425? F. Allow the pot to preheat for at least 20 minutes. Just before baking, lightly slash the top of each boule using a sharp serrated knife. Brush the exposed surface of the loaves with the egg wash. Spray the loaves lightly with water. Slide the entire baking sheet onto the baking stone or carefully place 4 boules in the dutch oven with the top on. Bake about 28-32 minutes, rotating the pan halfway through baking, until the crust is golden brown. If baking with the dutch oven repeat once the first four have been baked. Transfer the finished boules to a wire rack and let cool at least 30 minutes before slicing and serving.
Recipe From: Half Baked Harvest

Have you every frozen any of your bread? I will probably eat all of them so I won’t have to worry about freezing them…jk.
I absolutely freeze my bread! For whole loaves, I wrap them tightly with plastic wrap and then foil/large ziplock bag. Once it’s time to enjoy, I thaw it on my countertop for several hours and run cool water over it very quickly (not to saturate-just to light rehydrate it). Then I bake it on the middle rack at 350F for about 15-20 minutes. It’s perfect!
How do you get the boules to keep it’s shape? After the 2 hours of rising after shaping, mine essentially looks like pancakes.
Hi! There could be a few reasons why your dough didn’t rise. First, how was your starter? Is it strong and very active? I’ve struggled with weaker starters so this could be a factor. Float tests aren’t fool proof but generally helps to determine the readiness of your starter. Second, your dough may be a bit dry. It could be the brand of flour you’re using or the weather. Sometimes when I use an artisan flour or even a generic, I need to add more hydration. I usually have the best results with King Arthur or even Gold Medal. Last, you may need to create more tension (tighter exterior “skin”) when forming the initial boule. I hope things end up ok!
I use a scale to make bread. Just wondering if you have made these with weight and if so can you give me the recipe?
Hi! I have not converted the recipe to weight. However, it comes from the blog https://www.halfbakedharvest.com/sourdough-bread-bowls/ – please feel free to contact her as she may have done so 🙂 Thanks for stopping by!
What do you mean by fed sourdough starter? Is this just a starter that has been going for at least five days? Or am I supposed to feed my starter and then take my cup of starter?
Sorry but I’m new at this. They look delicious!
fed sourdough is when you use sourdough after you have fed it – when it is at its peak. usually 6-8 hours after you actually feed it
Why sugar? There is no need for sugar in sourdough bread.
MINE SPREAD TOO MUCH AND WERE ALOS FLST. DISAPPOINTING SFTER ALL THE TIME THST WENT INTO MAKJNG THESE.