I was at the Hillcrest Farmers Market last weekend and beautiful squash blossoms were in almost every produce stall.
I was PUMPED!!!
I love squash blossoms. They remind me of growing up in Minnesota when my grandparents had a big garden in the backyard and my grandpa tended to his gorgeous dahlias in the front of the house.
Oddly enough, out of all the edible things they grew, I remember the elephant ear stalks and squashes the most.
Elephant ear stalks, or bạc hà in Vietnamese, are often used in our stir-fry dishes and sour-tamarind soups (canh chua). And if you’re wondering how the heck they managed to grow plants in Minnesota that are indigenous to tropical climates—-I can’t help you there.
Seriously. I have no clue how my grandparents and parents coaxed them out of the frigid ground. But they did.
OG hustlers.

As for the squashes, I remember them most because….I hated them.
Yup. Hated them.
As in, when they showed up at the dinner table, I was guaranteed to be the last one there because I would just stare at my bowl piled high with pureed squash. UGH! I would sit there for what seemed like centuries, refusing to eat it. That is, until my grandparents had pity on me and coerced my parents to letting me off the hook.
Did I mention I was the baby of the family?
Oh…and it was probably more like 10 minutes than a hundred years but when you’re eight, 5 minutes could feel like FOH-EVAH!!
But as much as squash was my mortal enemy, I used to love looking at their bright and colorful blossoms. I may have also been caught plucking a few off the vine from time to time. Hey–a kid had to keep herself entertained while her older sibbies ditched her for their friends.
Yes, that’s me unabashedly trying to elicit sympathy. Did it work?
Fast forward to 2017 and I’m still not a fan of most squashes. I do like zucchinis but will most definitely pass on butternut squash, pumpkins, acorn squash, kabochas…..
Hey–just consider it more for you all to enjoy.
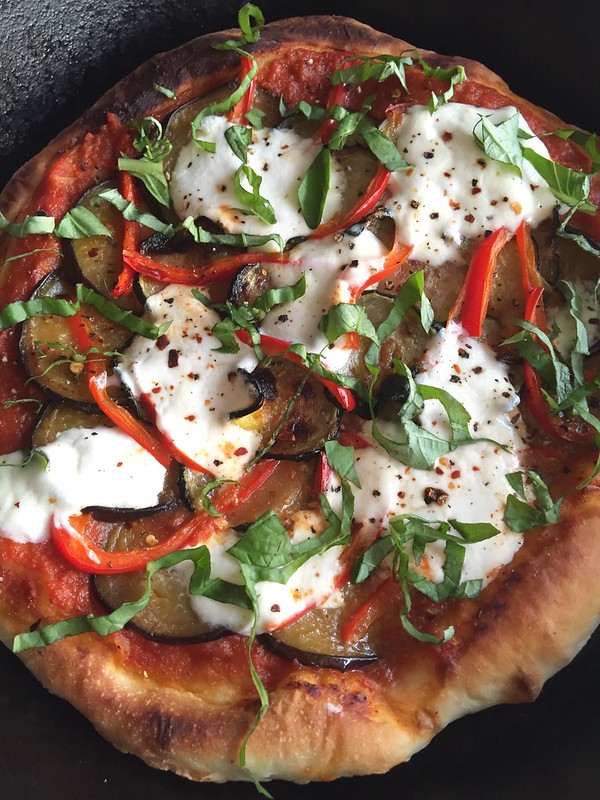
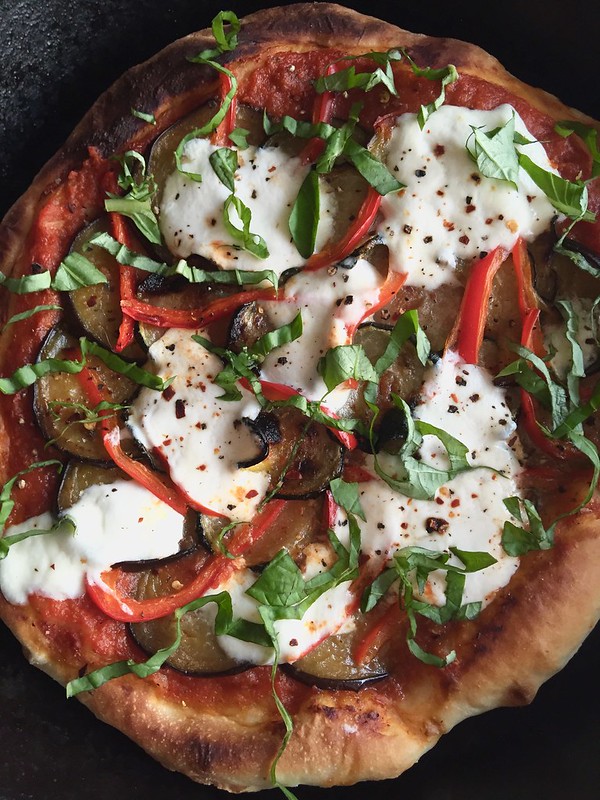
But I still love squash blossoms. They have a mild zucchini flavor and are just so darn pretty. I usually have them as fritto misto or stuffed. But my favorite way to have them is on top of a pizza.

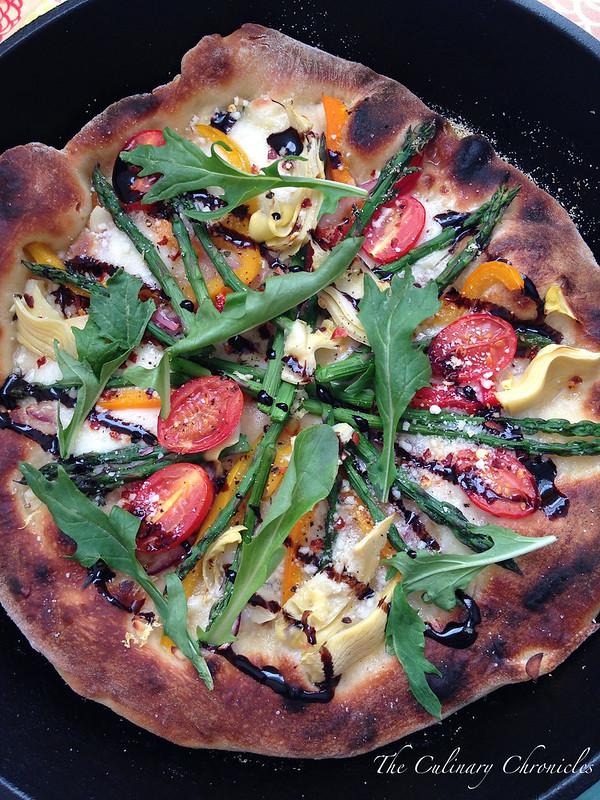
The first time I had squash blossom pizza was at Pizzeria Mozza and I was hooked! It’s a simple preparation of their awesome pizza crust with a light red sauce, tons of blossoms and then topped with fresh burrata when out of the oven. And I’m a sucker for burrata!
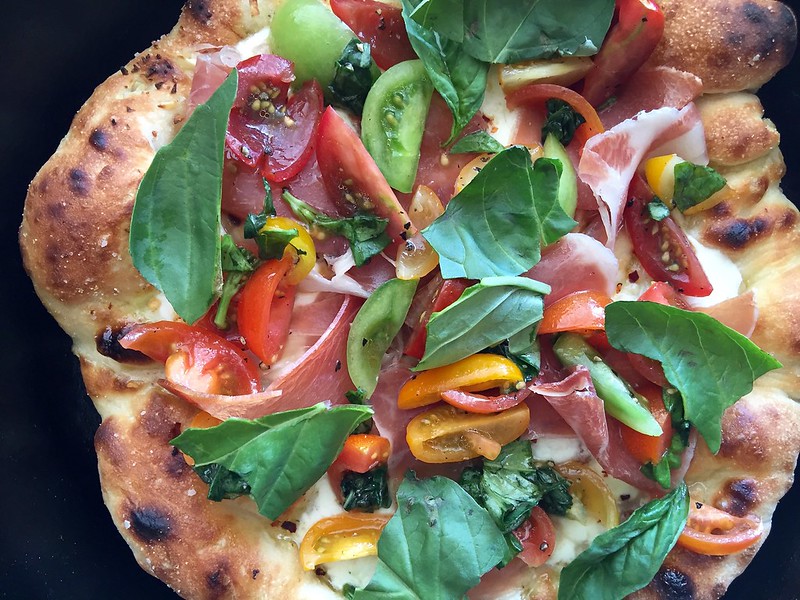
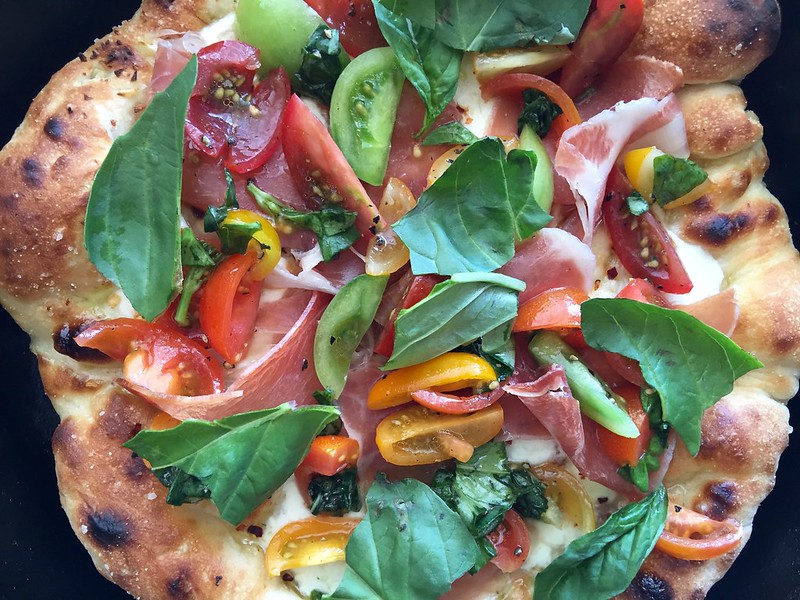
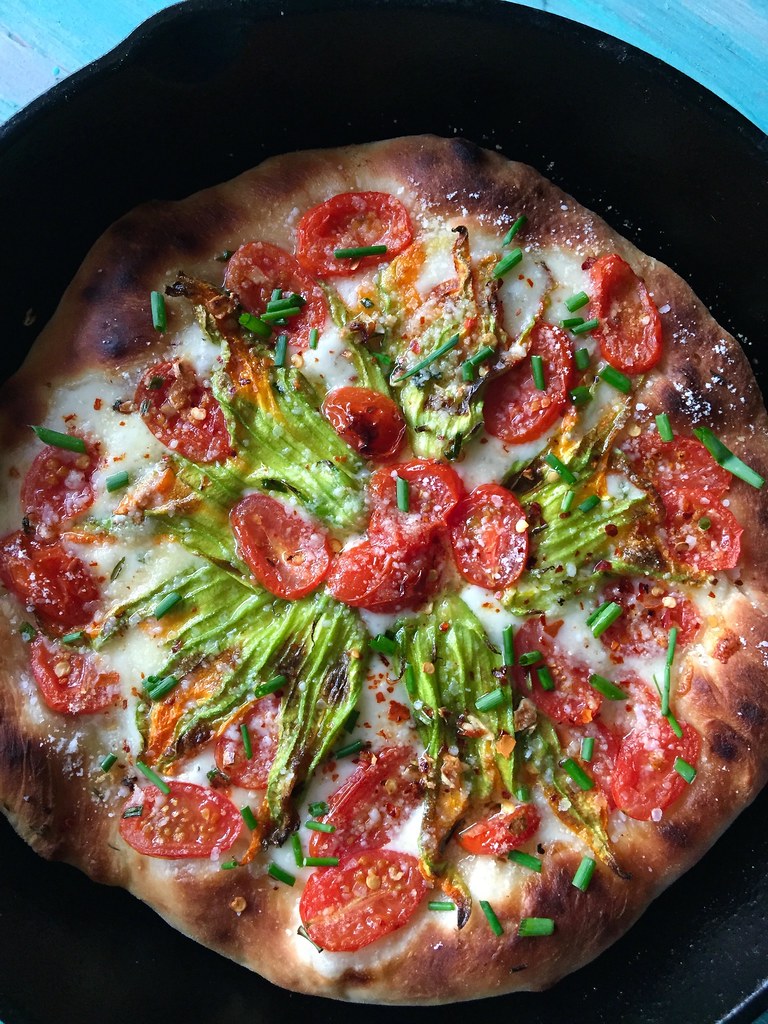
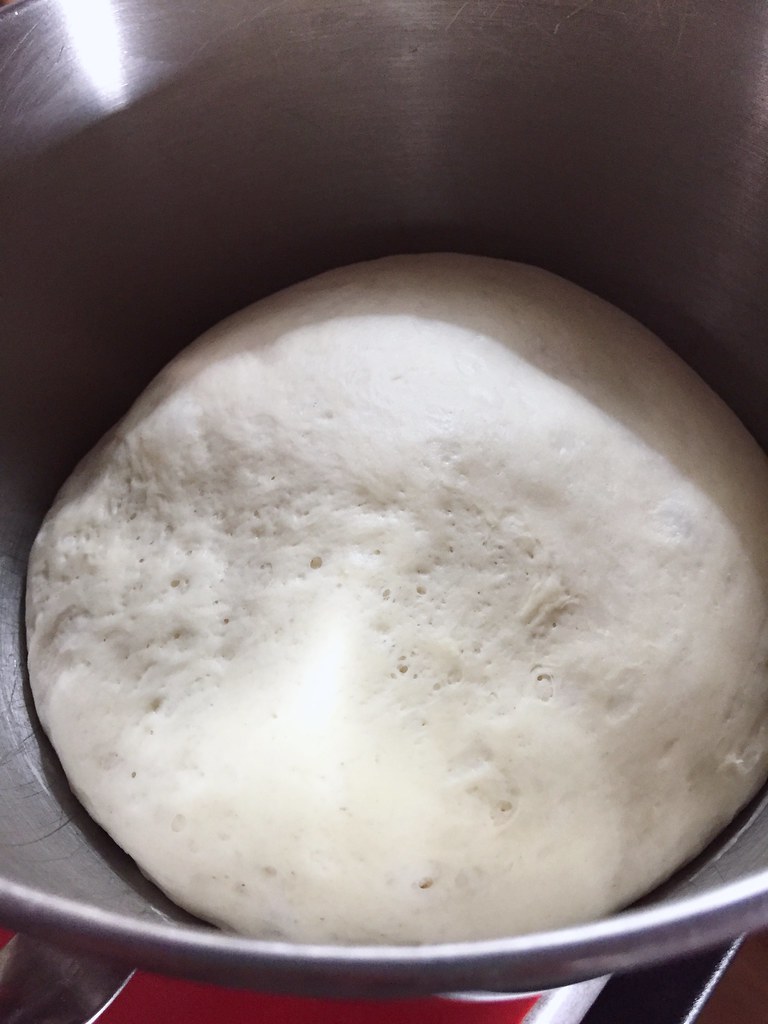
Armed with a bundle of fresh summer zucchini blossoms from the market, I went home and whipped up a quick batch of dough (1 yeast envelope. 1/4 tsp. sugar, 1 1/4 cups warm water, 1 Tbs. olive oil, 3 cups AP flour & 1 tsp salt) and turned to my favorite cast iron skillet method to make some pizza.
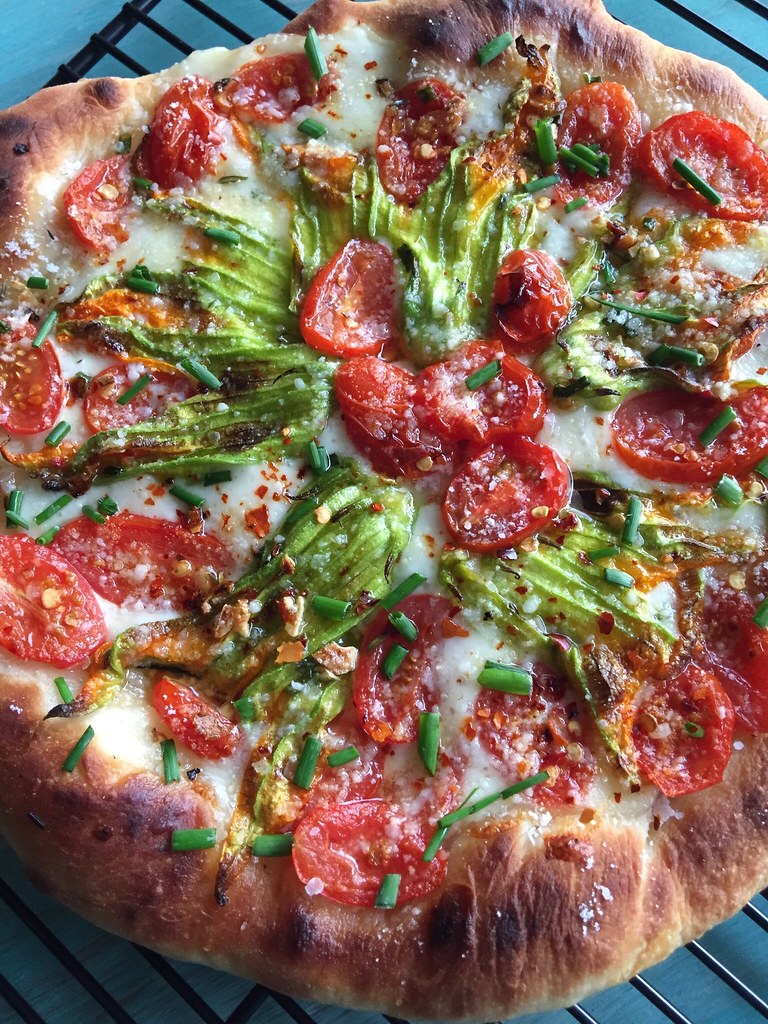
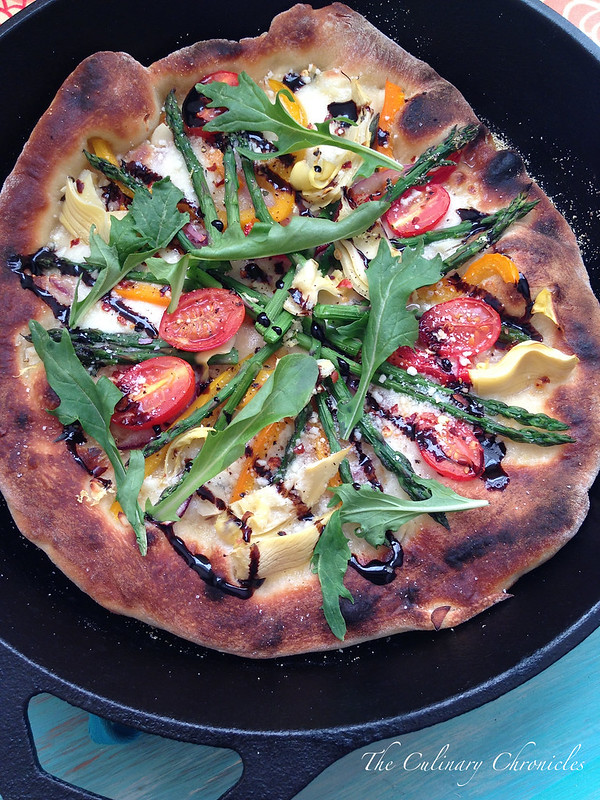
These days, I lean towards pizzas without red sauce and prefer to use fresh tomato slices (or halves) instead. I brushed the dough with a garlic-herb oil, topped it with lots of fresh mozzarella, blossoms and grape tomatoes before quickly cooking it off. Once out of the oven, the pie was sprinkled with parmesan cheese and chopped chives.
Verdict?
Summerifically delish! But if you’re feeling into it, top it with some fresh burrata like Mozza does or a quenelle or three of ricotta.
Allora! <<< Just threw that in for my Master of None peeps. ❤
_____________________________________
Summer Squash Blossom Skillet Pizza
Serves 2
Ingredients:
2 tablespoons olive oil
1 teaspoon minced garlic
½ teaspoon red pepper flakes
1-teaspoon fresh thyme leaves
5 ounces fresh pizza dough, rested and at room temperature
all purpose flour
1 teaspoon ground corn meal
kosher salt
¼ pound thinly sliced fresh mozzarella cheese
6 large zucchini squash blossoms, stamens removed
10 grape tomatoes, halved
1 tablespoon chopped chives
1 tablespoon grated parmesan cheese
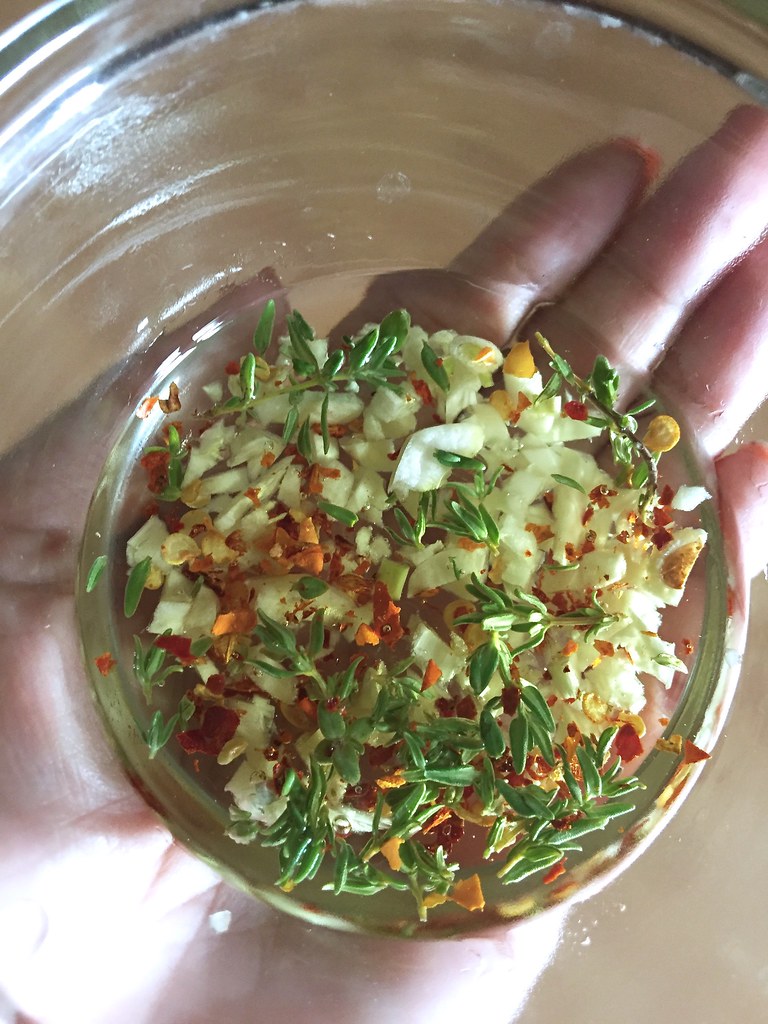
In a small pan, add the olive oil, garlic, pepper flakes and thyme. Heat over medium-low for 5 minutes to allow the oil to infuse. Set aside.
Turn on the oven broiler and adjust one of the racks to the top of the oven to rest directly under the broiler. Place a seasoned cast iron skillet (10-12 inches in diameter) directly under the broiler for 8-10 minutes. It may begin to smoke but you need the skillet to be screaming hot.
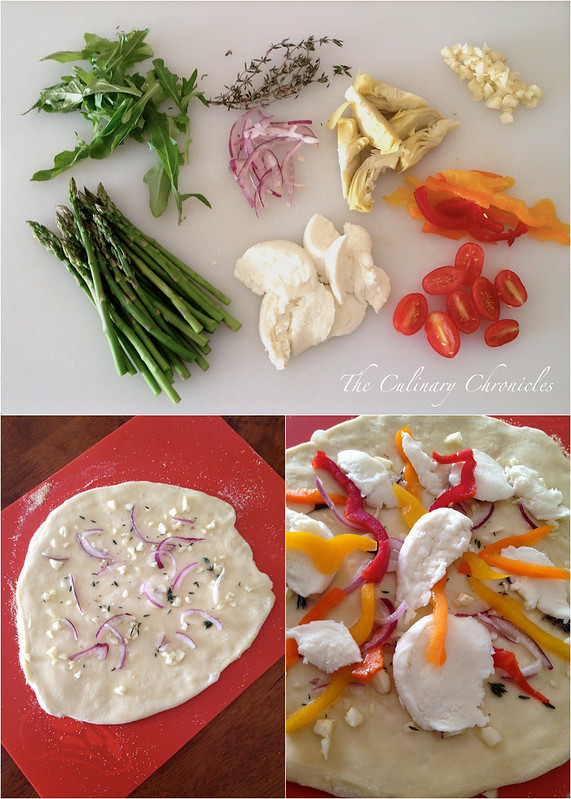
While the skillet is heating, roll out the pizza dough onto a floured surface–you’ll want it a tad smaller than the width of your skillet. If you have a pizza peal, sprinkle it with cornmeal and transfer the pizza dough onto it. If not, you can also use a cutting board.
Brush the infused olive oil over the dough and sprinkle salt all over the dough. Top with mozzarella cheese and place the blossoms, fanned out in a circle. Place the halved tomatoes on top.
Once the skillet has heated for the appropriate length of time, quickly and CAREFULLY slide the pizza into the skillet. Place the skillet on a burner over medium heat and allow it to begin cooking for 2 minutes. Move the skillet back to the oven so it sits directly underneath the broiler.
Close the oven door and allow the pizza to cook for about 60-90 seconds. Open the oven door and rotate the skillet 180 degrees. Close the door and allow another 60-90 seconds underneath the broiler. Once the crust is slightly charred and cheese has melted, CAREFULLY remove the skillet from the oven and place it on a rack for 5 minutes. Sprinkle the top with chives and parmesan cheese. Transfer the pizza to a cutting board, slice up and enjoy!