Sometimes I dream about food.
I know… it’s kind of weird.
And I’m sure a dream expert could delve into it and say that it’s my subconscious telling me that I’m lacking this or that…..or that I’m seeking comfort of familiar things.
But I kind of think it may have something to do with the copious amounts of Thanksgiving specials I’ve been watching on the Food Network/Cooking Channel lately.
And it also could be a result of me binge watching a ton of episodes of The Mind of a Chef on Netflix.
It’s what I do.
But stick with me on this.
At some point this weekend, I dreamt that I was at a small restaurant and the waiter was explaining to us that the special of the day was baked-handmade gnocchi. And I remembered how I thought it sounded absolutely fantastic. When I woke up, I didn’t remember anything else of the dream–other than the gnocchi.
Strange?
Who knows.
But that set my course of action yesterday. I had to–no, I NEEDED to make baked gnocchi. Like, STAT!
I rummaged around my pantry and fridge and found that I had everything I needed. I even had some pre-packaged gnocchi I had picked up a few months ago that was just sitting on my shelf, waiting to be used.
Well, I should clarify and say that what actually went into the baked gnocchi was dictated on what proteins and veg I had on hand.
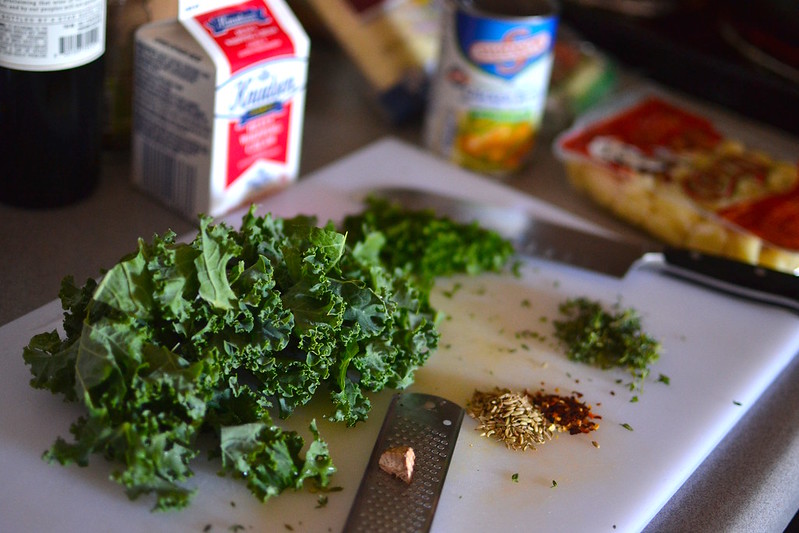
There was some Italian sausage tucked away in the freezer and half a bunch of kale in my fridge. But if you’re not a kale fan, chard or spinach would be just fine.
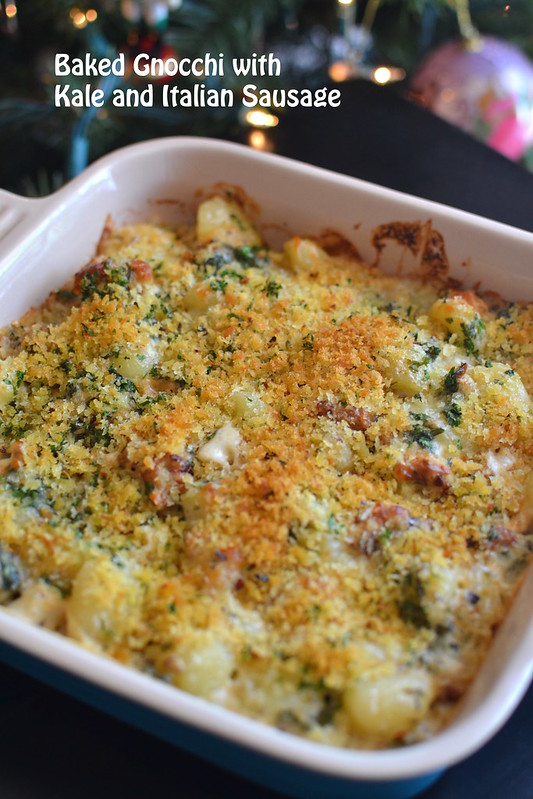
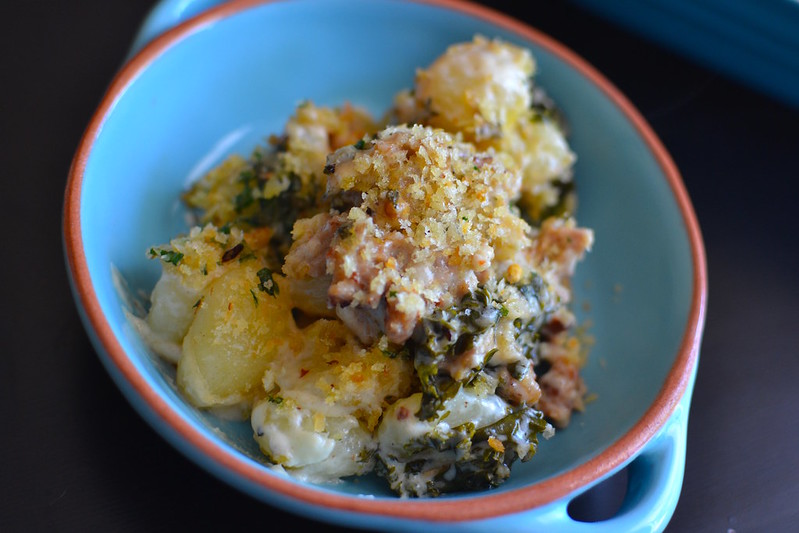
Since I opted for a cream based “sauce”, I thought the dish would need some texture and brightness to cut through all that richness. So while the gnocchi baked, I toasted up some panko bread crumbs with some herbs and spices….and fresh lemon zest!
Trust me on this, the lemon zest did brighten up the party!
The whole dish was pretty easy to assemble and if you keep a well stocked pantry–it’s a breeze. It really is a similar approach to how I make my mac & cheese but with less cheese. But if you want, go NUTS and use whichever you like…..fontina, gouda, asiago….

Had I been feeling extra ambitious, I would have made my own gnocchi. But seeing how I was slightly possessed/compelled by my dream, time was of the essence. If you’d like to make them from scratch, here’s how I make homemade gnocchi.
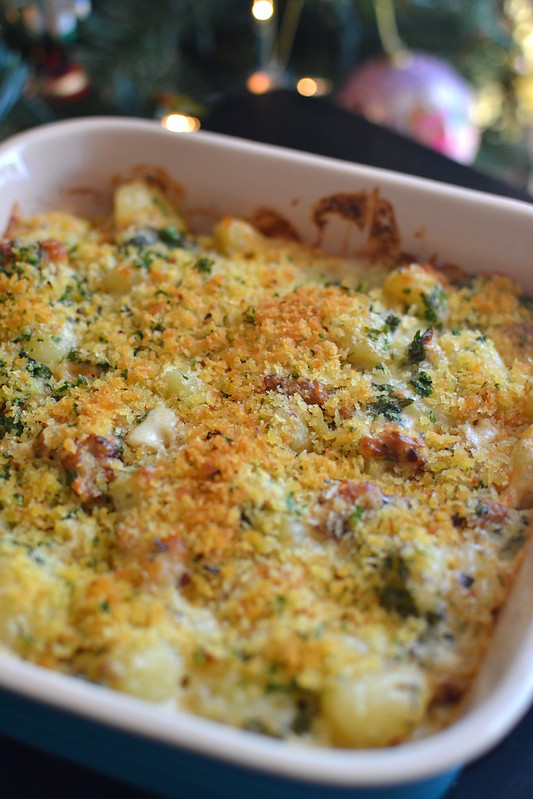
And if you’re still trying to pull together your Thanksgiving Day menu, this would be a great side dish that can be made in advance. Just add the breadcrumbs and bake until warm and bubbly before serving.
Have a wonderful week!
____________________________________________
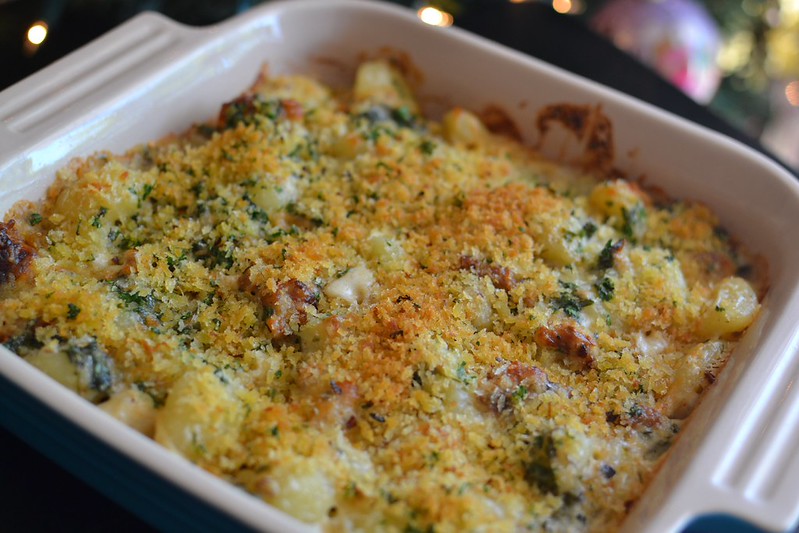
Baked Gnocchi with Kale and Italian Sausage
Ingredients:
2 tablespoons vegetable oil
½ pound Italian sausage
1 tablespoon flour
½ cup wine
1 cup heavy cream
½ cup chicken stock, more if needed
1 teaspoon fresh thyme leaves
½ teaspoon fennel seeds, crushed
¾ teaspoon red pepper flakes, divided
¼ teaspoon black pepper
1/8 teaspoon ground nutmeg
2 tablespoons chopped parsley, divided
kosher salt
1 pound gnocchi (pre-packaged or homemade)
2 loose cups torn kale leaves
1 cup shredded mozzarella cheese
½ cup shredded gruyere cheese
1 tablespoon unsalted butter
1 tablespoon olive oil
½ cup panko breadcrumbs
1 teaspoon lemon zest
Preheat oven to 350 degrees F.
Heat a large skillet with the vegetable oil over medium-high heat. Add in the sausage and use a wooden spoon to crumble up the meat while it’s browning. Once browned, use a slotted spoon to remove the sausage to a plate that has been lined with paper towels to drain.
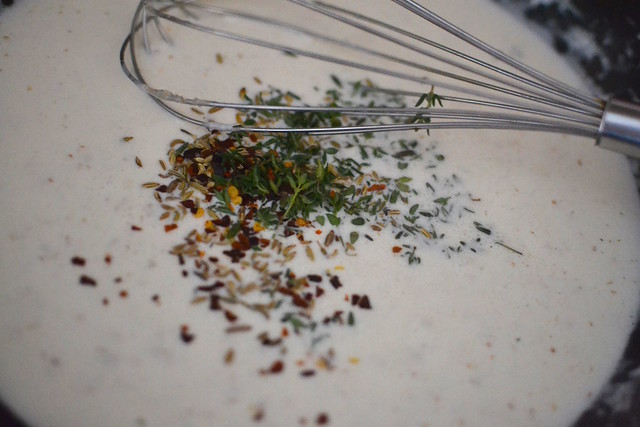
Lower the heat to medium-low and sprinkle the flour over the residual sausage grease. Whisk together for a 1-2 minutes to allow the flour to cook through. Pour in the wine and continue whisking for 1 minute. Add the cream and chicken stock and whisk until smooth. Stir in the thyme, fennel seeds, ½ teaspoon red pepper flakes, black pepper, nutmeg, and 1 tablespoon chopped parsley. Continue cooking the sauce for a few minutes until it thickens. More stock can be added if it gets too thick.
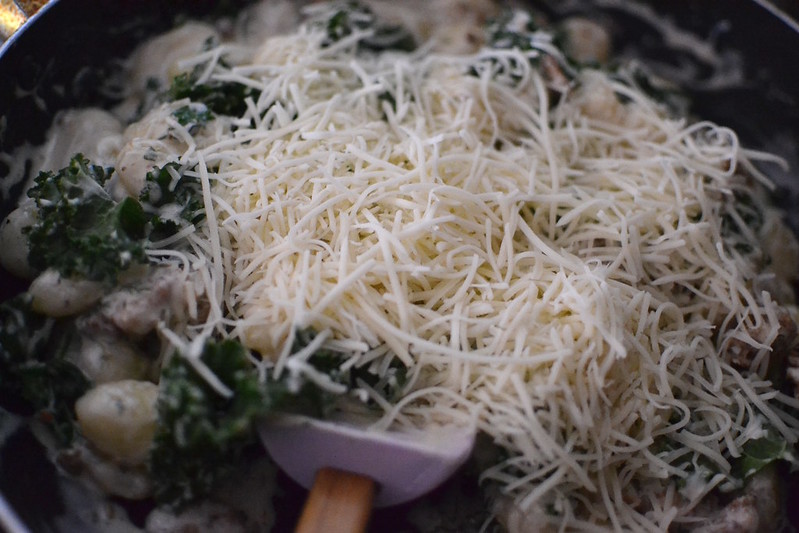
While the sauce cooks, boil the gnocchi in salted water for a few minutes until they float to the top of the pot. Drain well and pour directly into the cream sauce. Stir in the browned sausage, kale, mozzarella and gruyere. Taste and adjust with additional salt and pepper as needed. Pour the gnocchi mixture into a 9 inch dish and spread even. Bake the gnocchi for 10 minutes.
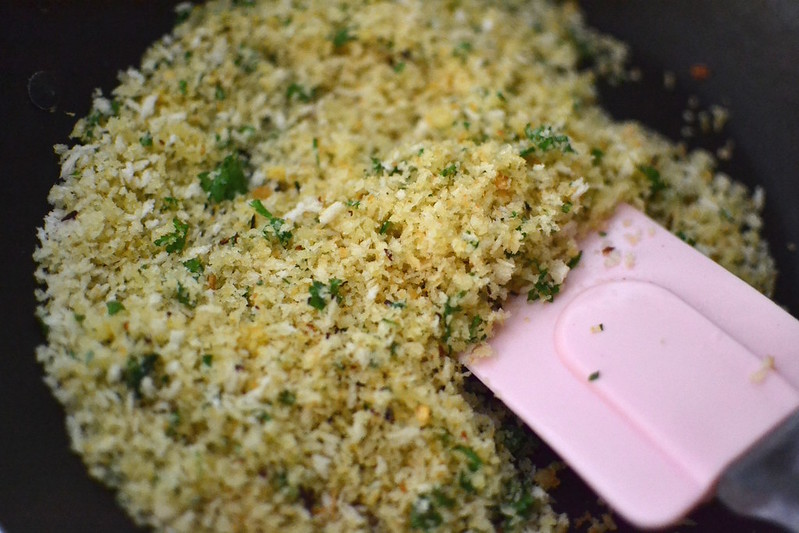
While the gnocchi bakes, melt the butter with the olive oil over medium heat in a small skillet. Add the panko breadcrumbs, lemon zest, and the remaining red pepper flakes and parsley. Toss and stir until the breadcrumbs have toasted and are golden.
After 10 minutes of baking, carefully remove the dish. Top the gnocchi with the breadcrumb mixture and return to the oven for another 5-7 minutes until the top is golden brown.
Once baked, allow the baked gnocchi to rest for 5 minutes before serving.